Actions
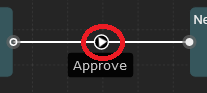
Actions represent transitions between states. On the workspace actions are shown as lines connecting two states.
Actions are launched by users or by self-timers.
Because action represents transition between states, its direction is important. The direction is marked by a small arrow in a circle.
It is important that when you create an action, start with the state from which you want the action to start and end with the state to which you want the action should lead.
The initialization action of the workflow is very significant. This action is taken from the starting point ("Start" state) and is always executed when the workflow is started. The action is called an Initial action.
Initial action has fewer editable properties. You can only add and edit activities. You cannot add permissions on the Initial action or create the action launch form.

All actions have a menu. When you hover the mouse over the action name, the action menu will be displayed.
The menu looks like this:
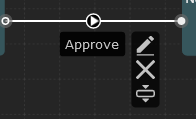
The first icon (pencil icon) opens window for editing the properties of the action.
The second icon is used to delete the action.
The third icon opens a tab with activities that can be assigned to the action.
Example: Simple Approval Process
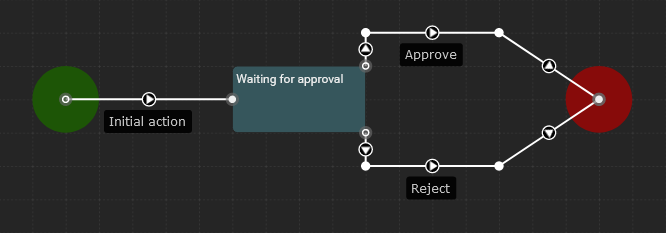
When the process is in the "Waiting for Approval" state user may launch "Approve" or "Reject" action.
It is important to remember that:
- Action is a transition from one state to another (usually launched by the user).
- Action may have its own Form to interact with the user.
- Action may have defined activities which will be automatically executed after action is launched.
Action Properties
To set-up action properties you need to open action menu. It may be done by double-click on the action you want to edit or by clicking edit icon on menu that shows up, when you hover mouse on action.

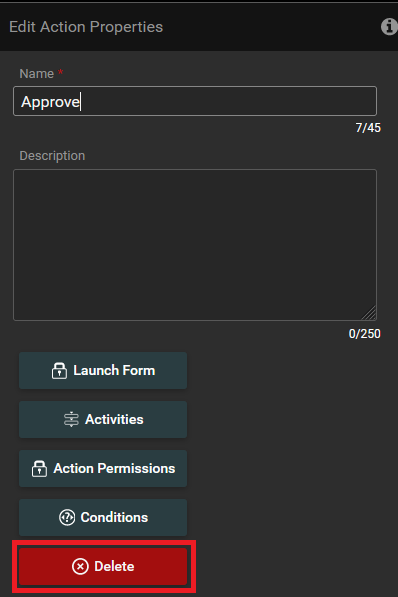
After clicking the button shown in the screen-shot above, the window allowing you to edit action properties will be displayed.
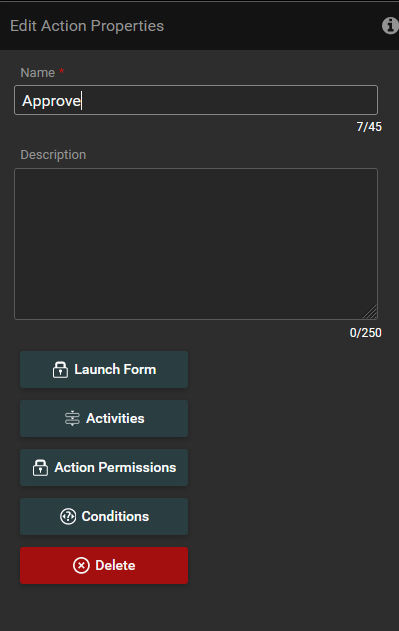
You can change/set following properties:
Name
You can change the name of the action.
Description
Description of the action that you can treat as internal comment.
The edit window also contains the following buttons:
- Launch Form - allows you to create a form for the action
- Activities - allows you to add activities for the action
- Action Permissions - allows you to edit permissions of the action
- Conditions - allows you to edit conditions of the action
- Delete - allows you to delete the action
How to set the action permissions
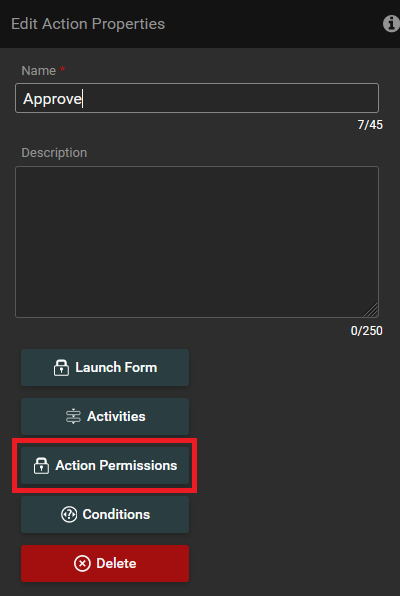
To set-up action permissions you need to open action menu. It may be done by double-click on the action you want to edit or by clicking edit icon on menu that shows up, when you hover mouse on action.
After opening the "Edit action properties" window, you should to click the action permissions button.
The window for editing action permissions will open. The window looks like this:
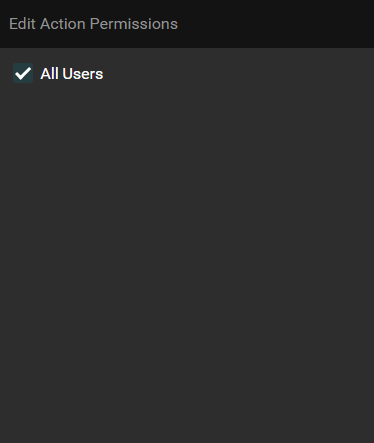
In this window you can choose which user will have permissions to launch action. To grant permissions, you need to check the checkbox next to the user's name. You can also take away a user's permissions by simply unchecking box next to the username.
How to run the Action
There are a few ways to run an action:
- You must first select and check the list item on which you want to run the action. Then the Actions icon will be displayed in the menu at the top. After that you should to the Actions icon click. (The icon is marked with a red frame on the screen-shot below.) On the right, a menu will be displayed with the option of selecting actions available for the given element.
- At first you have to click on Datapolis icon on the selected item. (The icon is marked with a green frame on the screen-shot below.) Then on the right, a menu will be displayed with the option of selecting actions available for the given element.

In both of above cases, the action menu looks like this:
Another way to run an action:
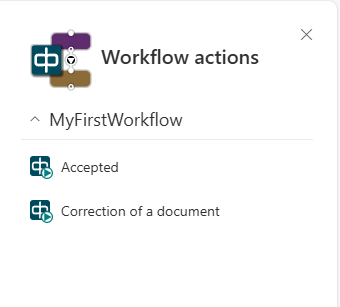
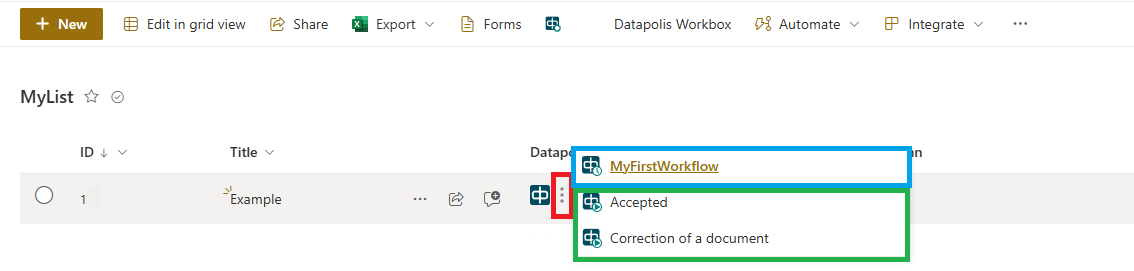
- An additional way to start an action is to click on dots next to the Datapolis icon on the selected item. A menu with the name of workflow and available actions will be displayed. On the screenshot below:
- dots are marked with a red frame
- name of workflow with a blue frame
- actions with a green frame
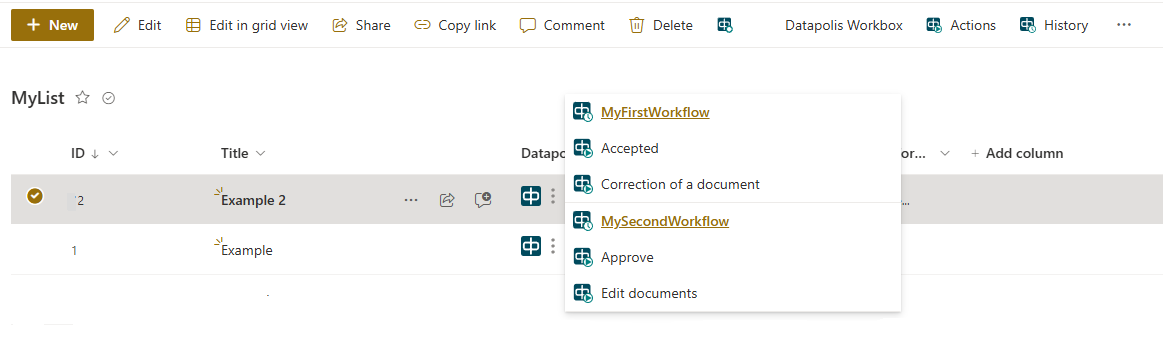
If there is more than one workflow on an element, all workflow names will be displayed along with the available actions assigned to them. This is shown below.
After following one of the steps above you have to select an action and confirm the selection with one click. After that, a rotating wait icon will appear in the center of the website. The rotation icon is shown on the screenshot below.

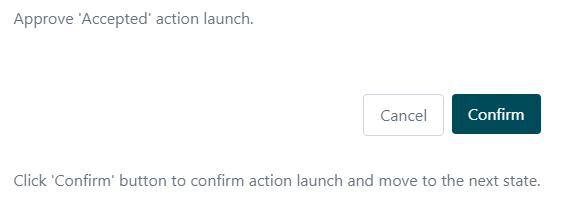
Next the action launch form will be displayed. Of course if a form has been created for the action. Fill in the form and click confirm for the action to run. The action launch form looks like this:

Another form type which can be assigned to the action can be a "Quick form". To run the action all you need is click Confirm button.
The action form of type "No form" can also be assigned to the action. With this option selected the action will be started without displaying any form. After that, a rotating wait icon will appear in the center of the website. Then you return to the list website.
How to remove the action
You can remove the action in two ways:
When you hover the mouse over the action, the action menu will be displayed. You should click on the second icon. This icon is used to delete the action. Then a modal window will open to confirm the remove action. To complete the operation, click OK button.
The icon is marked with a red frame.

You should double-click on the action. Window to edit action properties will open. Then you need to click on the delete button. Then a modal window will open to confirm the remove action. To complete the operation, click OK button.
The icon is marked with a red frame.