Workflows
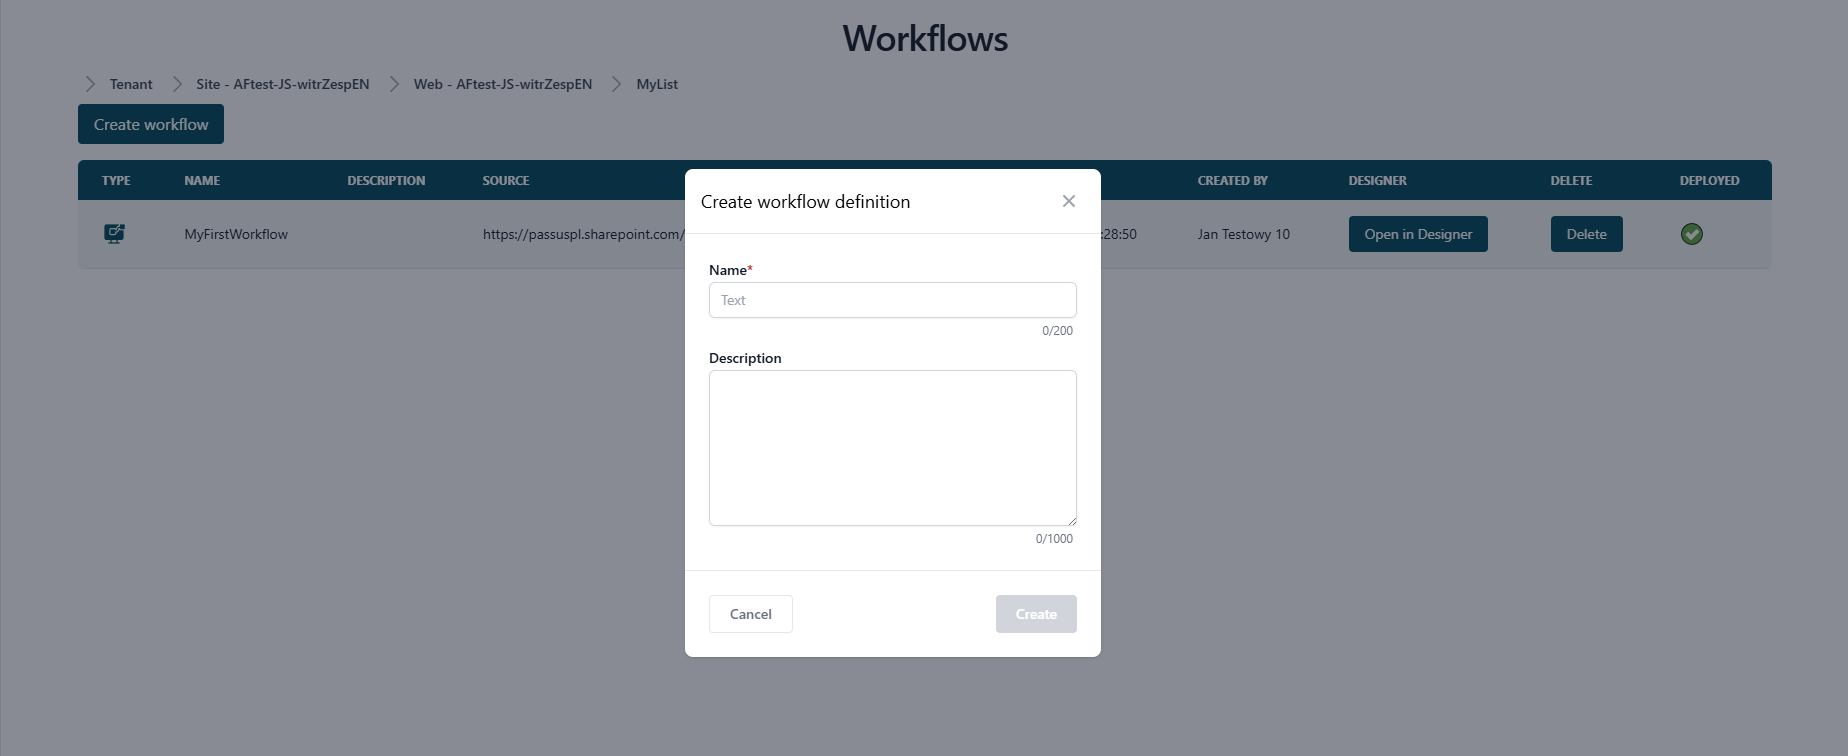
When a user accesses the Portal through the SharePoint site, they will see data on the workflow or workflows for a given list. The information displayed will include details such as type, name, description, source, creation date, by whom it was created and whether it is deployed.

On this website, the user can create a new workflow. To do this, they should click the Create workflow button marked with a red frame.

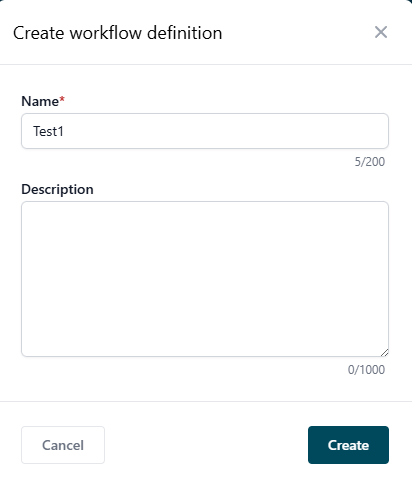
Then a window will appear in which you need to fill in the name field and click the Create button. You can also complete the Description field by providing a few sentences characterizing the created workflow.

For demonstration purposes, let’s create a workflow named Test1.

After clicking the Create button, we will be redirected to the Workbox Designer, where the workflow structure needs to be created. More information on creating workflows in the Designer can be found in other instruction articles.
If the workflow has been deployed, a white heavy check mark symbol will be visible upon closing the Designer.

However, if the workflow has not been deployed, a white cross will appear.

Remove workflow from Datapolis Portal
To remove a workflow from the Datapolis Portal, click the Delete button marked by the red frame in the screenshot below.

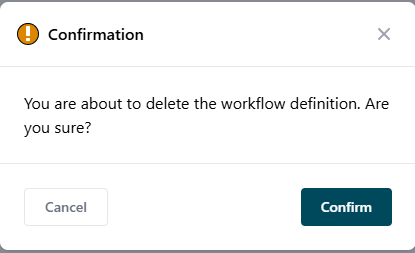
After clicking it, a window will appear where you need to confirm the deletion action.

Once confirmed, the workflow will be deleted.

Open Workflow in the Designer
Through the Datapolis Portal, you can access the Designer, where workflows can be created and configured. Simply click the Open in Designer button corresponding to the specific workflow.
