Self-timer
How to use a Self-timer
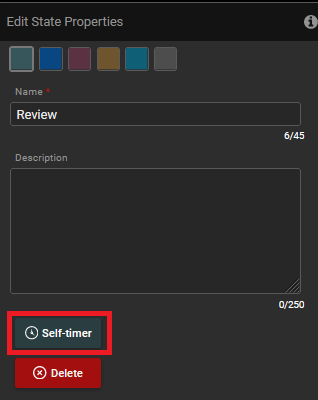
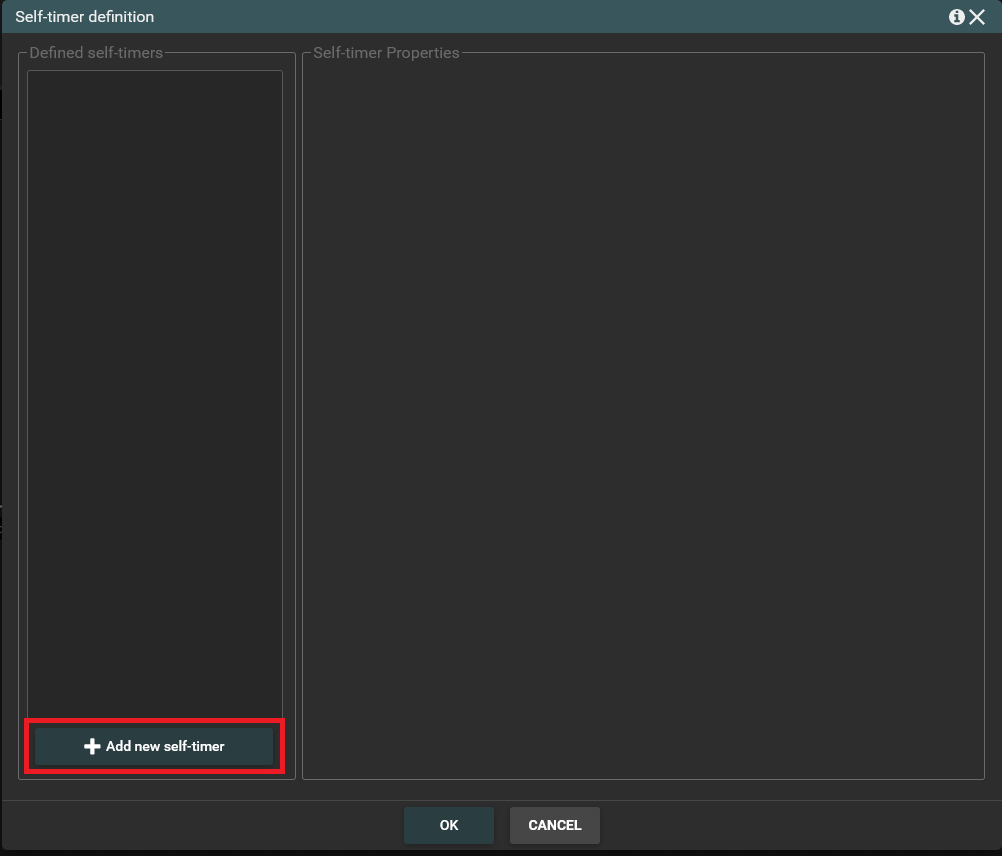
Self-timer is used to launch an action after a certain time. To set a self-timer you should open edit state properties. Then in the edit state window you should click on the Self-timer button. When the following window appears, you need to click Add new self-timer button.
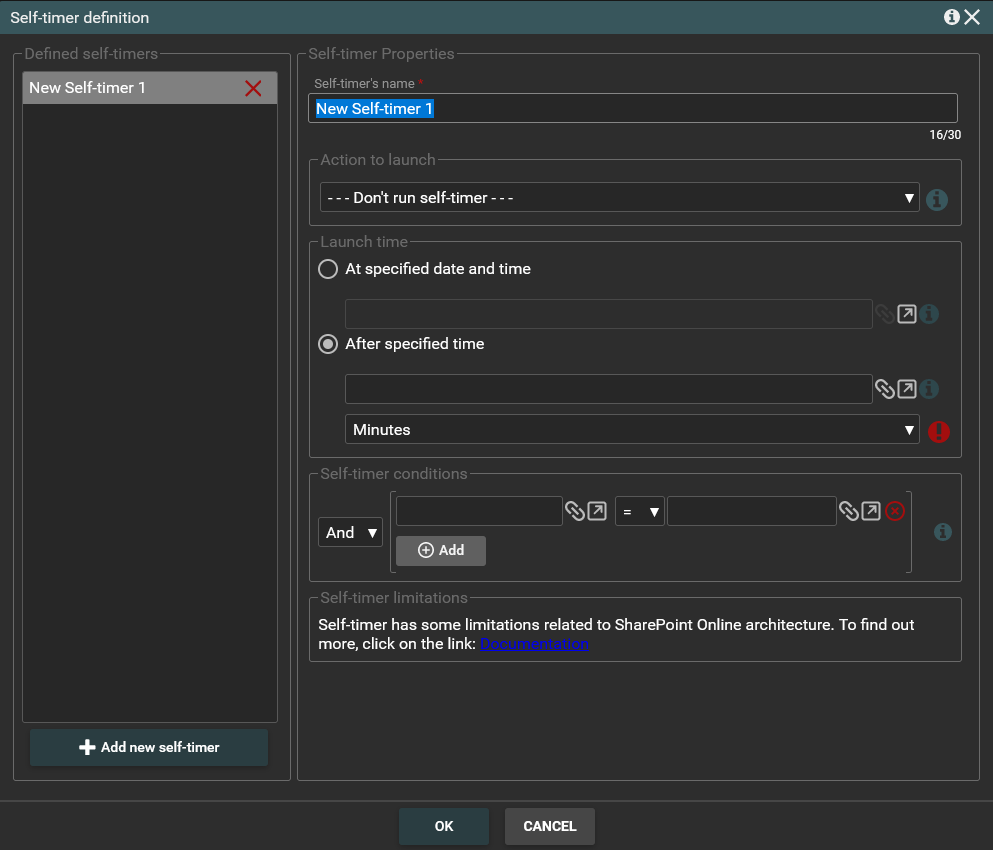
In the next window you have to configure a self-timer properties. At first you have to choose an action which will be launched by self-timer. Then you have to set a number of minutes, hours or days after which this action should be launched. You can also set a fixed date and enter timer conditions. You can too define the self-timer name. When you have filled in all the fields, click OK to save the changes.
An appropriate mark will appear above the action for which the self-timer is set.
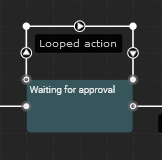
Looped actions
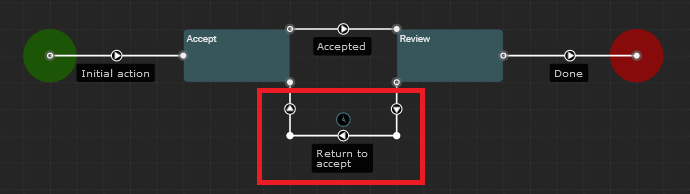
A looped action can be created on the state. This action runs within one state and stays in that state. Running it doesn't cause the workflow to transition to another state.
Looped action looks like this.
When you create self-timer which runs an action that is looped to state you can occur an error. SharePoint has limit 5000 request per 24 hours so when you create looped self-timer running every 1 minute there is a high possibility that you exceed that limit and your workflow will suspend. We recommend using at least 10 minutes time unit in looped self-timers.
Current date greater than the one specified in self-timer
In "Launch time" section you can provide specific date and time at which self-timer runs. If the specified date will be less then a current date (during the workflow runtime) your self-timer executes immediately.
Zero or negative time number in self-timer
If you specify zero or negative number in self-timer "Launch time" section workflow behaviour will be as specified below:
- For less than 1 minute - your self-timer will run in 1 minute
- For less than 1 hour - your self-timer will run in 1 hour
- For less than 1 day - your self-timer will run in 1 day