States
State is one of the designer's objects. State is represented by the first icon on the toolbox.

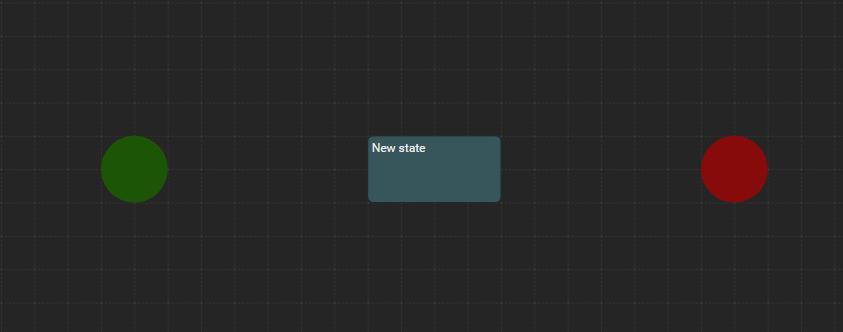
State added to the designer.
State Properties
To set-up state properties you need to open state menu. It may be done by double-click on the state you want to edit or by clicking edit icon on menu that shows up, when you hover mouse on state.

After clicking the button shown in the screen-shot, the window allowing you to edit state properties will be displayed.
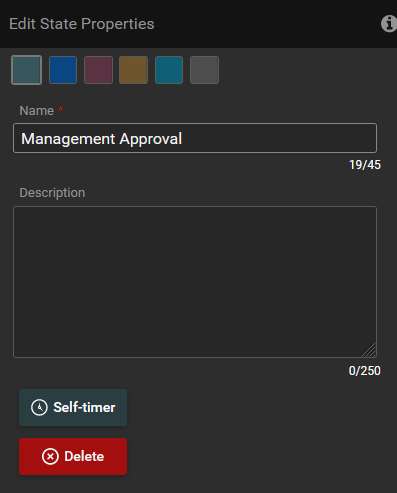
You can change/set following properties:
Color of the state.
You can pick the color of the state from the available colors.
Name
You can change the name of the state. Name of the state may be very important during the workflow execution as it gives information to the user where the workflow is at the moment.
Description
Description of the state that you can treat as internal comment.
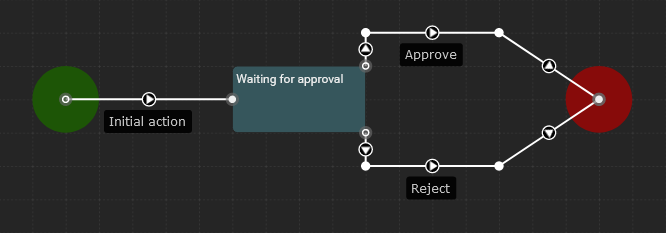
States are logical representation of each phase of process. On the diagrams below you may see three different processes. The most visible parts of the diagrams are rectangles which represent states.
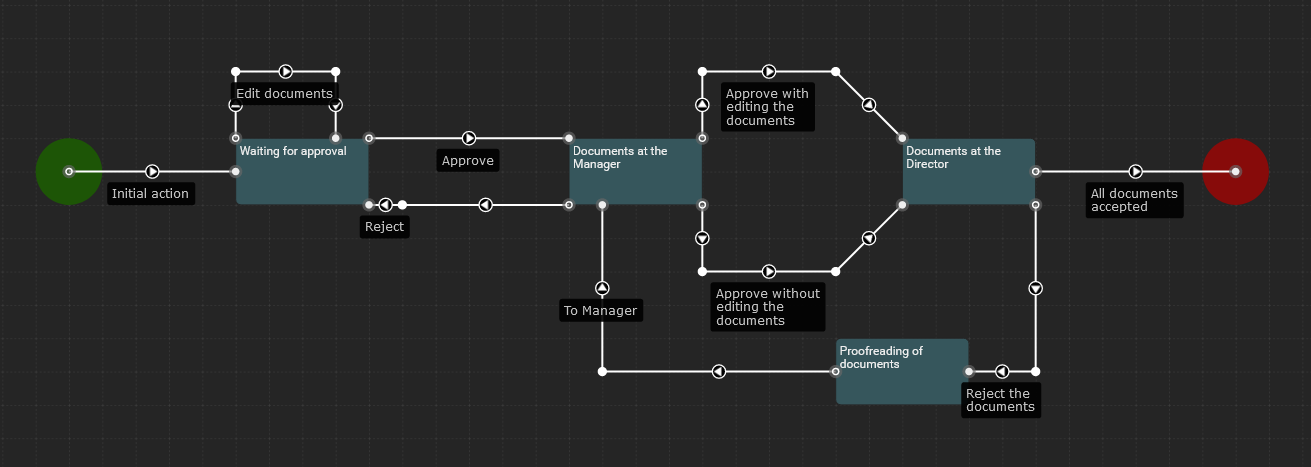
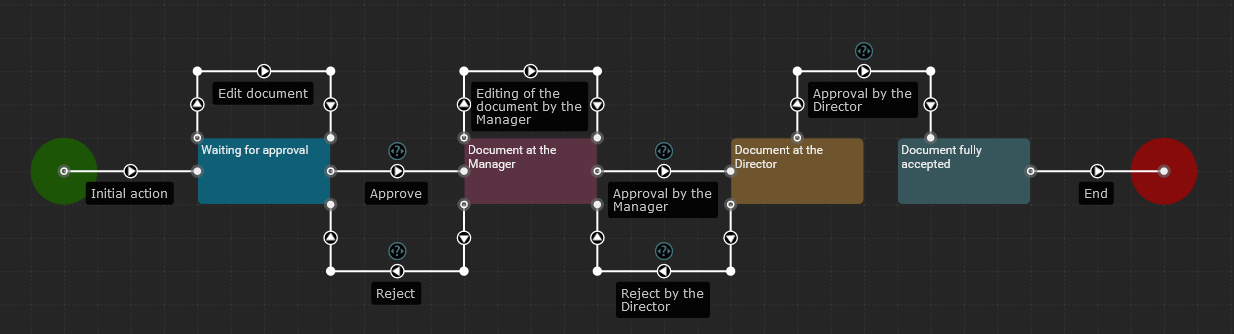
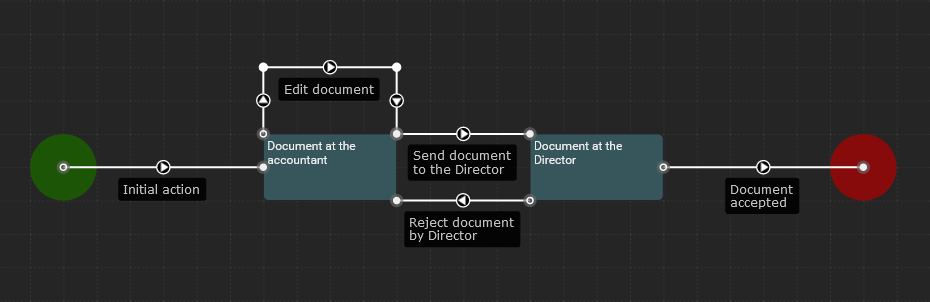
Diagrams may be more or less complex. It depends on logic of the process.
Example: On diagram below there is a simple one-state approval process. When the process begins it goes to the "Waiting for approval" state. The process will stay in this state until one of the actions "Approve" or "Reject" is invoked. Usually the action may be invoked only by the permitted approver.
How to remove the state
You can remove the state in two ways:
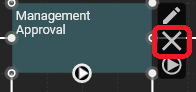
- When you hover the mouse over the state, the state menu will be displayed. You should click on the second icon. This icon is used to delete the state. Then a modal window will open to confirm the remove state. To complete the operation, click OK button.
The icon is marked with a red frame.
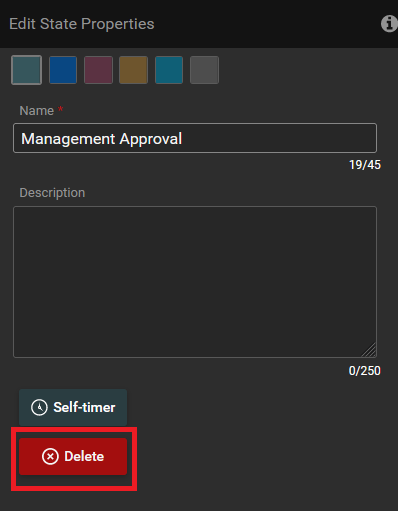
You should double-click on the state. Window to edit state properties will open. Then you need to click on the delete button. Then a modal window will open to confirm the remove state. To complete the operation, click OK button.
The icon is marked with a red frame.