Introduction to Datapolis Portal
Access to the portal is available to the Admin, Designer and End User. Depending on the level of permissions, the portal view and access to its features vary.
Datapolis Portal view for the Admin
The Admin has the most permissions. Upon entering the portal, the Admin sees the view corresponding to the content of the first icon in the left side panel.
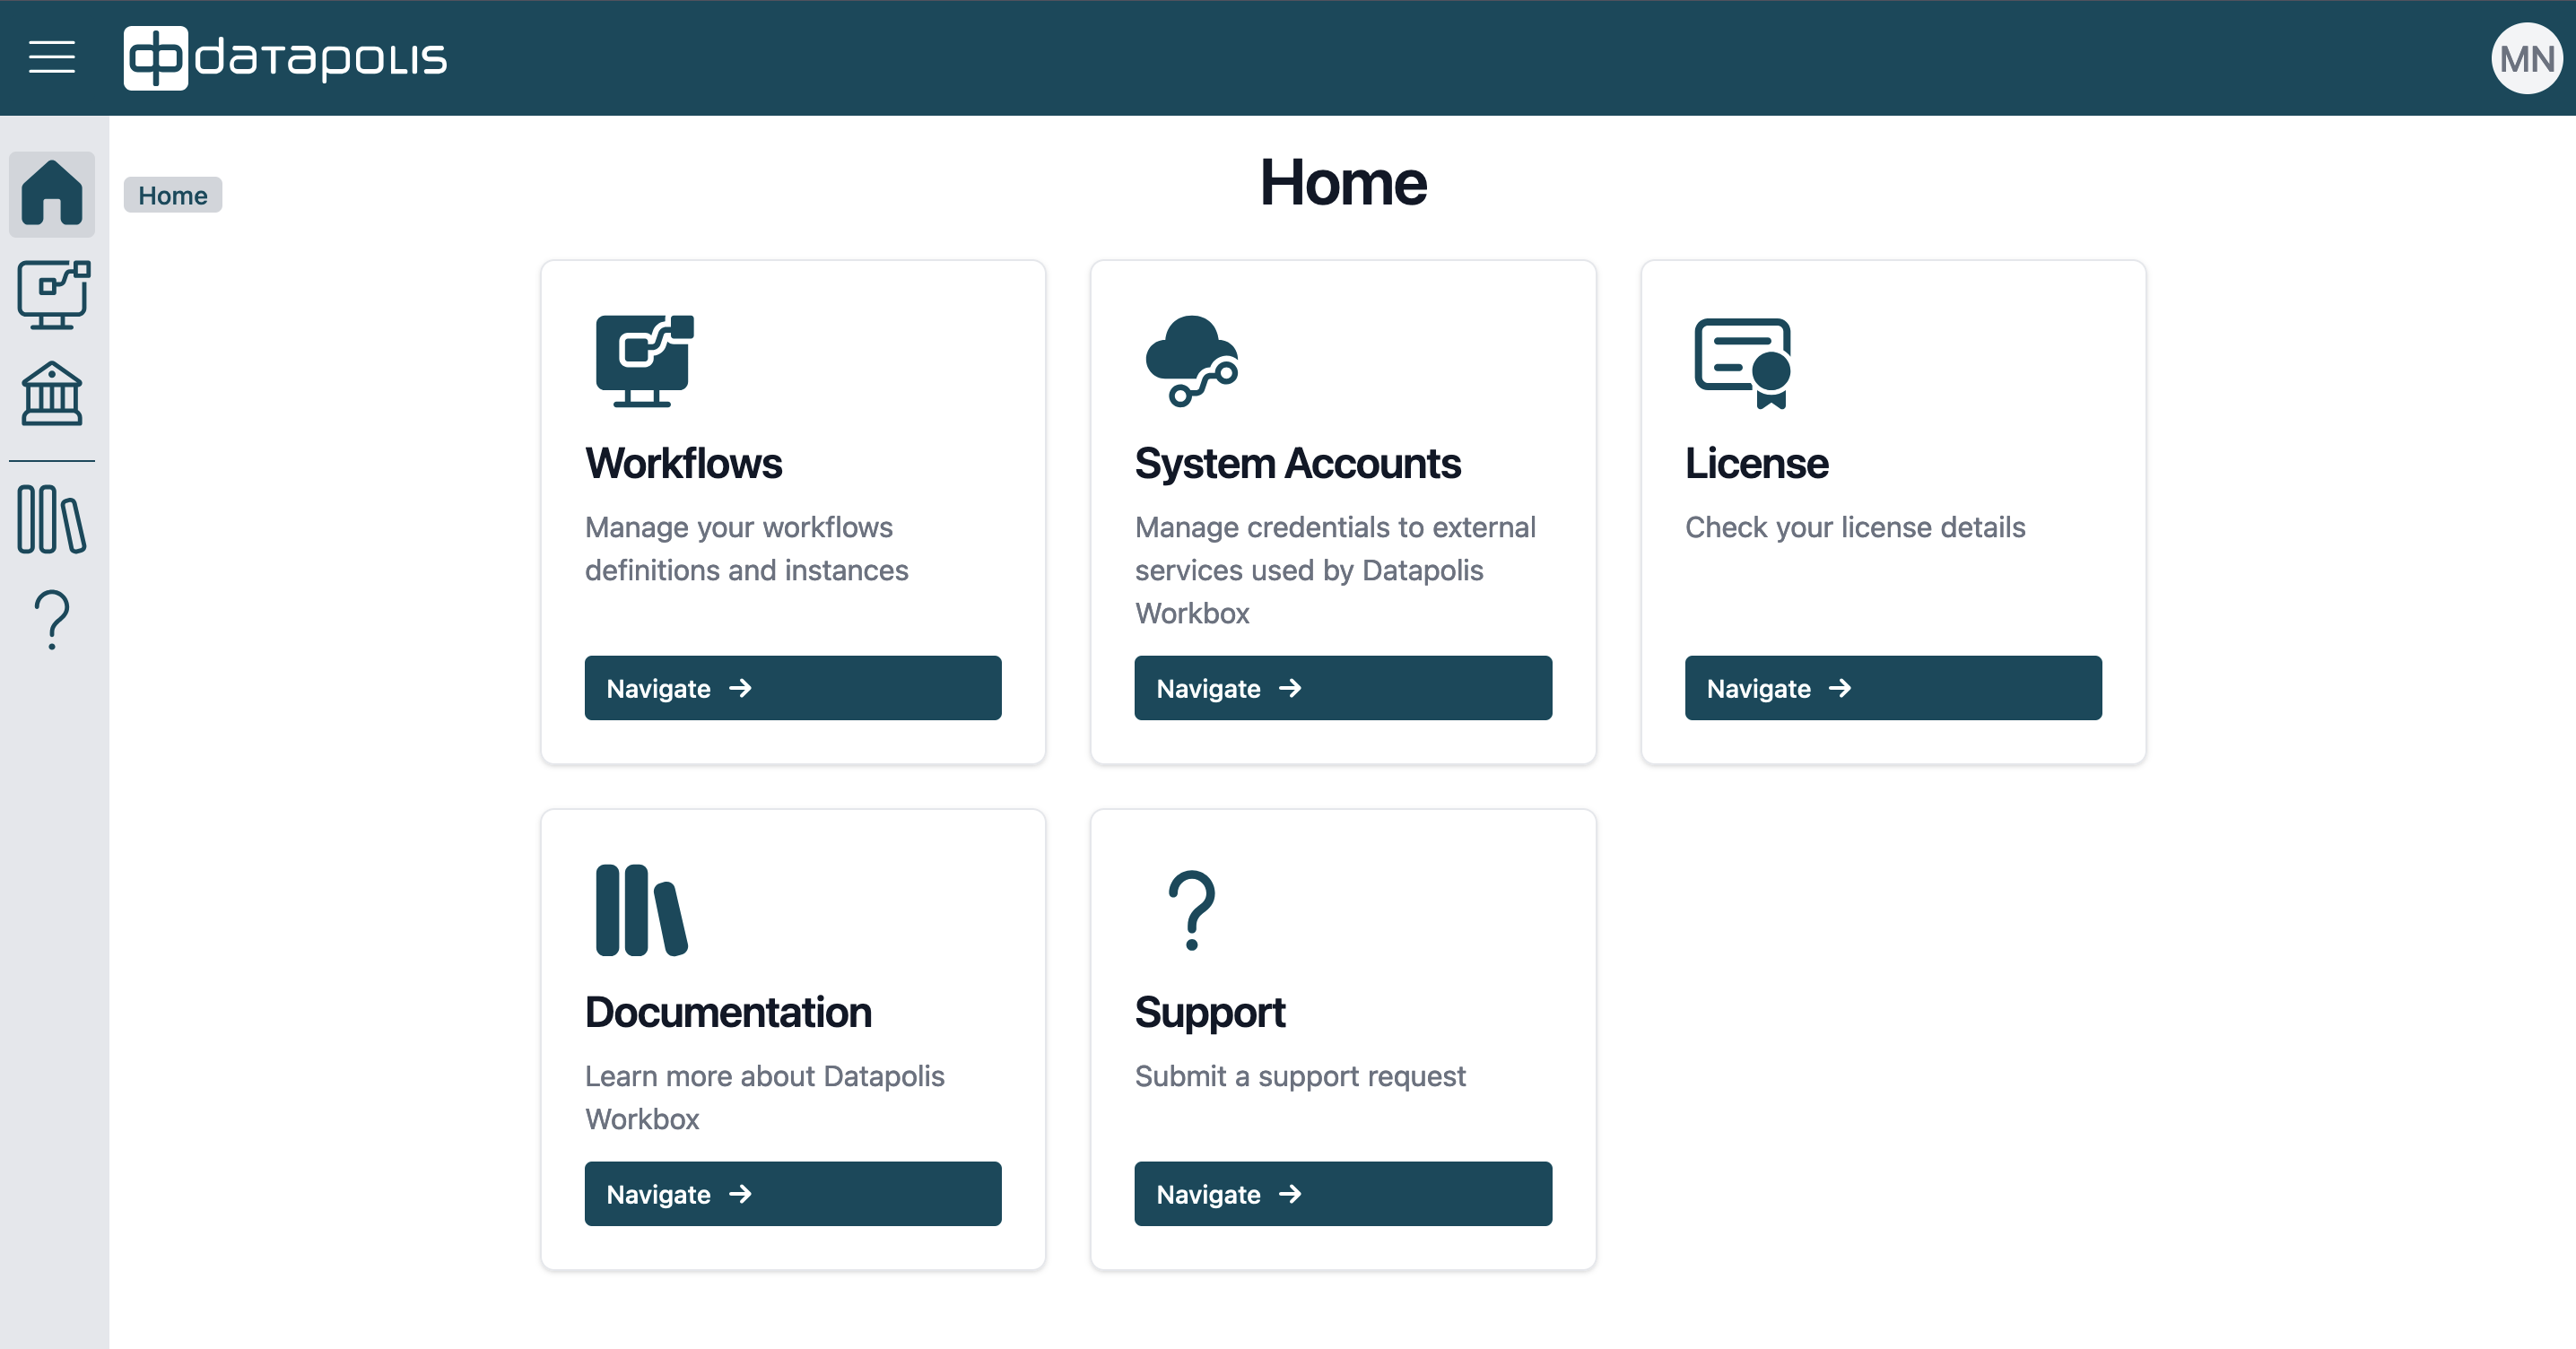
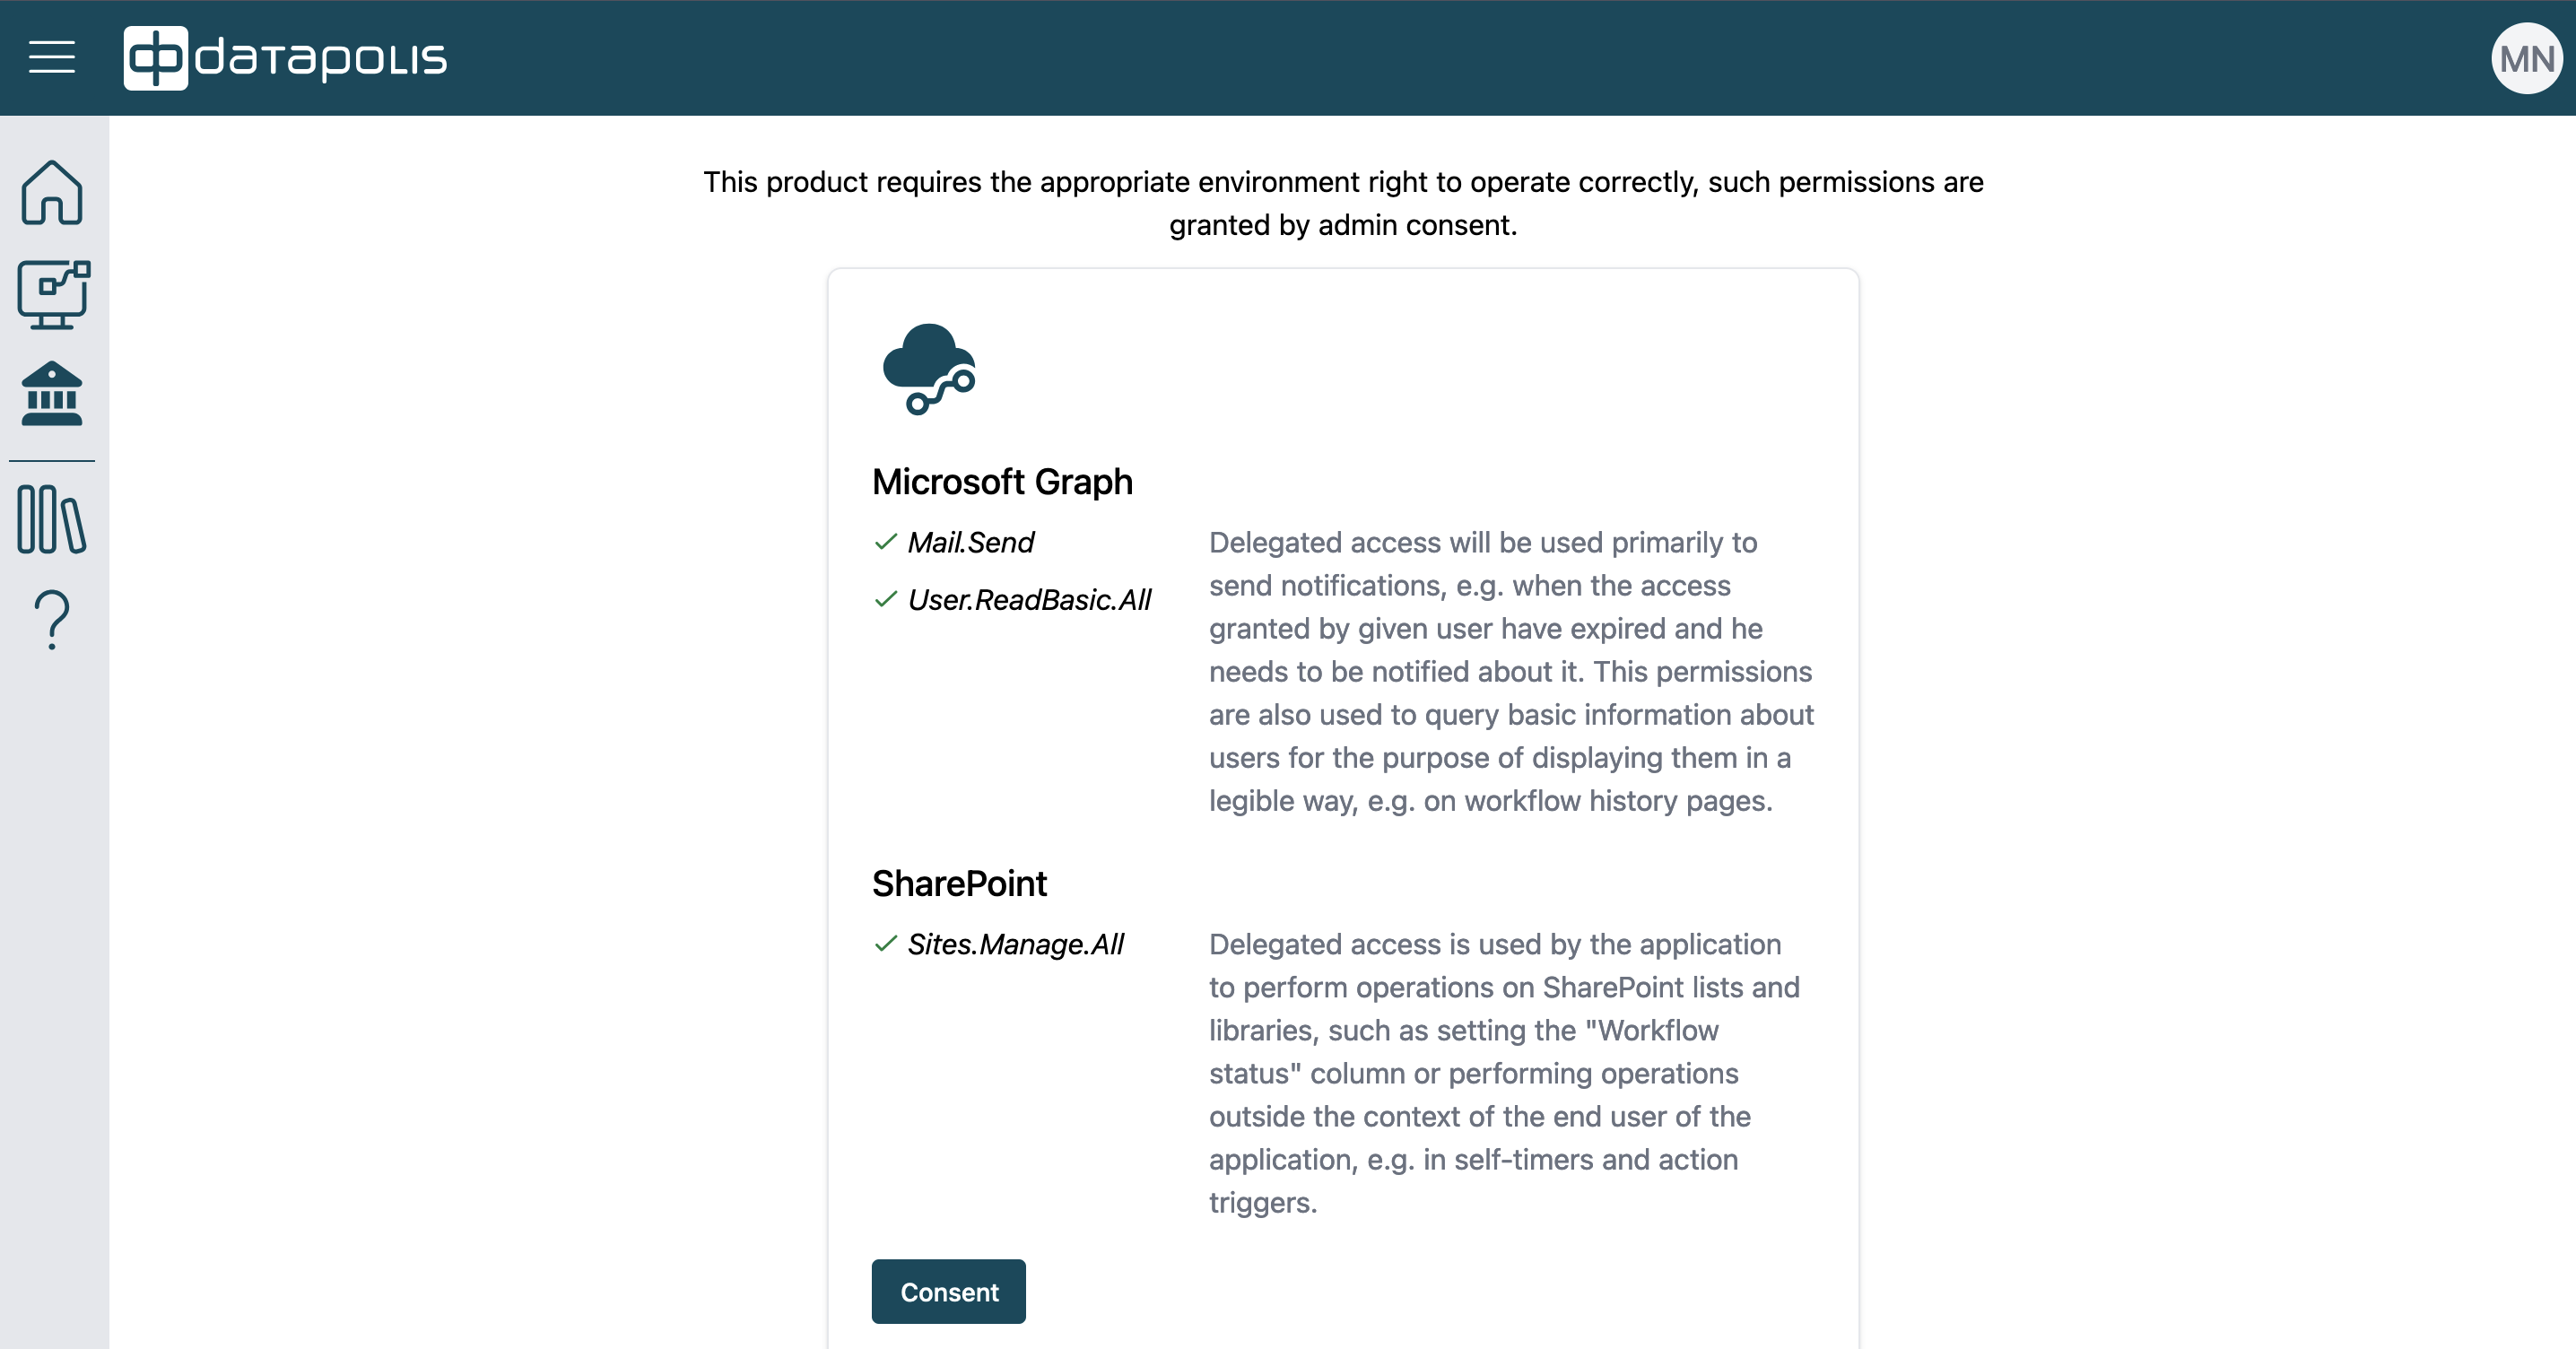
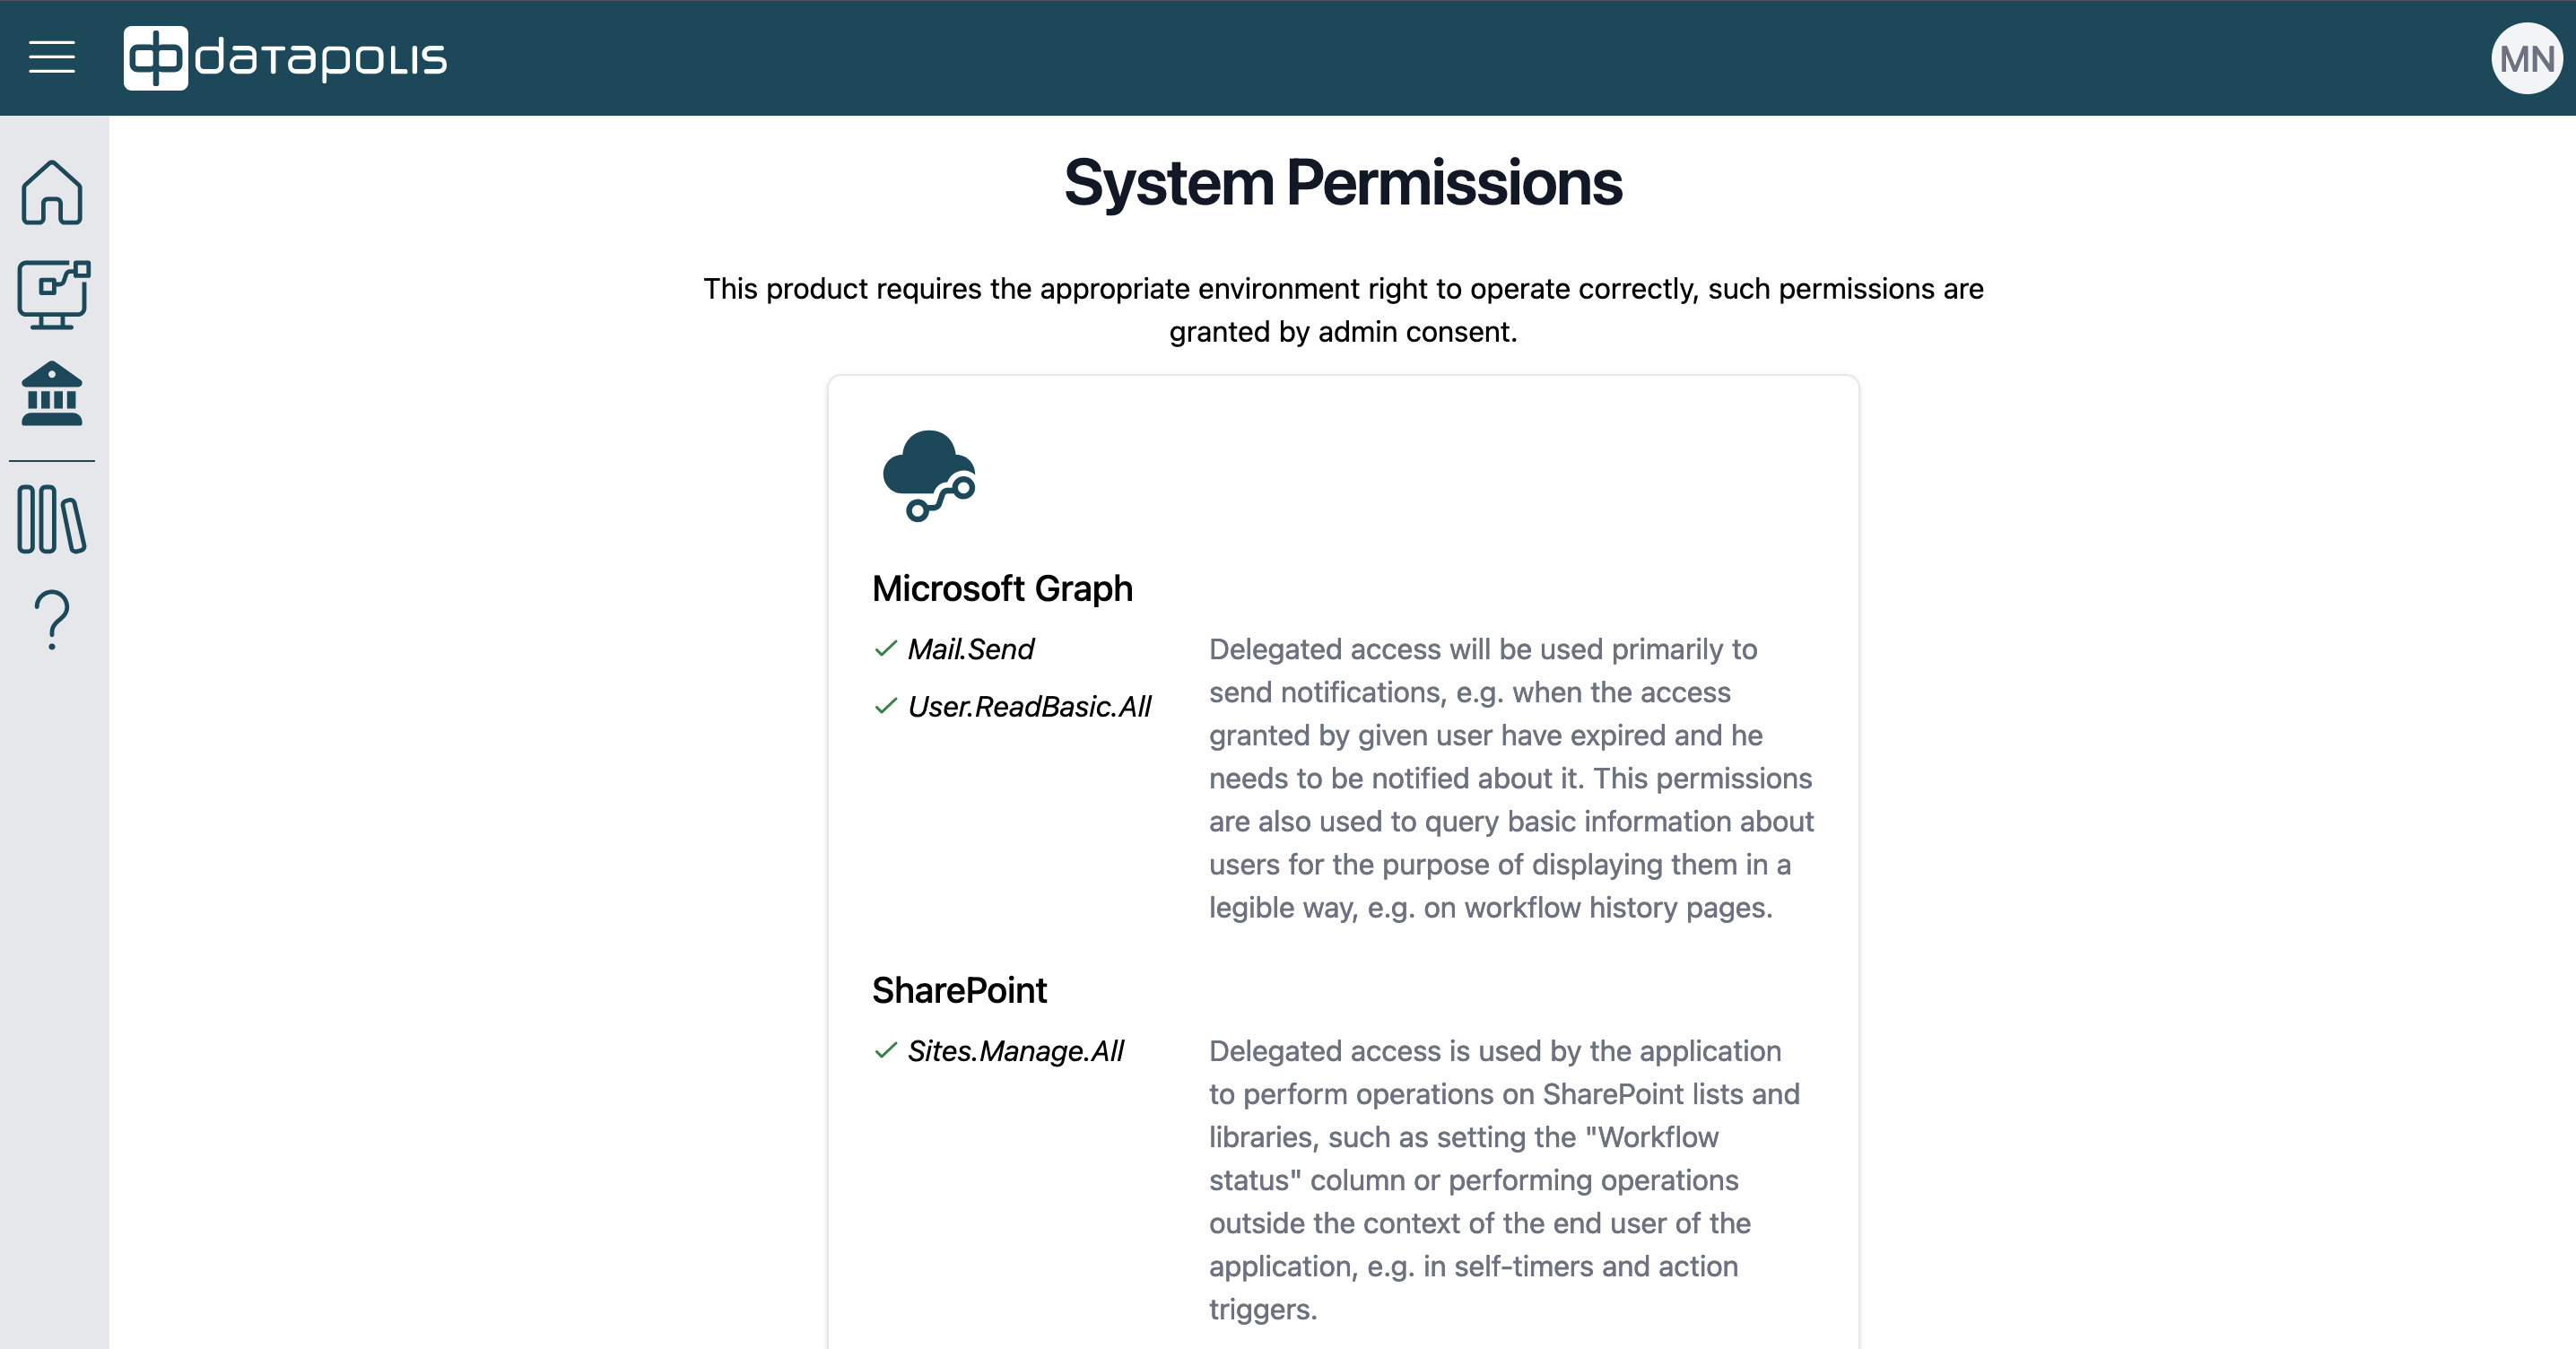
When you click on System Accounts, a website will be displayed where it is possible to assign permissions to users.
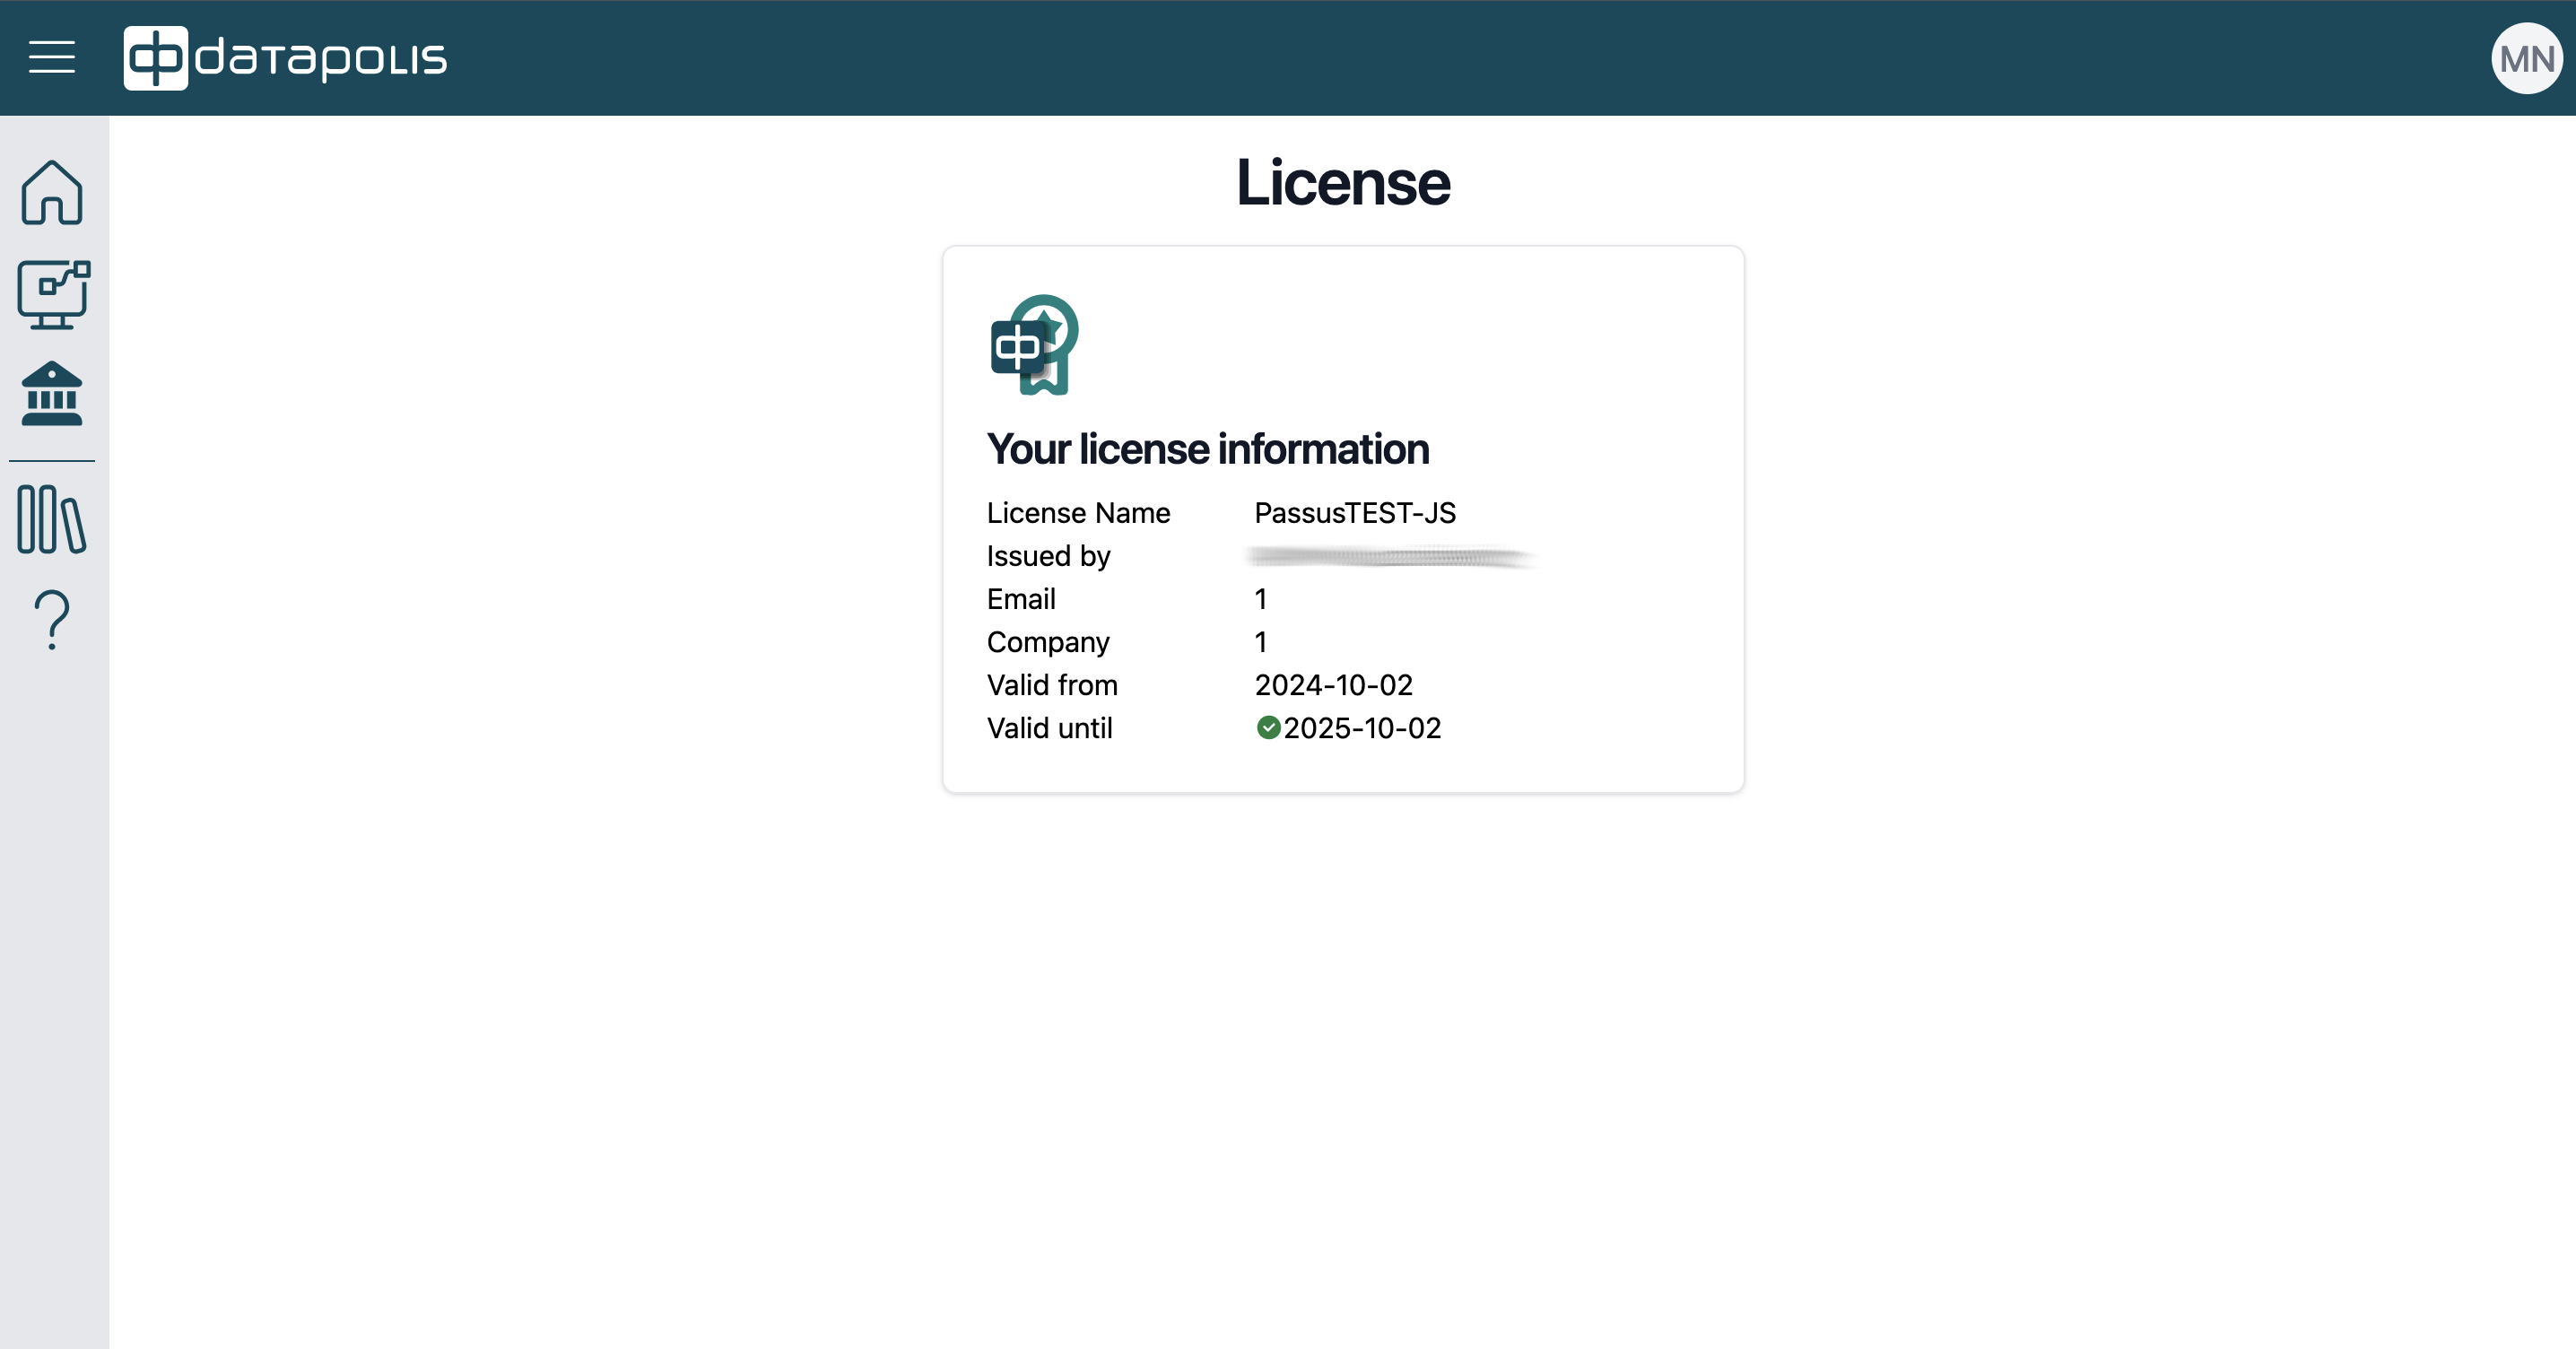
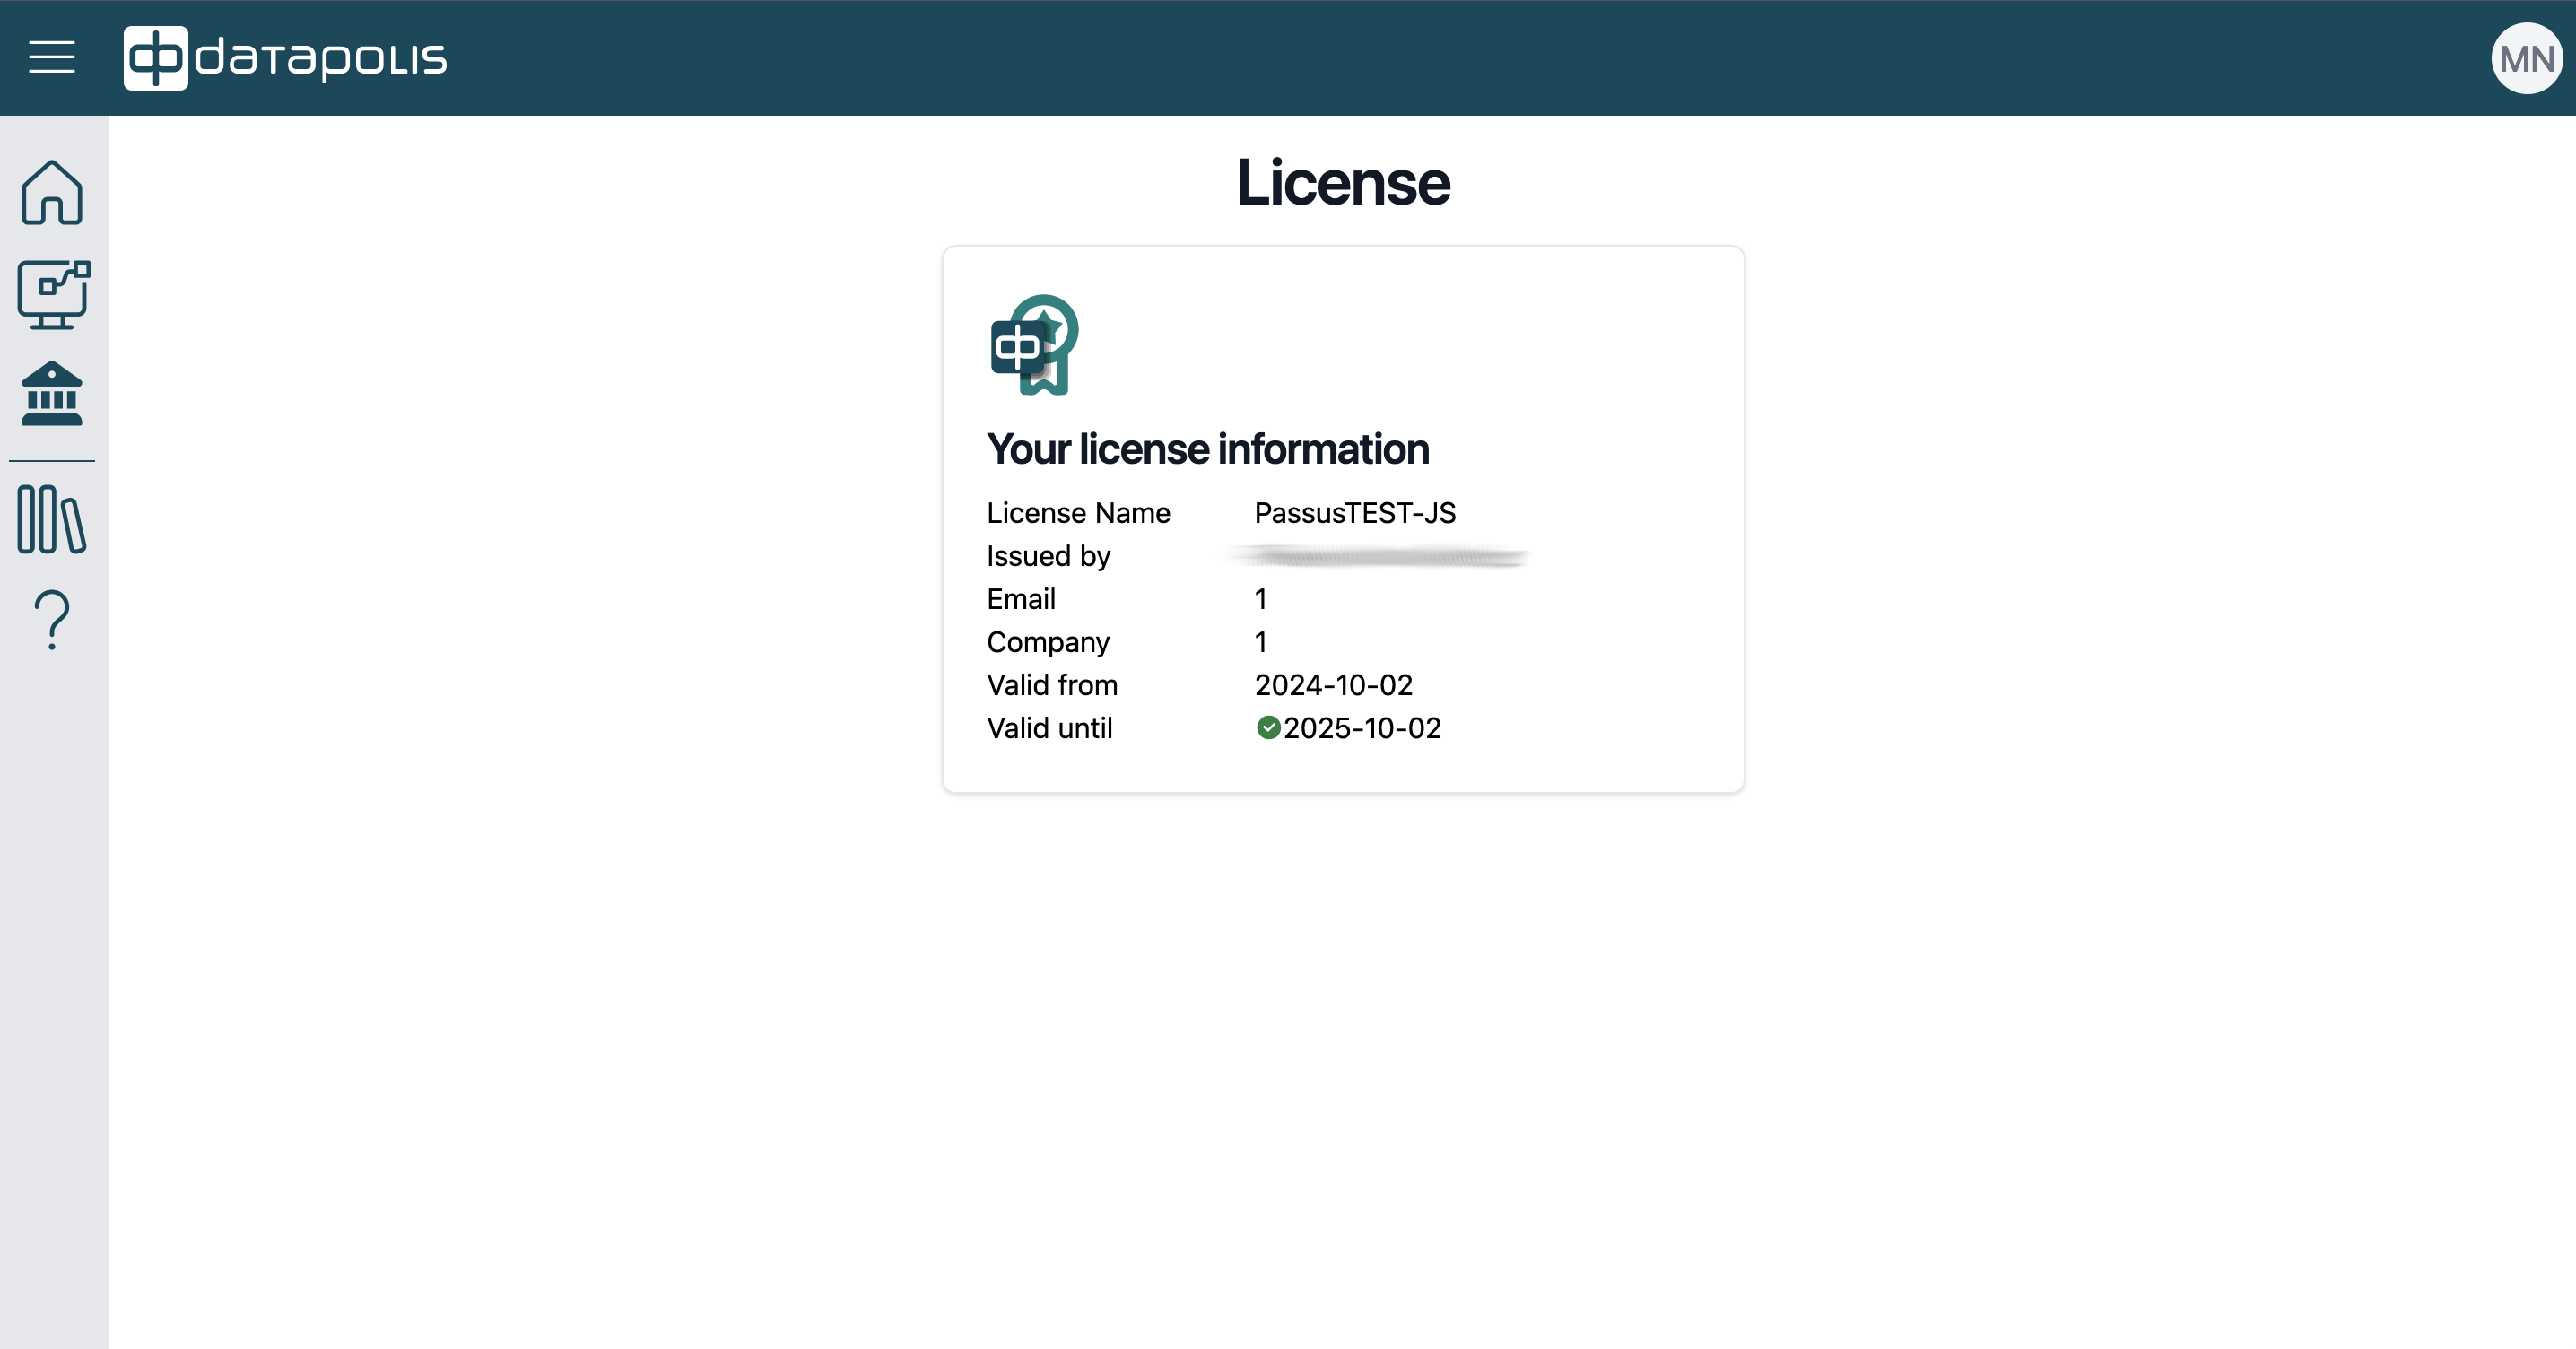
If you want to check the details of the Datapolis Workbox product license, click on the next tile labeled License.
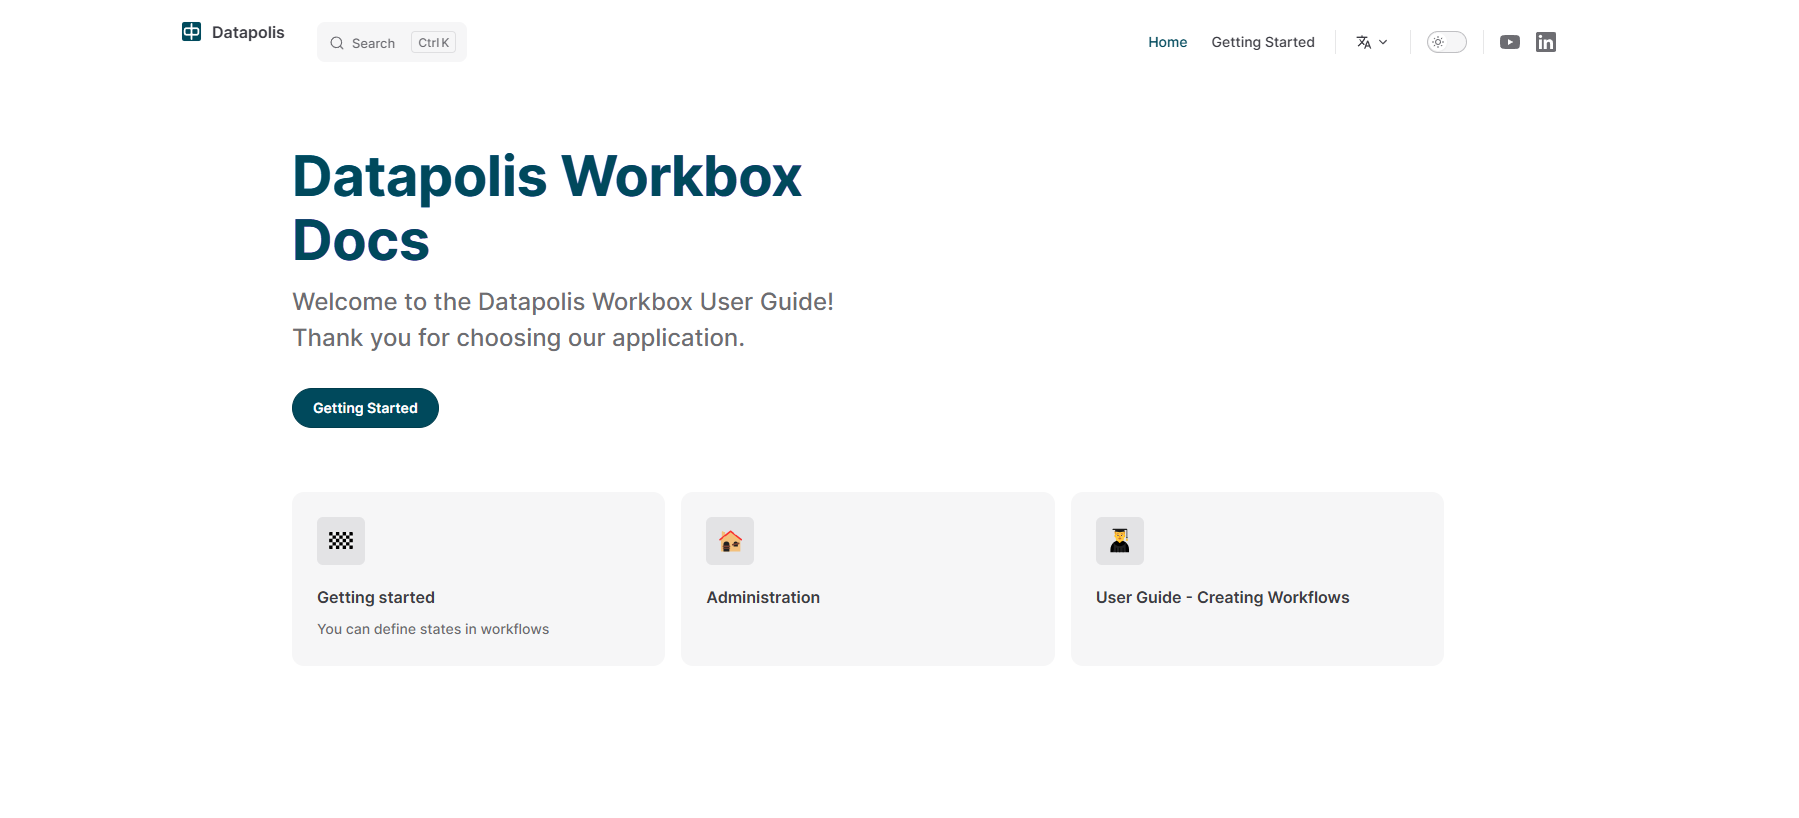
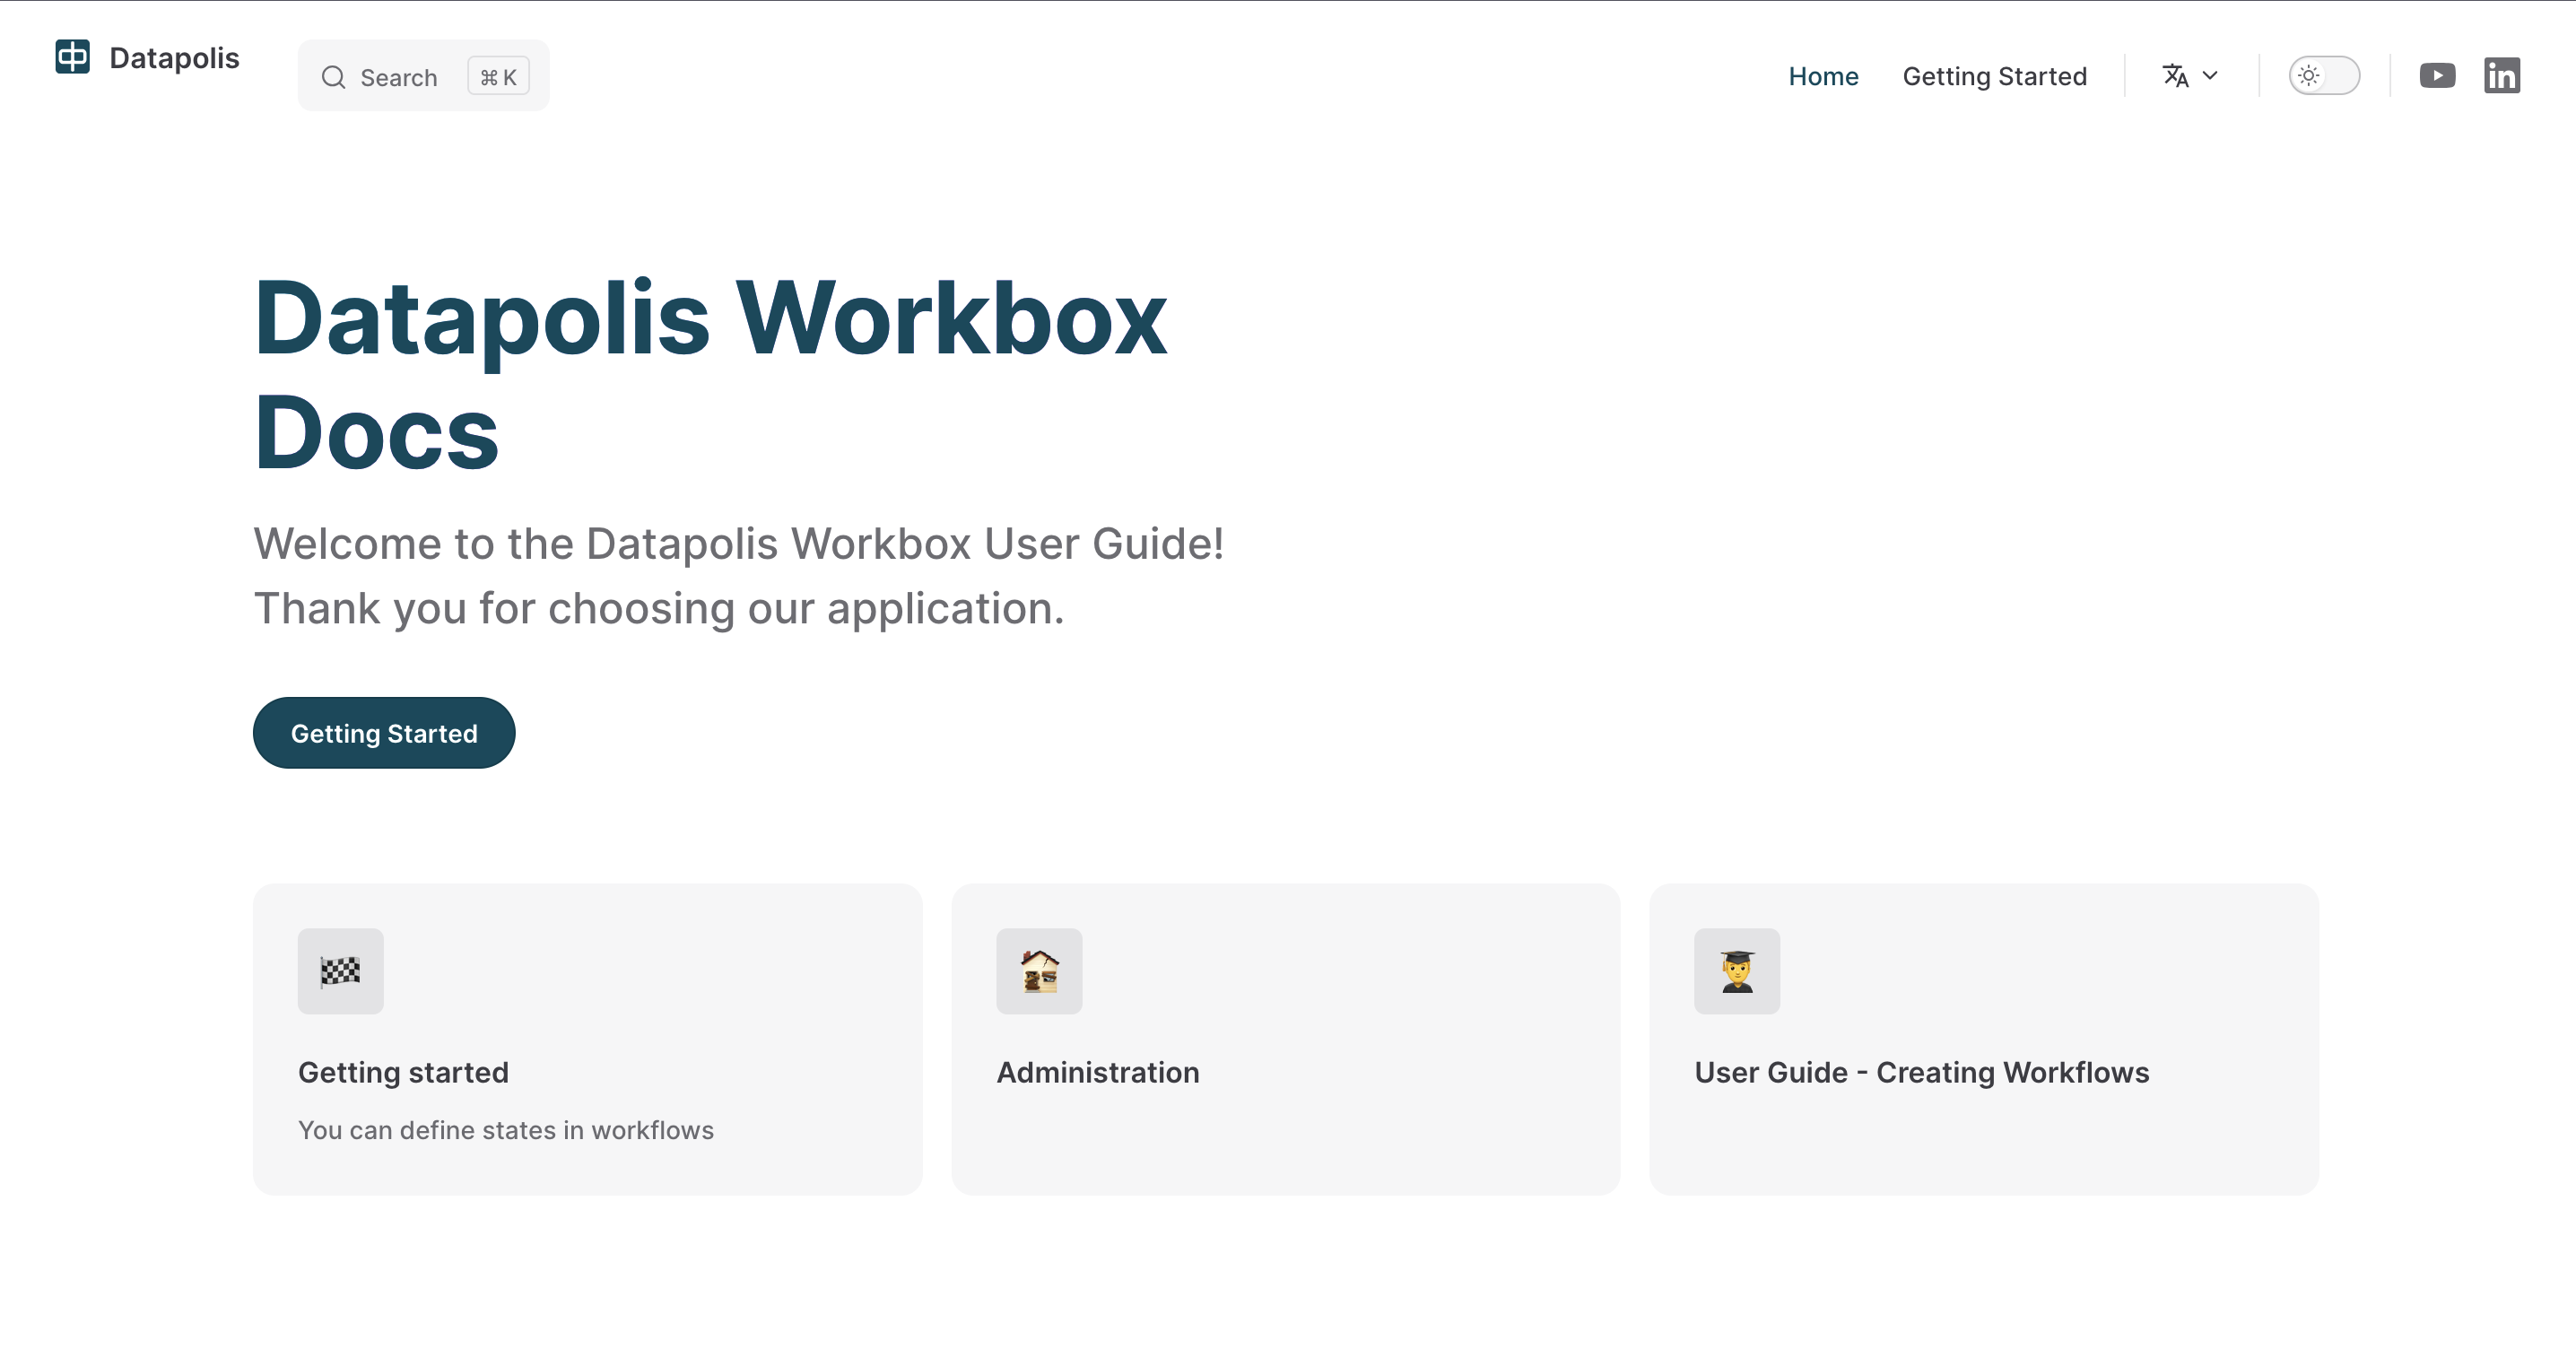
When you click on the Documentation tile or the fourth icon on the left-side panel, a website Datapolis Workbox Docs will open. On this website, you will find the manual for our product, Datapolis Workbox.
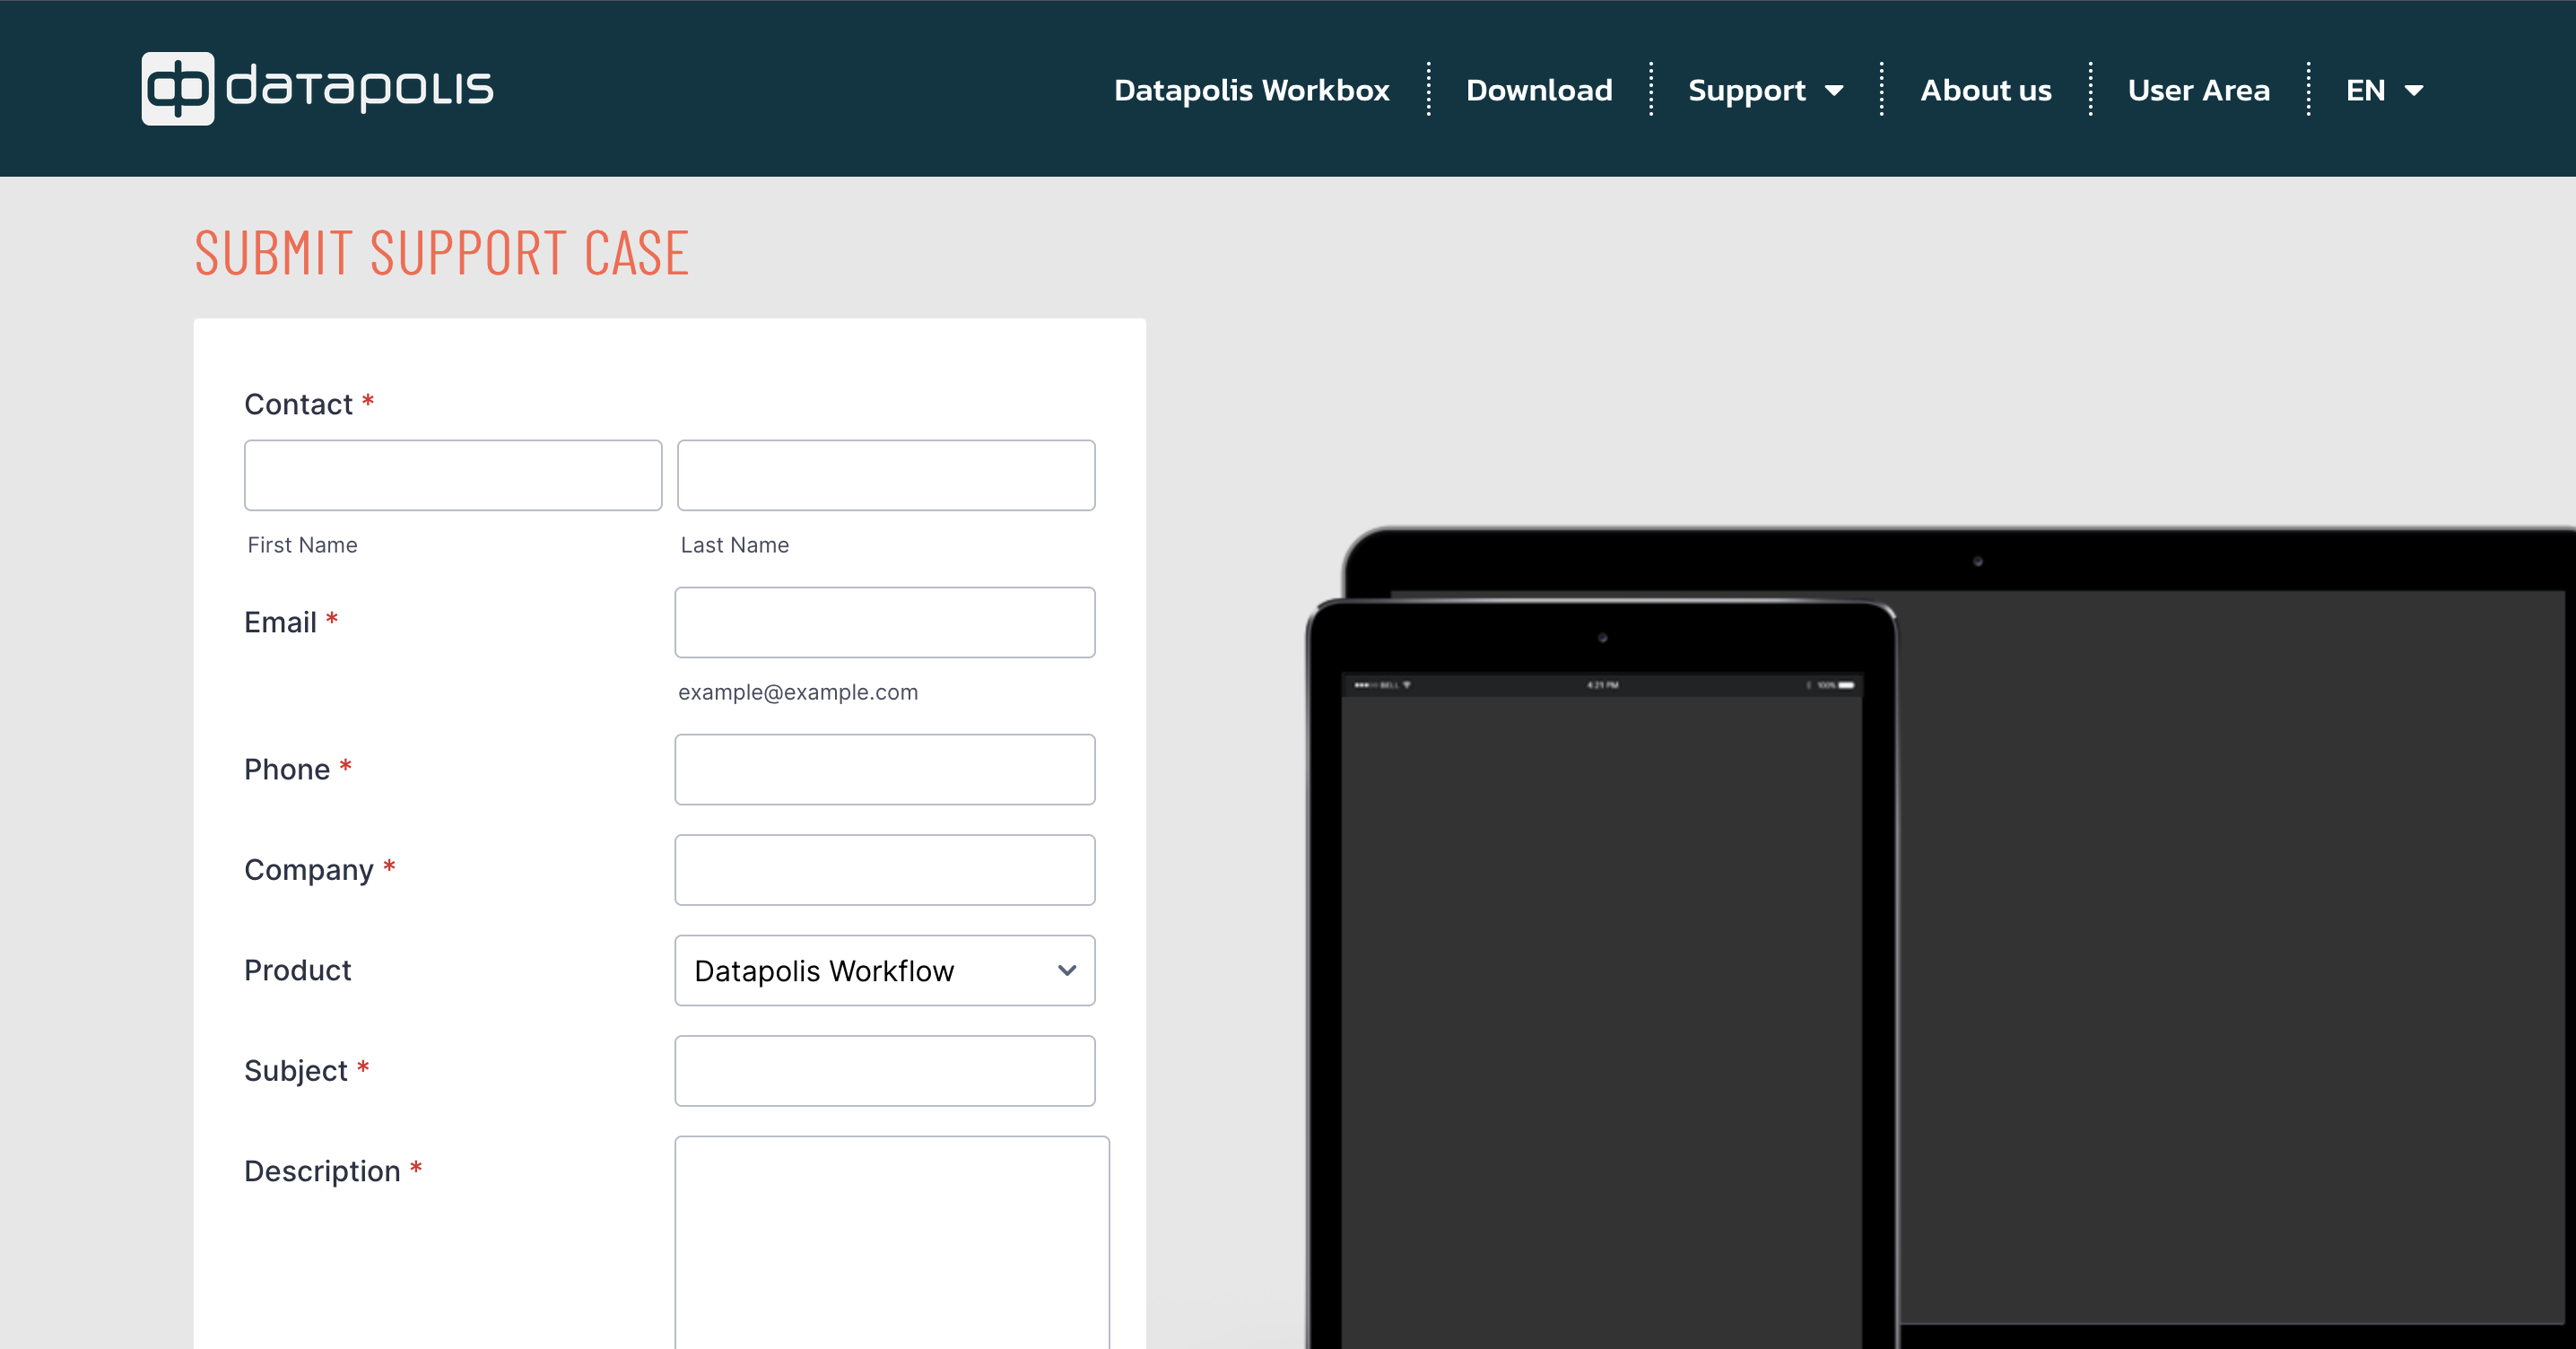
The next tile visible to the Admin is labeled Support. When you click on it, you will be redirected to the Submit support Datapolis website. Alternatively, instead of clicking on the tile, you can select the corresponding fifth icon in the left side panel, marked with a question mark. Clicking on this icon will also redirect you to the mentioned website. Through this website, you can submit your support request.
The second icon in the left menu panel, marked with a red frame in the screenshot, corresponds to Workflows. After clicking on this icon, you will see three tiles: Definitions, Instances, and Connectors.
![]()
After clicking on the first tile, a list of available site collections will be displayed.
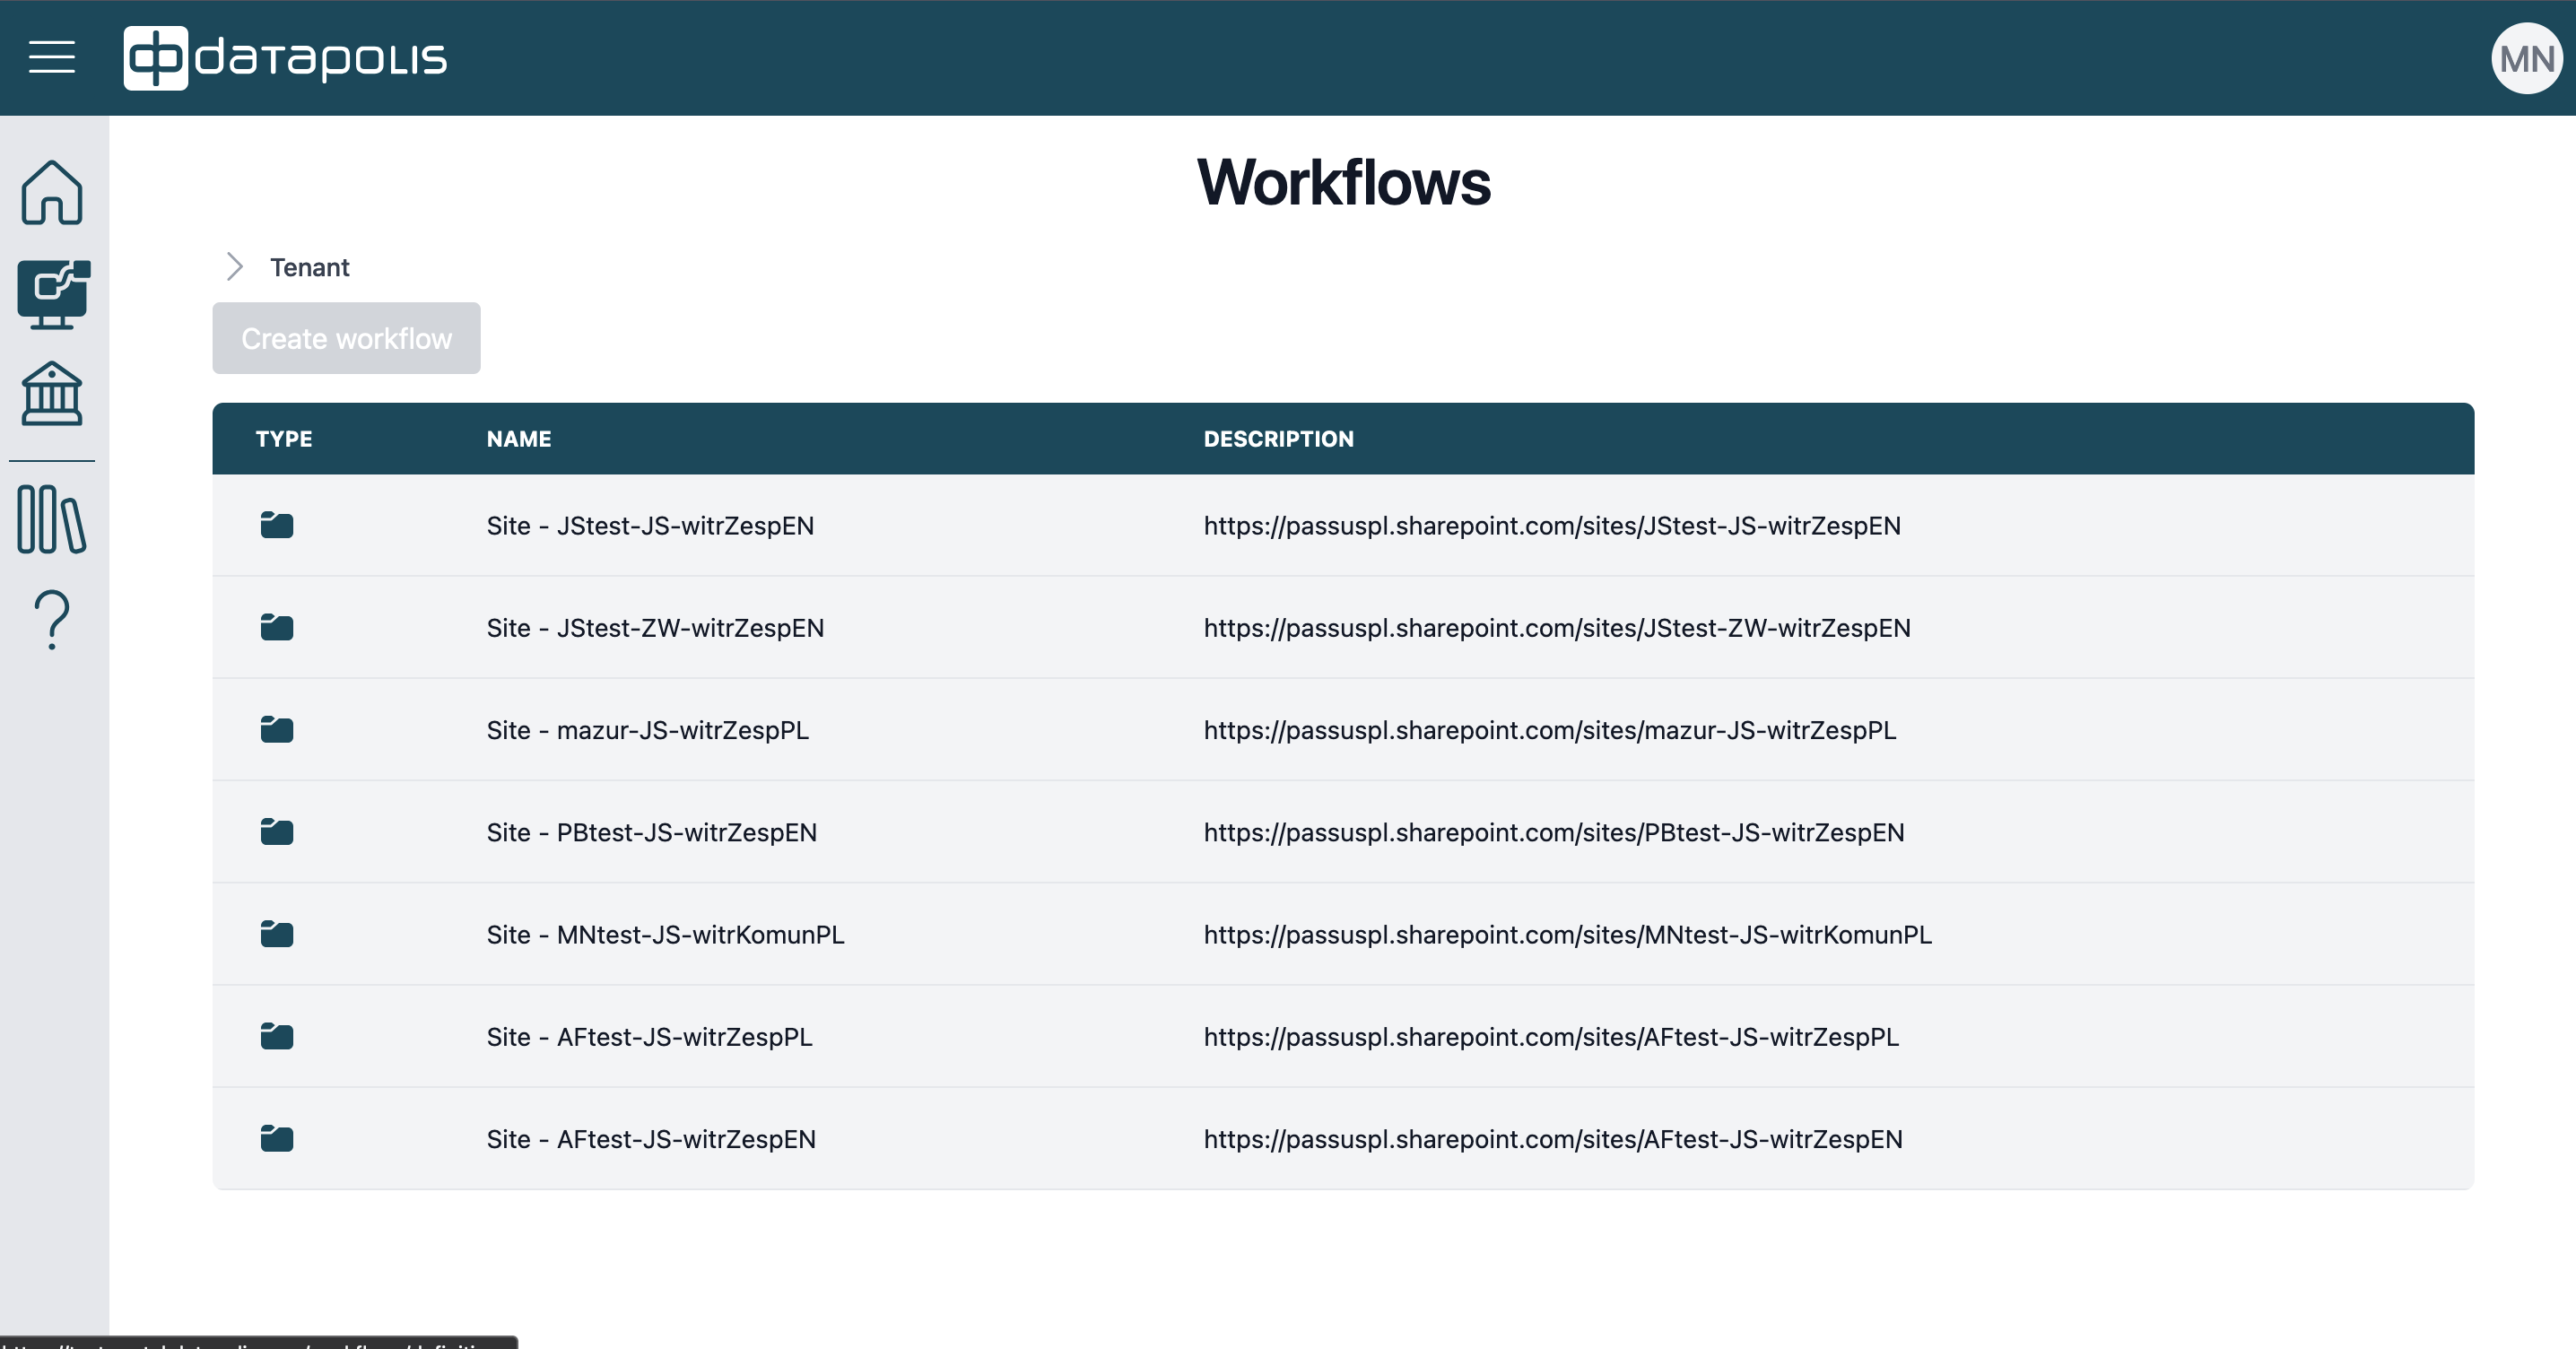
Then, after selecting a specific collection, a list of sites will appear, and when you choose the desired site, a list of workflows created on it will be displayed.
After selecting the Instances tile, you will see your current tasks to complete.
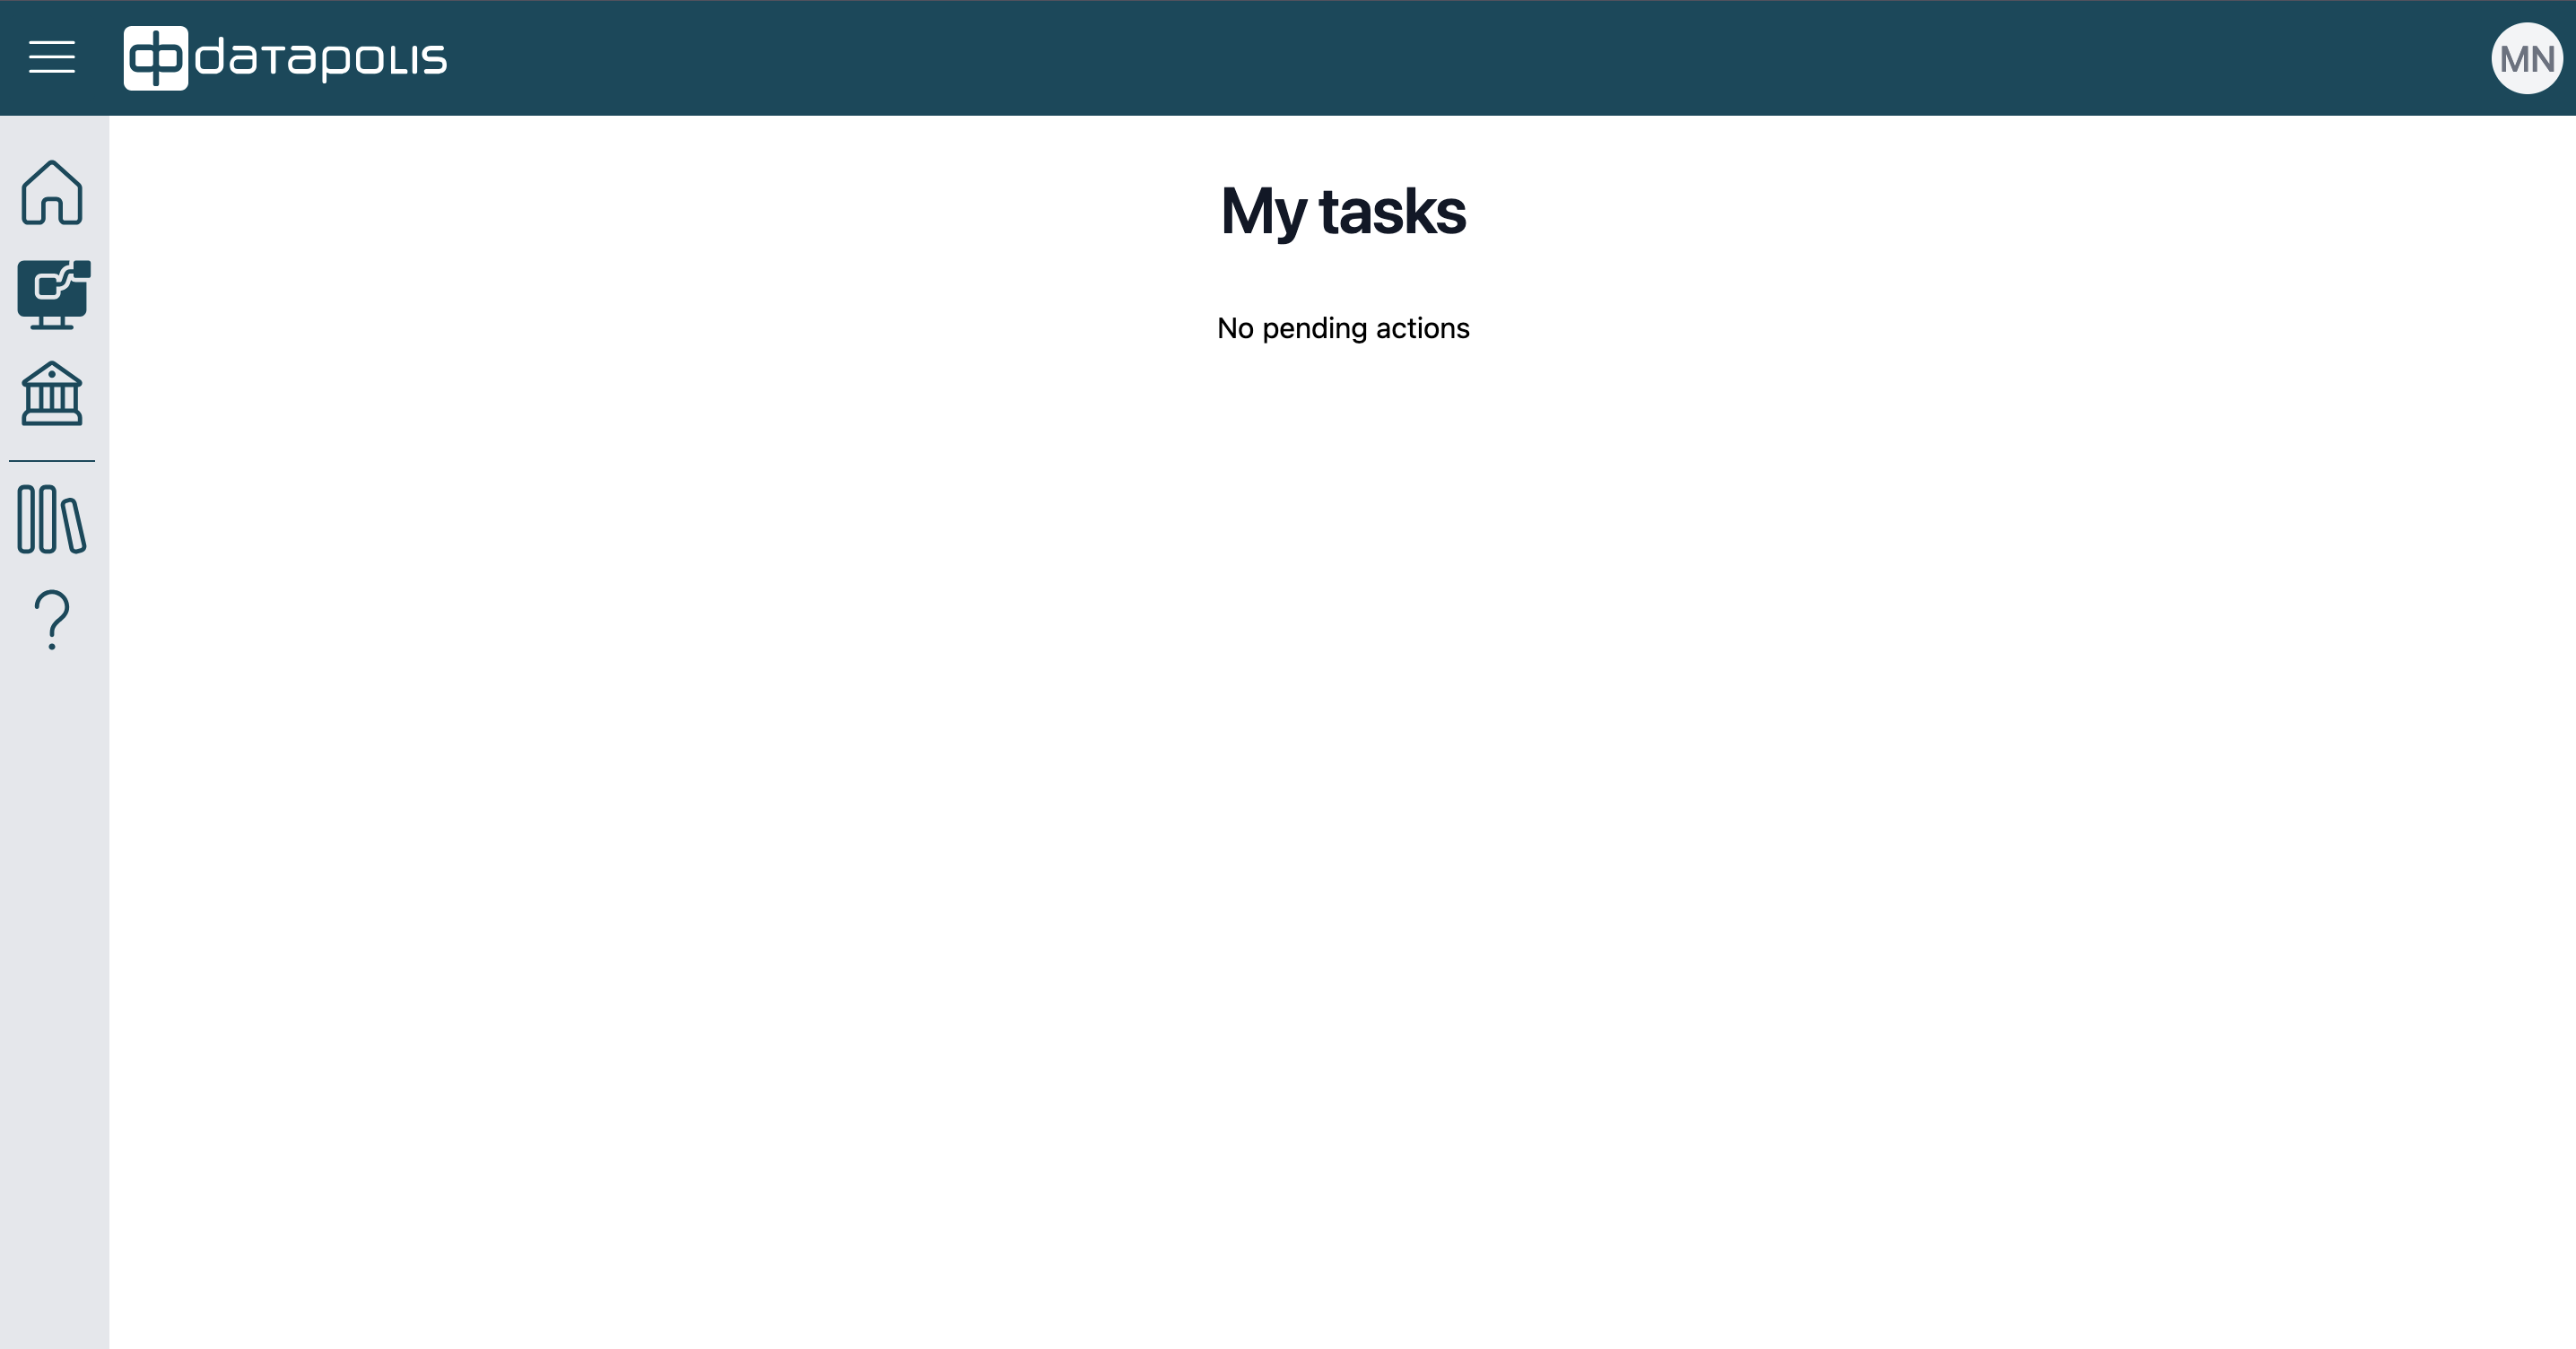
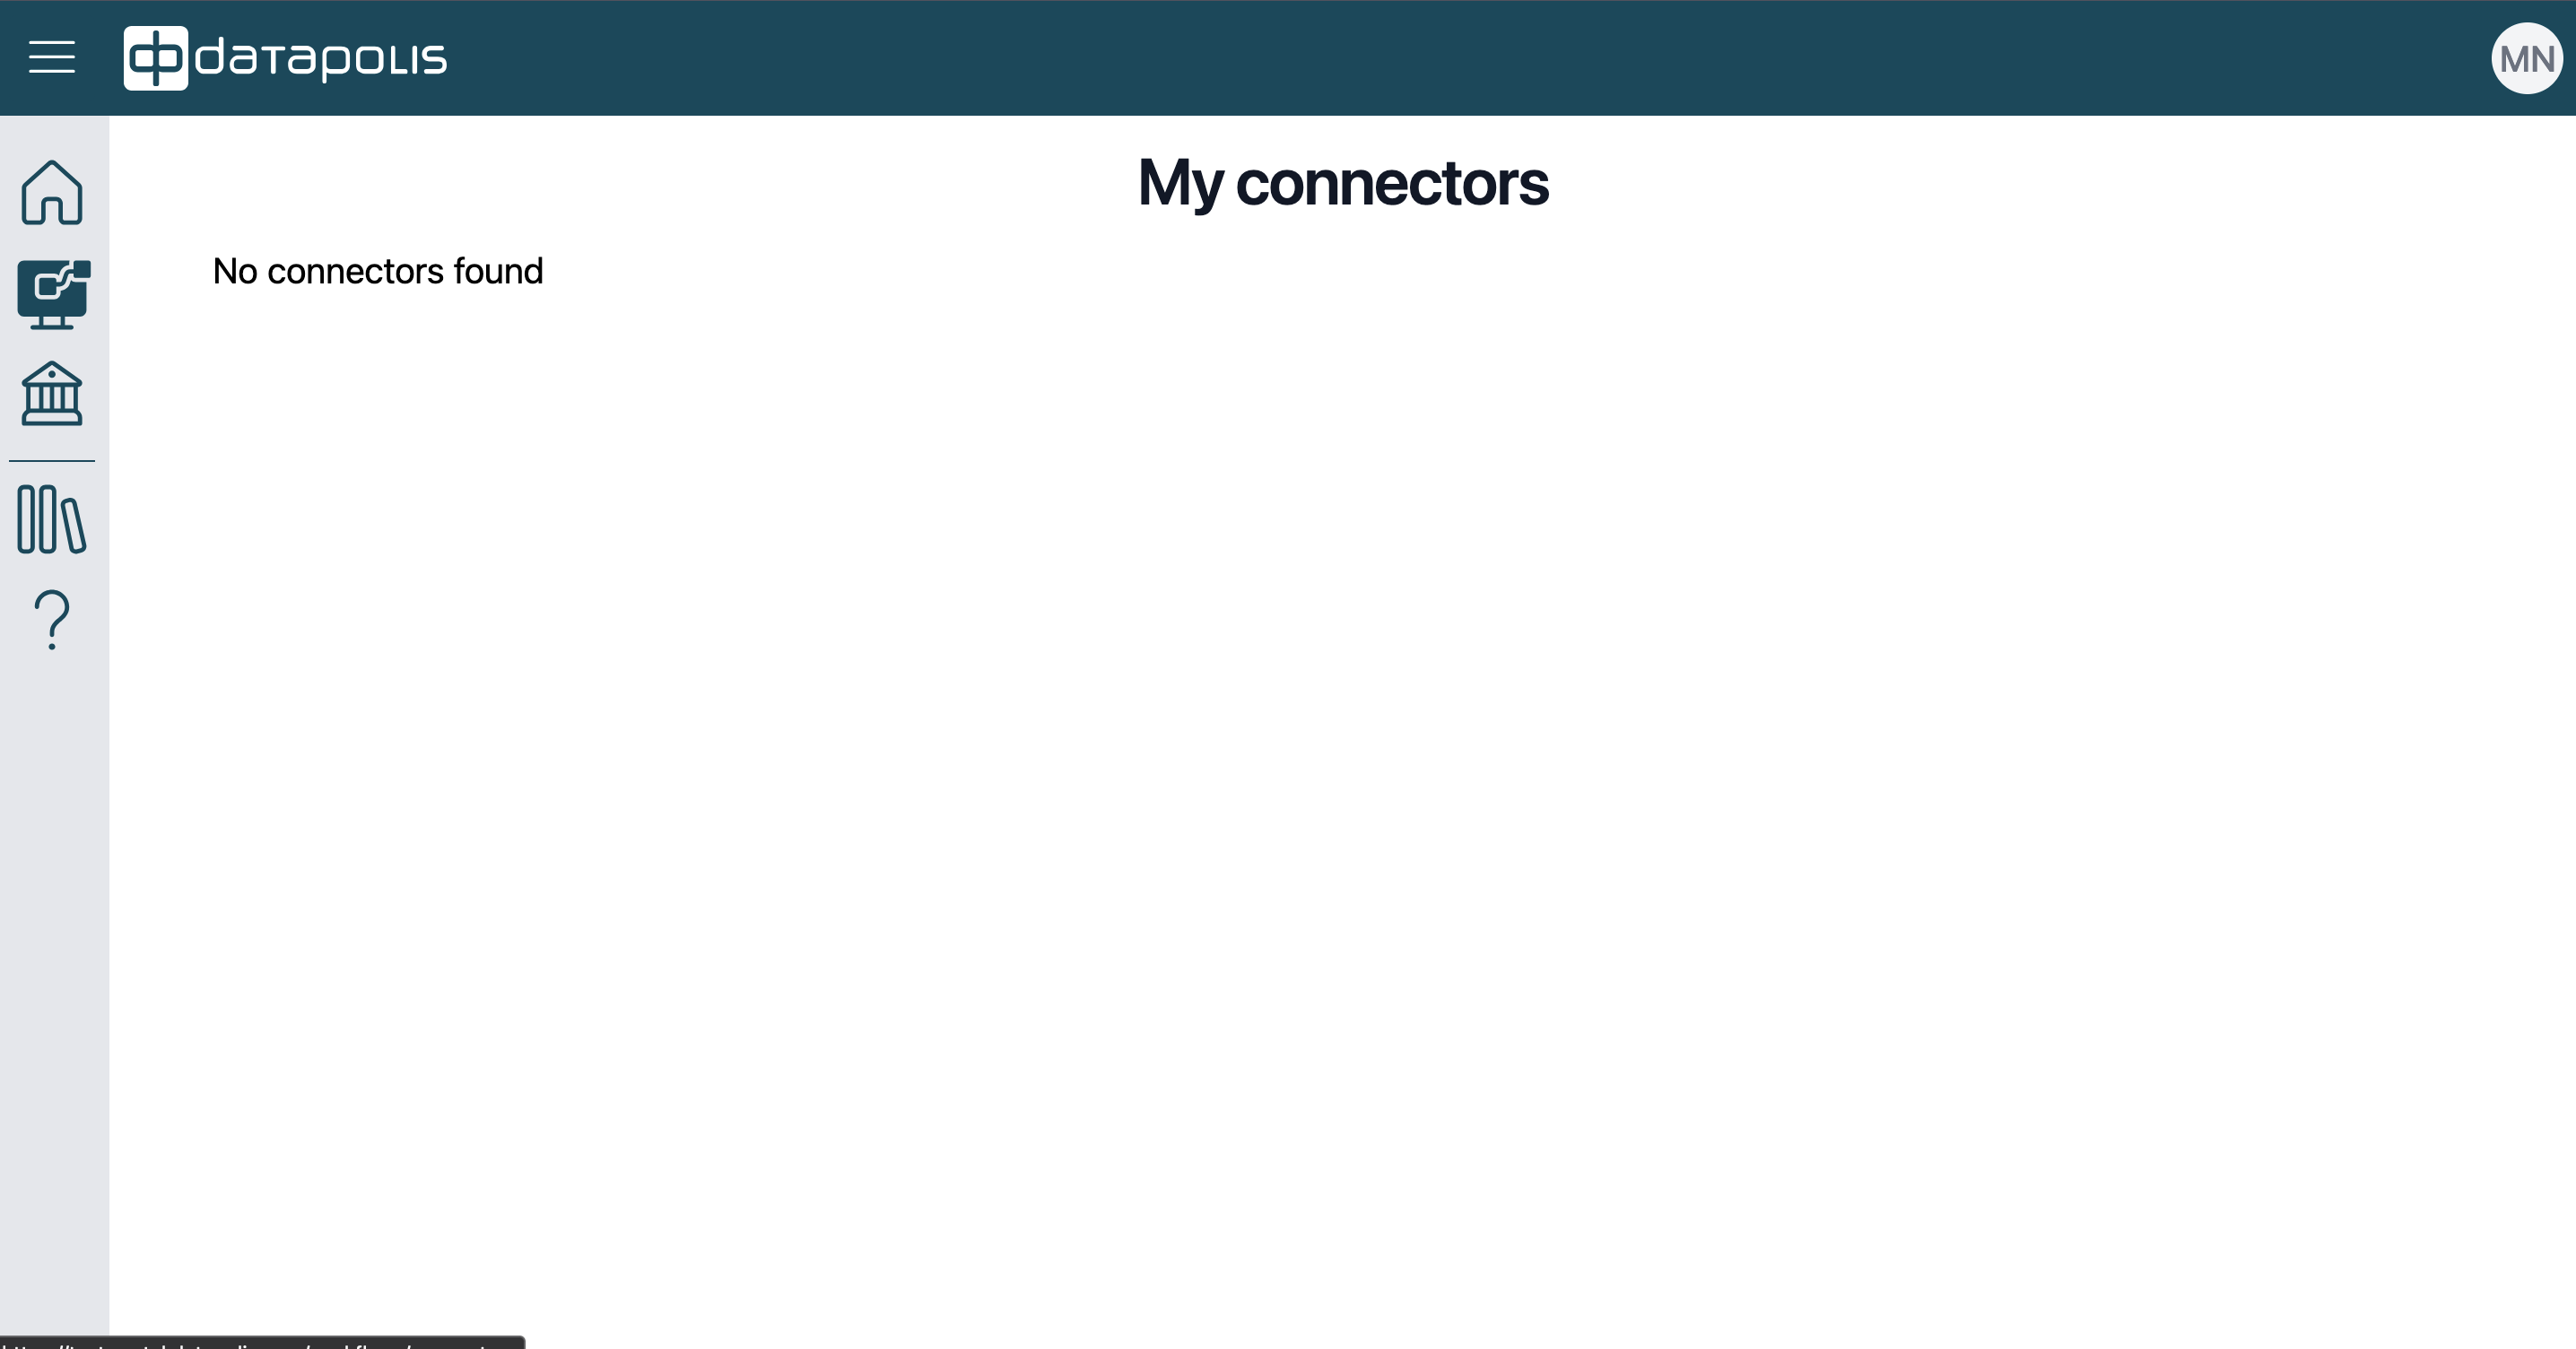
After selecting the Connectors tile, your connectors will be displayed.
The third icon in the left menu panel, marked with a red frame in the screenshot, corresponds to Administration. After clicking on this icon, you will see five tiles: System Accounts, License, API, Configuration, and Datapolis SharePoint Application.
![]()
Both the System Accounts and License tiles were described above. Let’s recall their view.
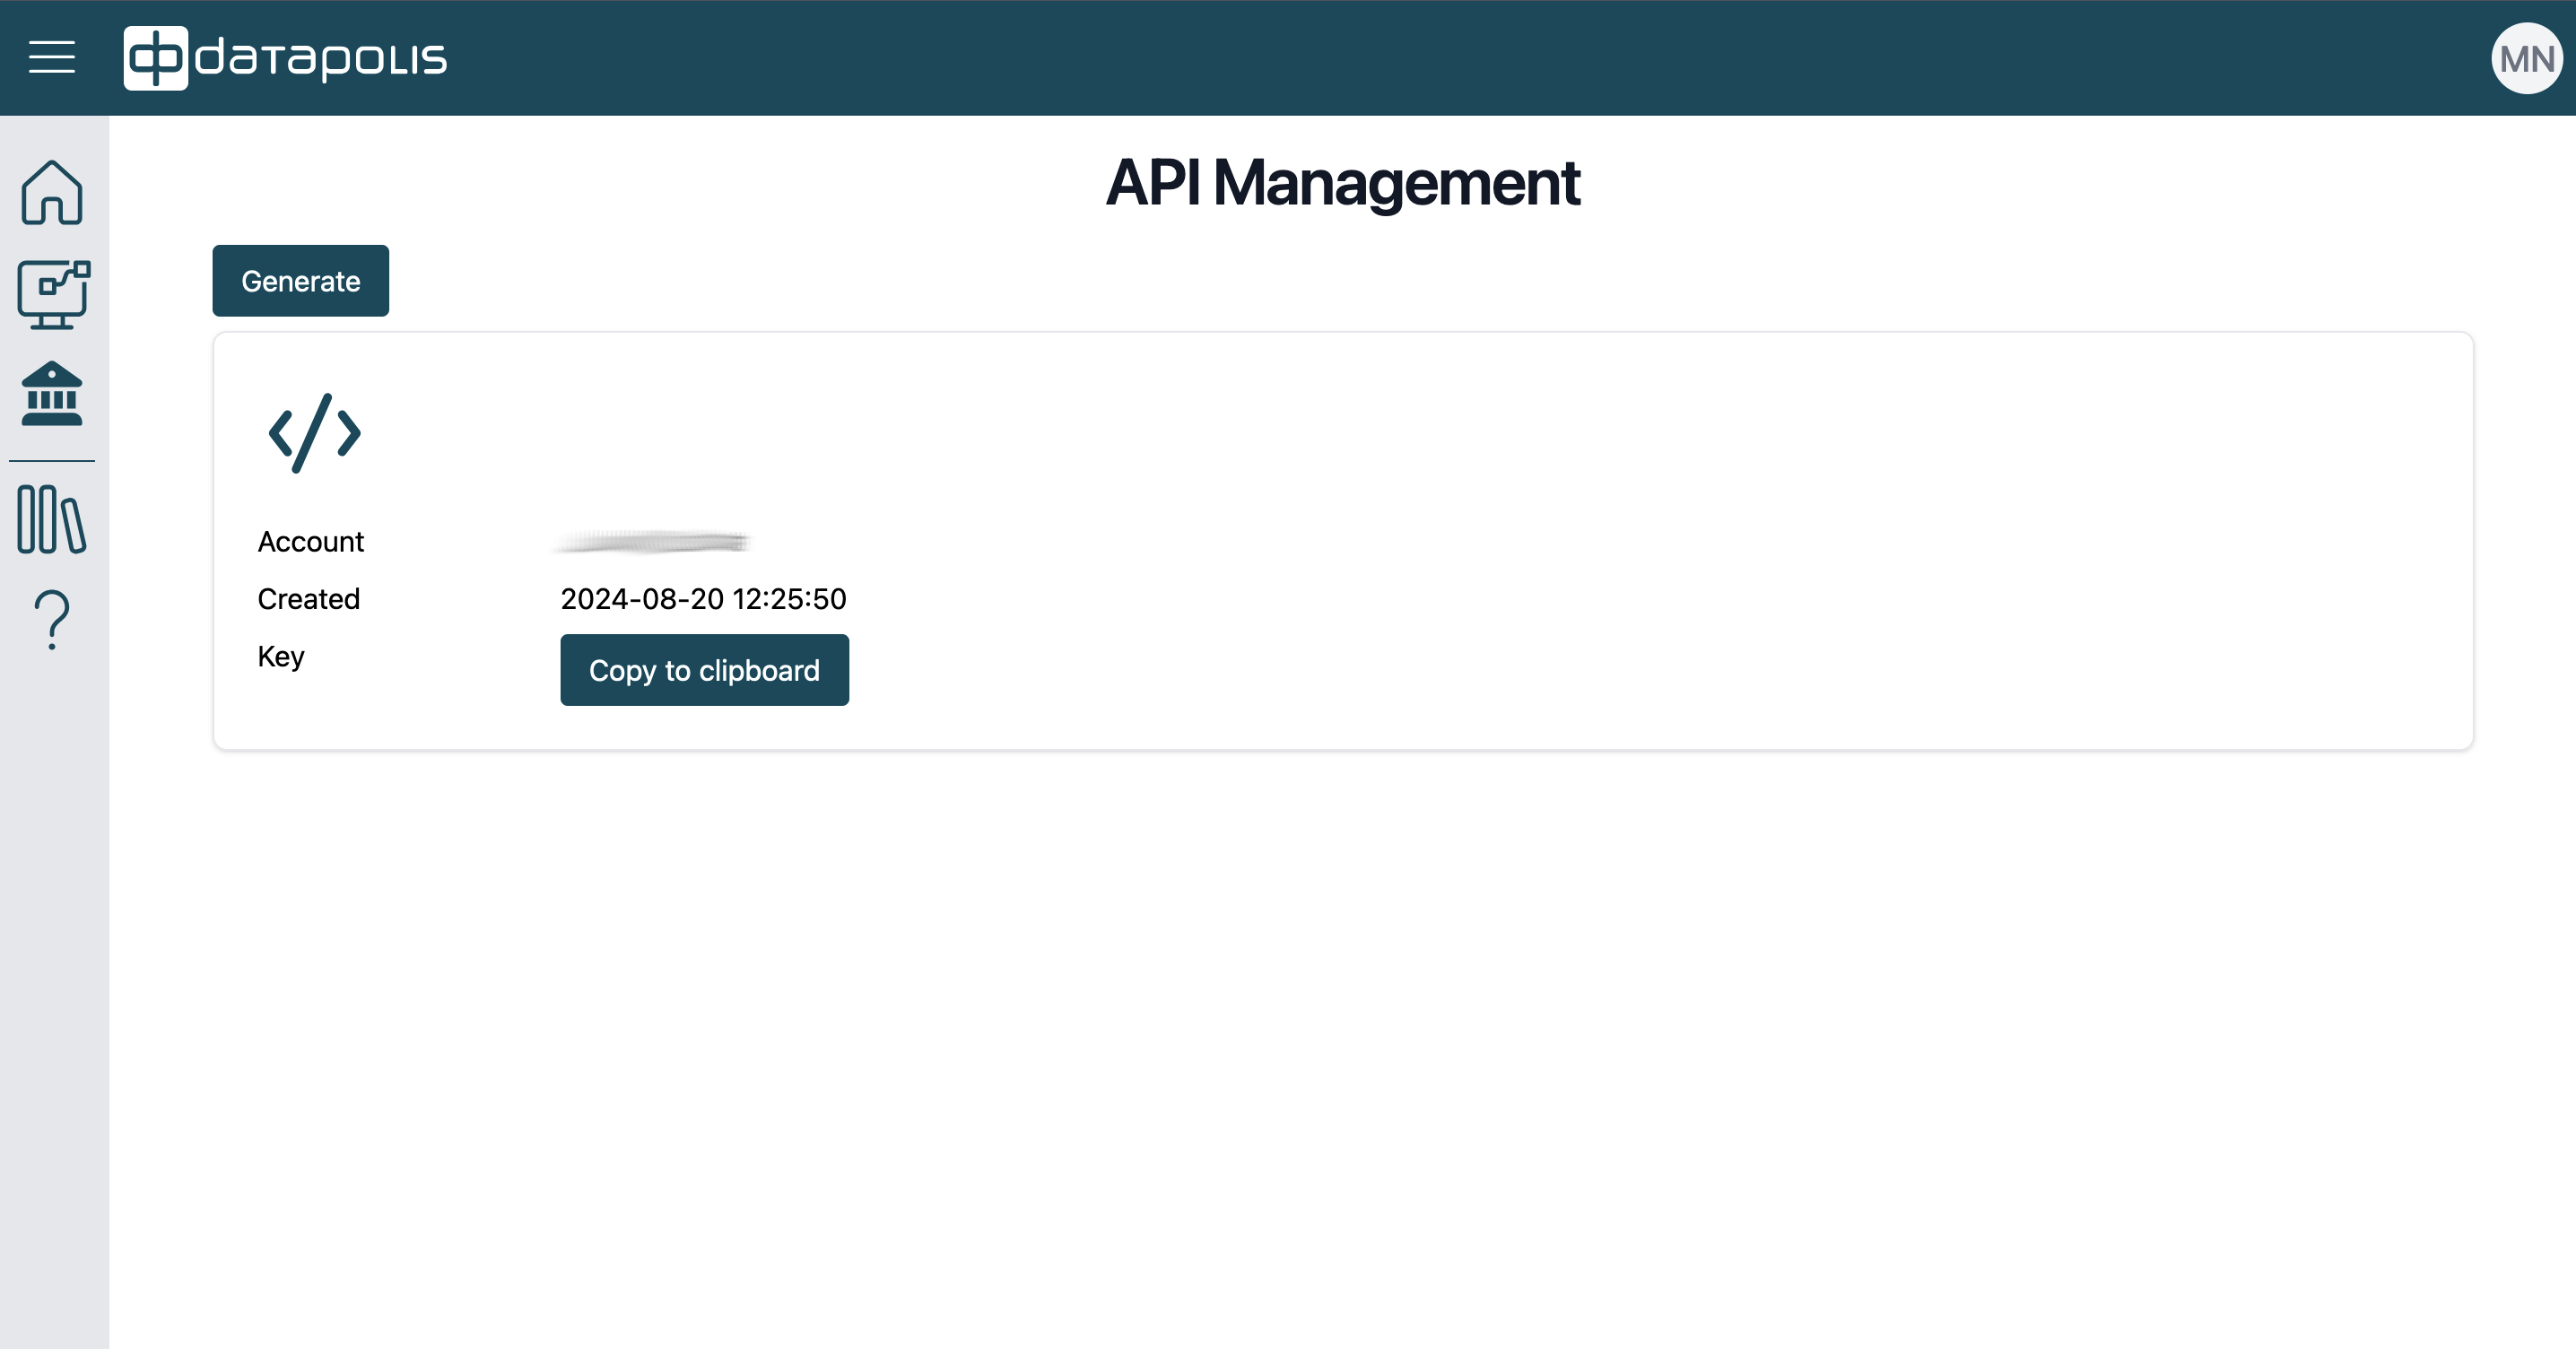
When you click on the API tile, the API key management function will open.
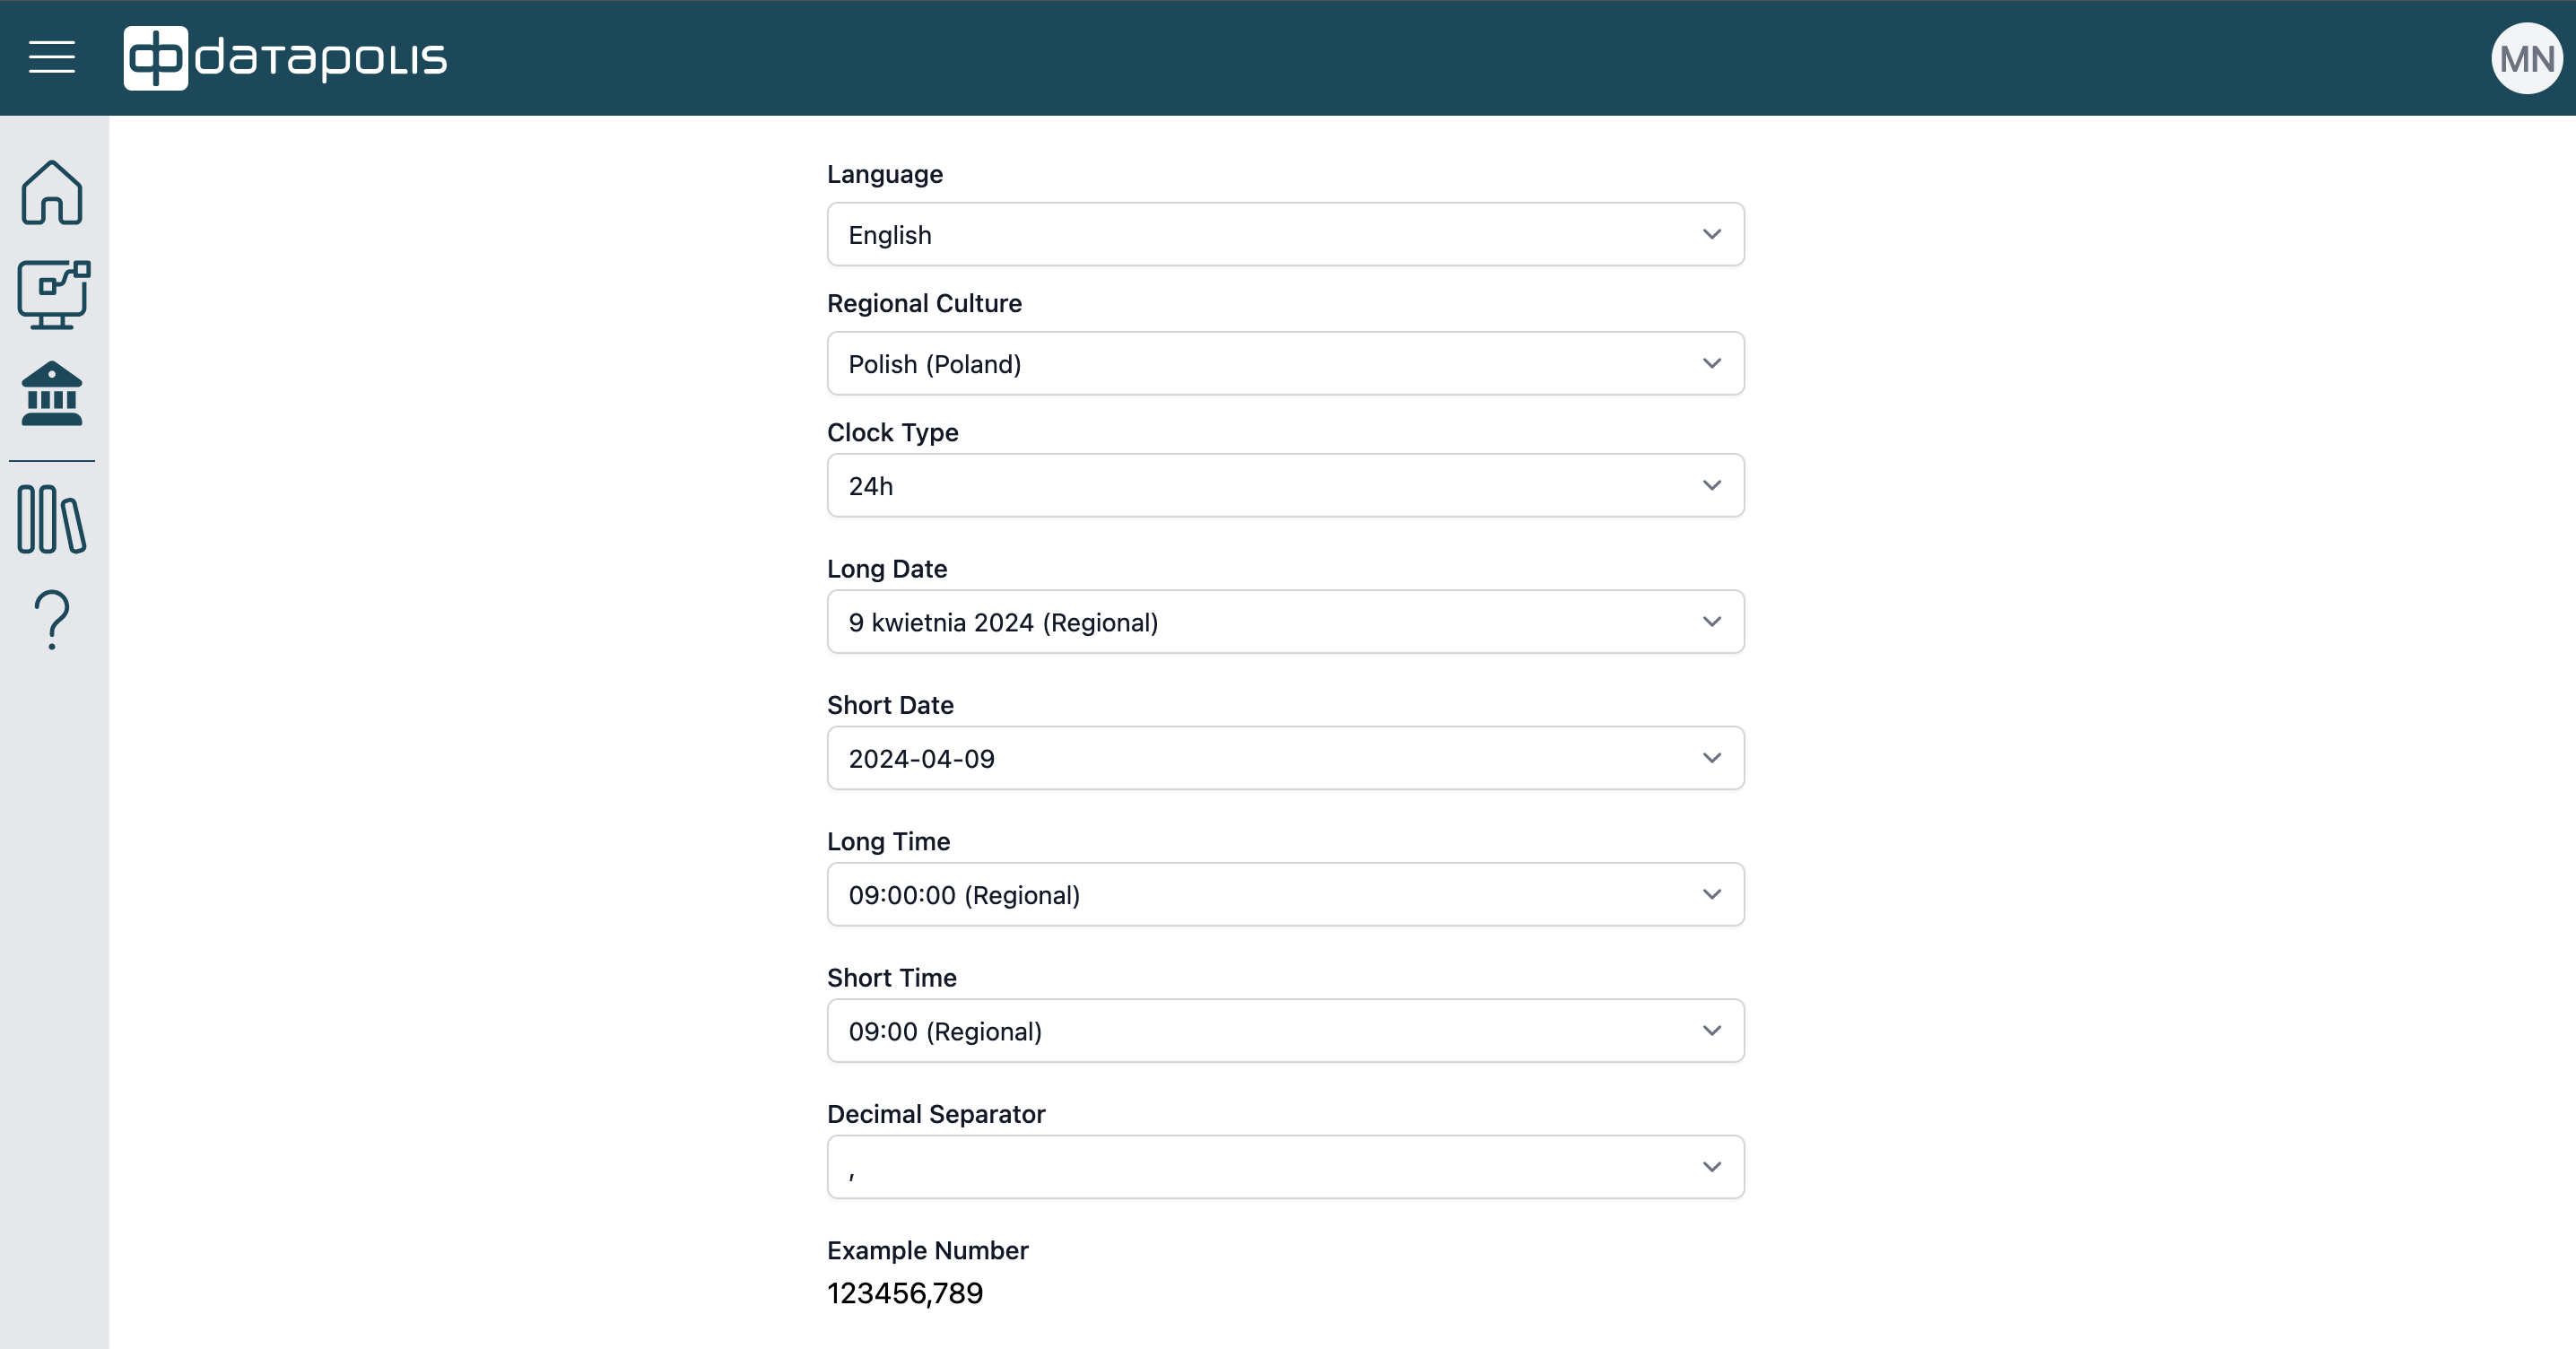
After clicking on the Configuration tile, you will be able to configure product settings using a form like the one shown below.
Datapolis Portal view for the Designer
A user with the Designer role has fewer permissions and sees less in the Datapolis Portal than an admin. In the side panel, they see four icons: Home, Workflows, Docs, and Support. There is no Administration icon, which is accessible only to the Admin.

When you click on the menu icon visible in the upper-left corner of the Portal, marked with a red frame, the names of all icons will be displayed.

![]()
The second icon in the left menu panel, corresponds to Workflows. After clicking on this icon, you will see three tiles: Definitions, Instances, and Connectors.

After clicking on the first tile, a list of available site collections will be displayed.
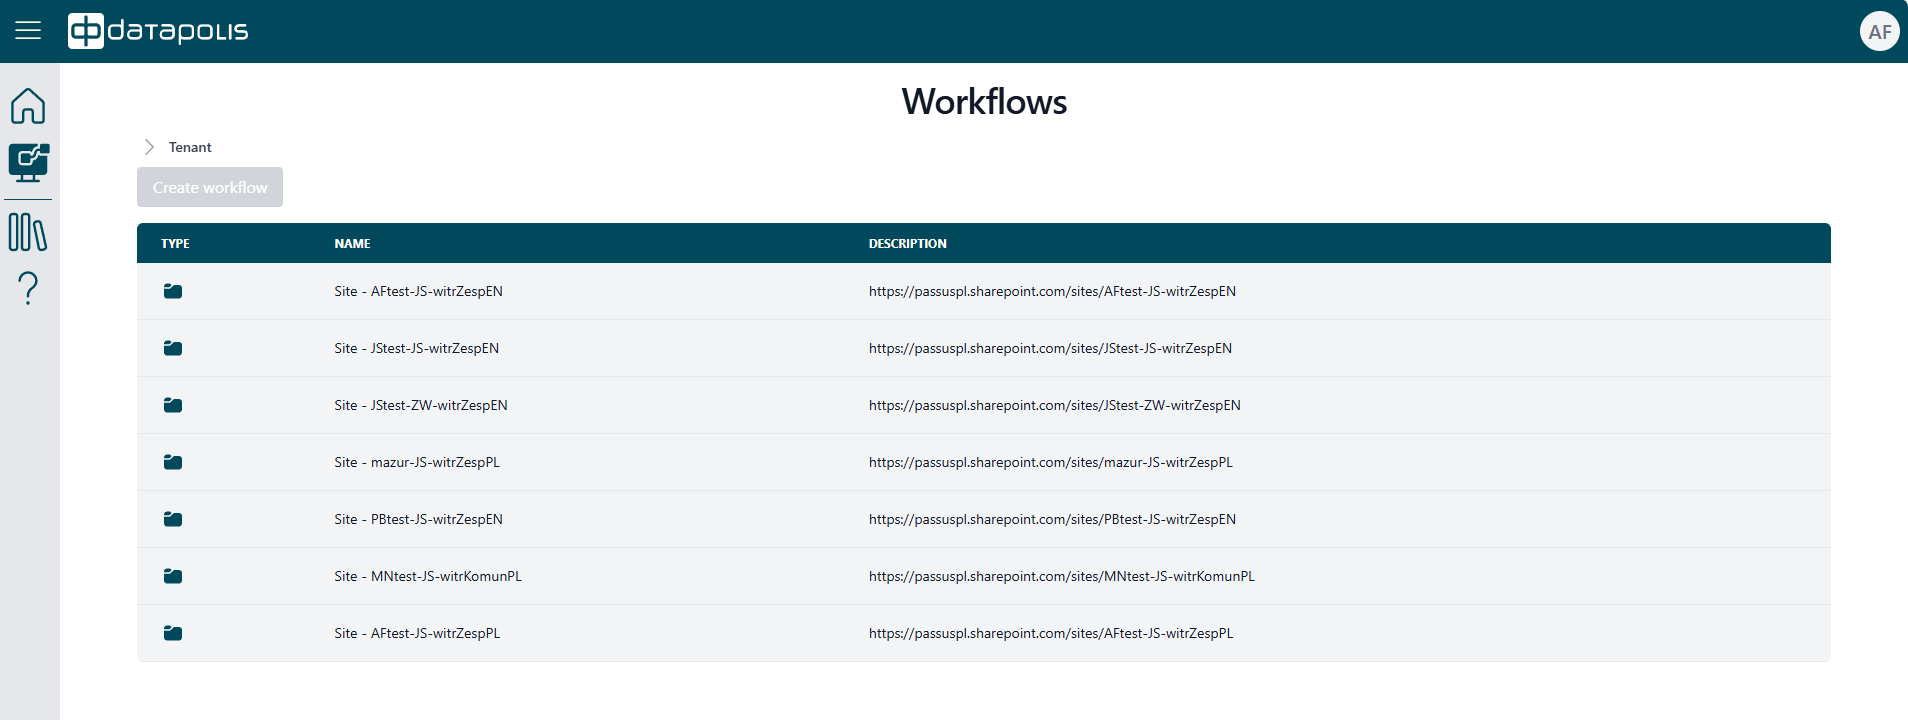
After selecting the Instances tile, you will see your current tasks to complete.

When you click on the Connectors tile, your connectors will be displayed.

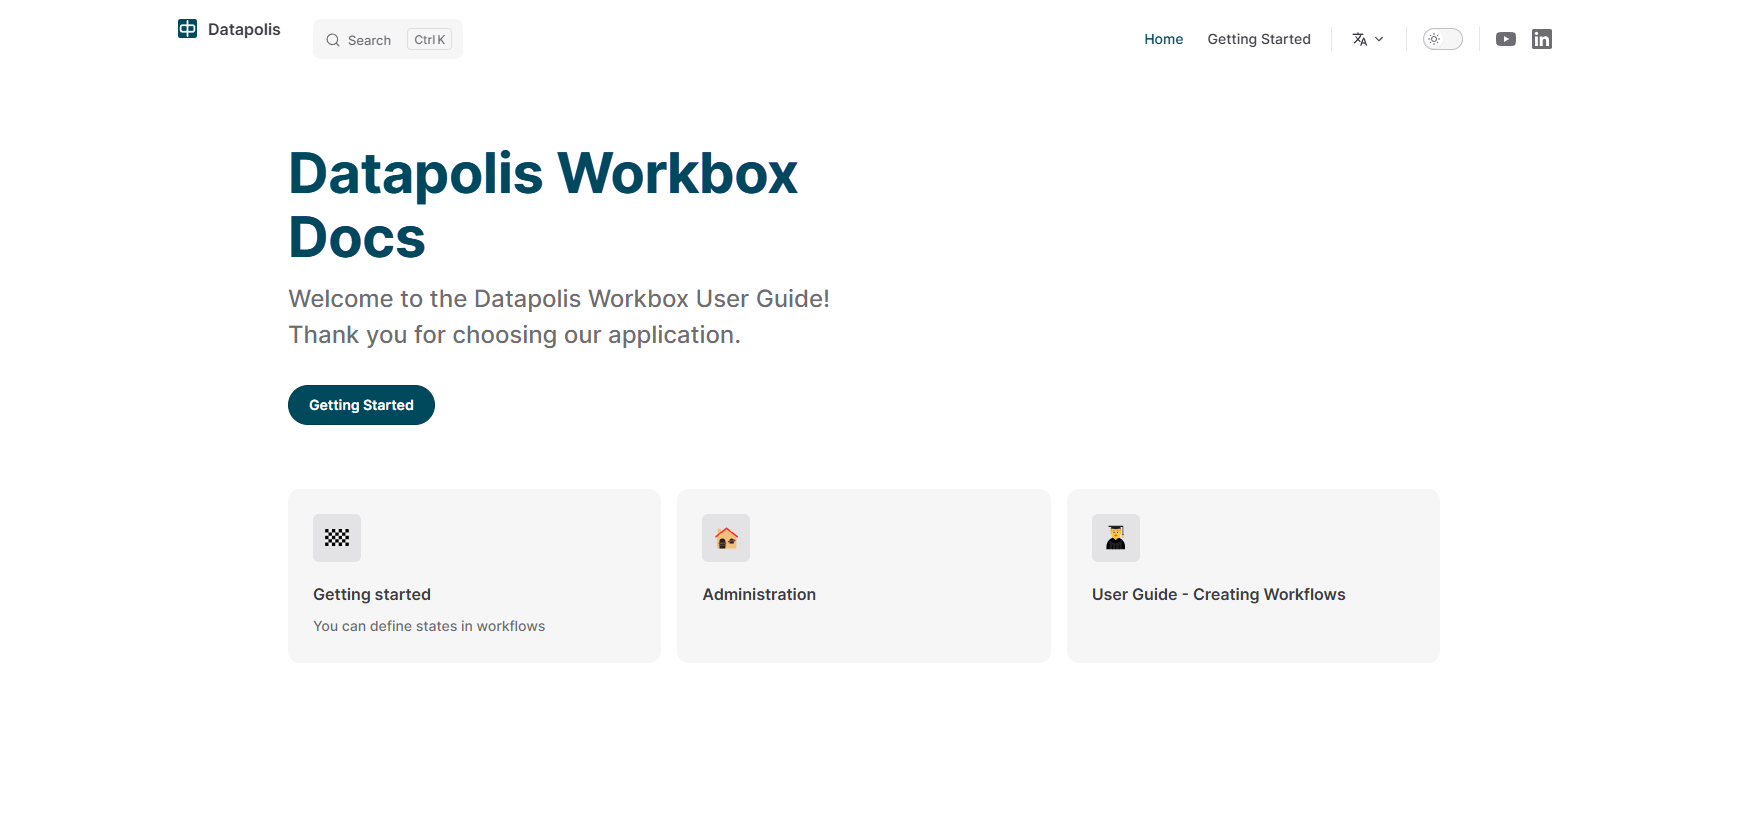
When you click on the third icon on the left-side panel, a web page Datapolis Workbox Docs will open. On this page, you will find the manual for our product, Datapolis Workbox.
The last icon visible to a user in the Designer role is the question mark icon. When you click on this icon, you will be redirected to the webpage Submit support Datapolis. Through this webpage, you can submit your support request.

Datapolis Portal view for the End User
The End User has the fewest permissions. In the Datapolis portal, they have access to four menu icons: Home, Workflows, Docs, and Support.

When they click on the Workflows tile or the second icon in the panel, the view will display as shown in the screenshot below. The user sees two tiles: Instances and My Connectors.

After selecting the Instances tile, you will see your current tasks to complete.

When you click on the Connectors tile, your connectors will be displayed.

The End User has access to both the Documentation icon and the Support icon, just like the Admin and Designer. When clicking on the Docs icon, the user will be redirected to the page with the Datapolis Workbox manual. When clicking on the Support icon, the user will be redirected to the support website for our customers. Below are screenshots of the manual page and the support page for our product.
