My first Workflow
Create your first workflow
Once you have Datapolis Workbox installed and configured, you can create your first workflow Simply follow the steps below to accomplish this in just a few minutes.
To create a new workflow, log in to the SharePoint portal and from the menu in the top bar, select the "Datapolis Workbox" option to create a new workflow. Below you will find information on how to add a list to a SharePoint site, followed by instructions for creating a new workflow.
Add a new list
At first you need to add a new list to SharePoint. On your site you should click New on the ribbon. Then you have to select the list from the drop-down list.
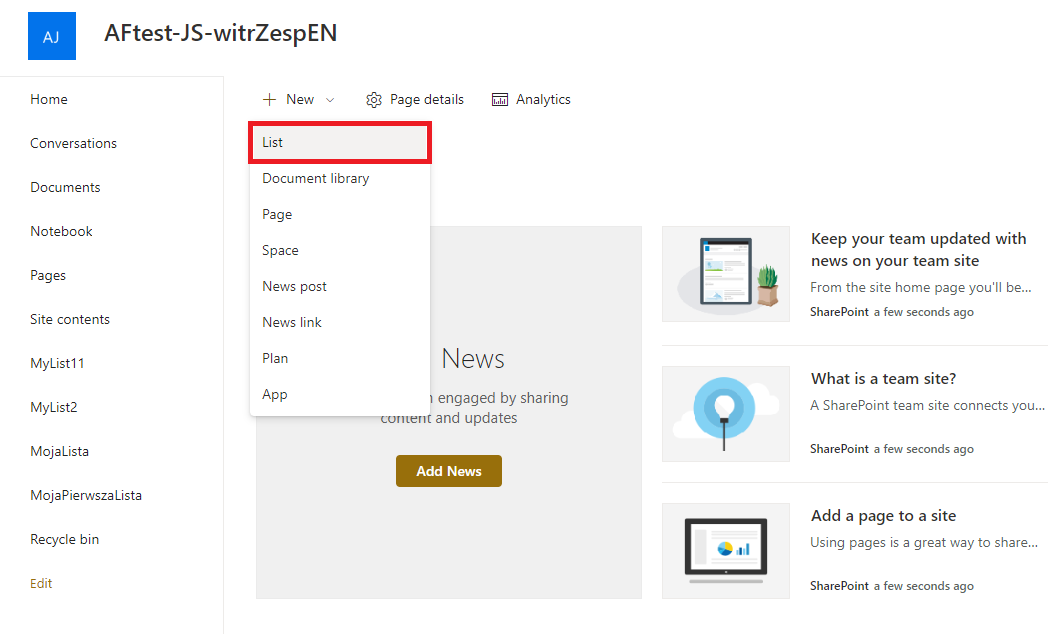
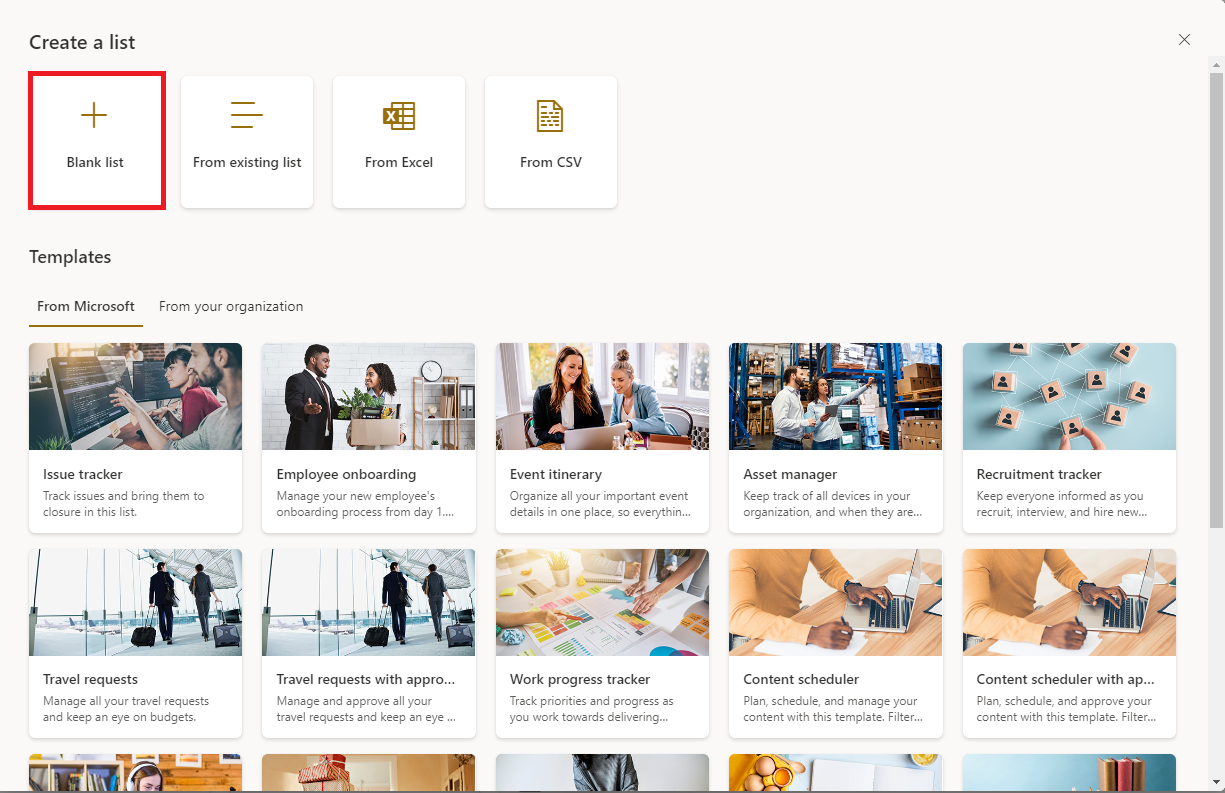
The window "Create a list" will open. You have to click on Blank list button.
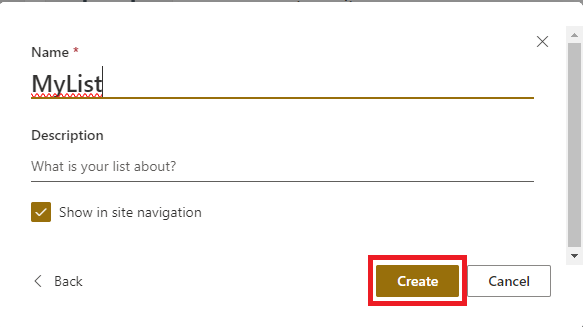
In the next window, you have to enter a name for the list in the appropriate field and click "Create" button.
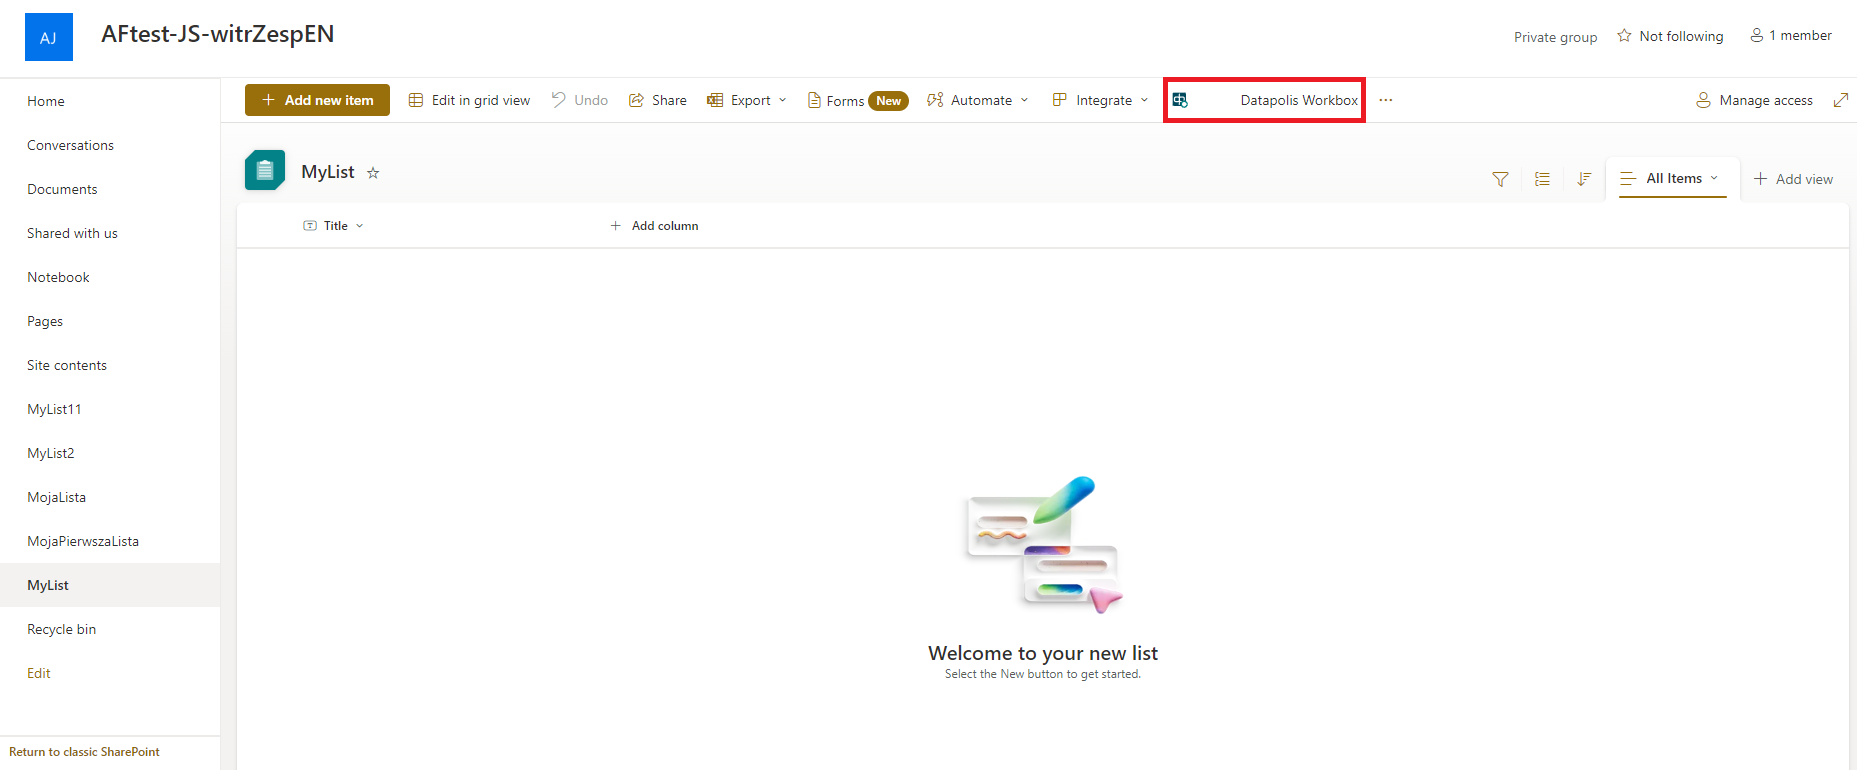
After that you will be redirected to the page of the newly created list. Your list will look like the screen-shot below. Now you need to click the Datapolis Workbox button on the menu panel. The Datapolis Workbox button is marked with a red frame on the screen-shot.
Note: If you do not see the Datapolis Workbox button on the page, you can try a simple method—refresh the page by pressing the keyboard shortcut Ctrl along with the F5 key. The page will refresh, and the button might become visible. We will remind you of this method in the article about starting your first workflow as well.
If you still do not see the Datapolis Workbox button, you probably do not have the app in this site. Try following the steps in this article.
Add a workflow on the administration page
When the list is created, you can proceed to the Workbox designer. To do this, click on the Datapolis Workbox button. You will then be redirected to the Workflow Administration page. To start working in the designer, first you need to add a workflow. To add a workflow, click on the "Create workflow" button, which is marked with a red frame in the screenshot below.

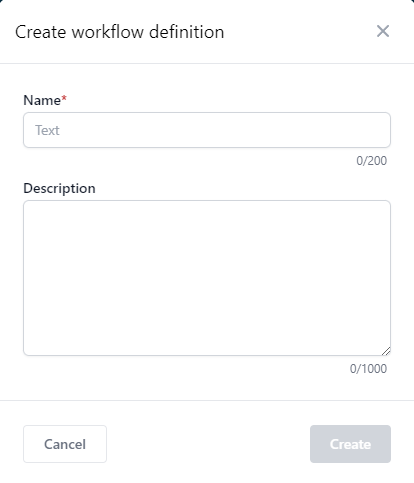
Then a window will appear in which you need to fill the name field and click the Create button. You can also complete the Description field by providing a few sentences characterizing the created workflow.
Create a workflow in the designer
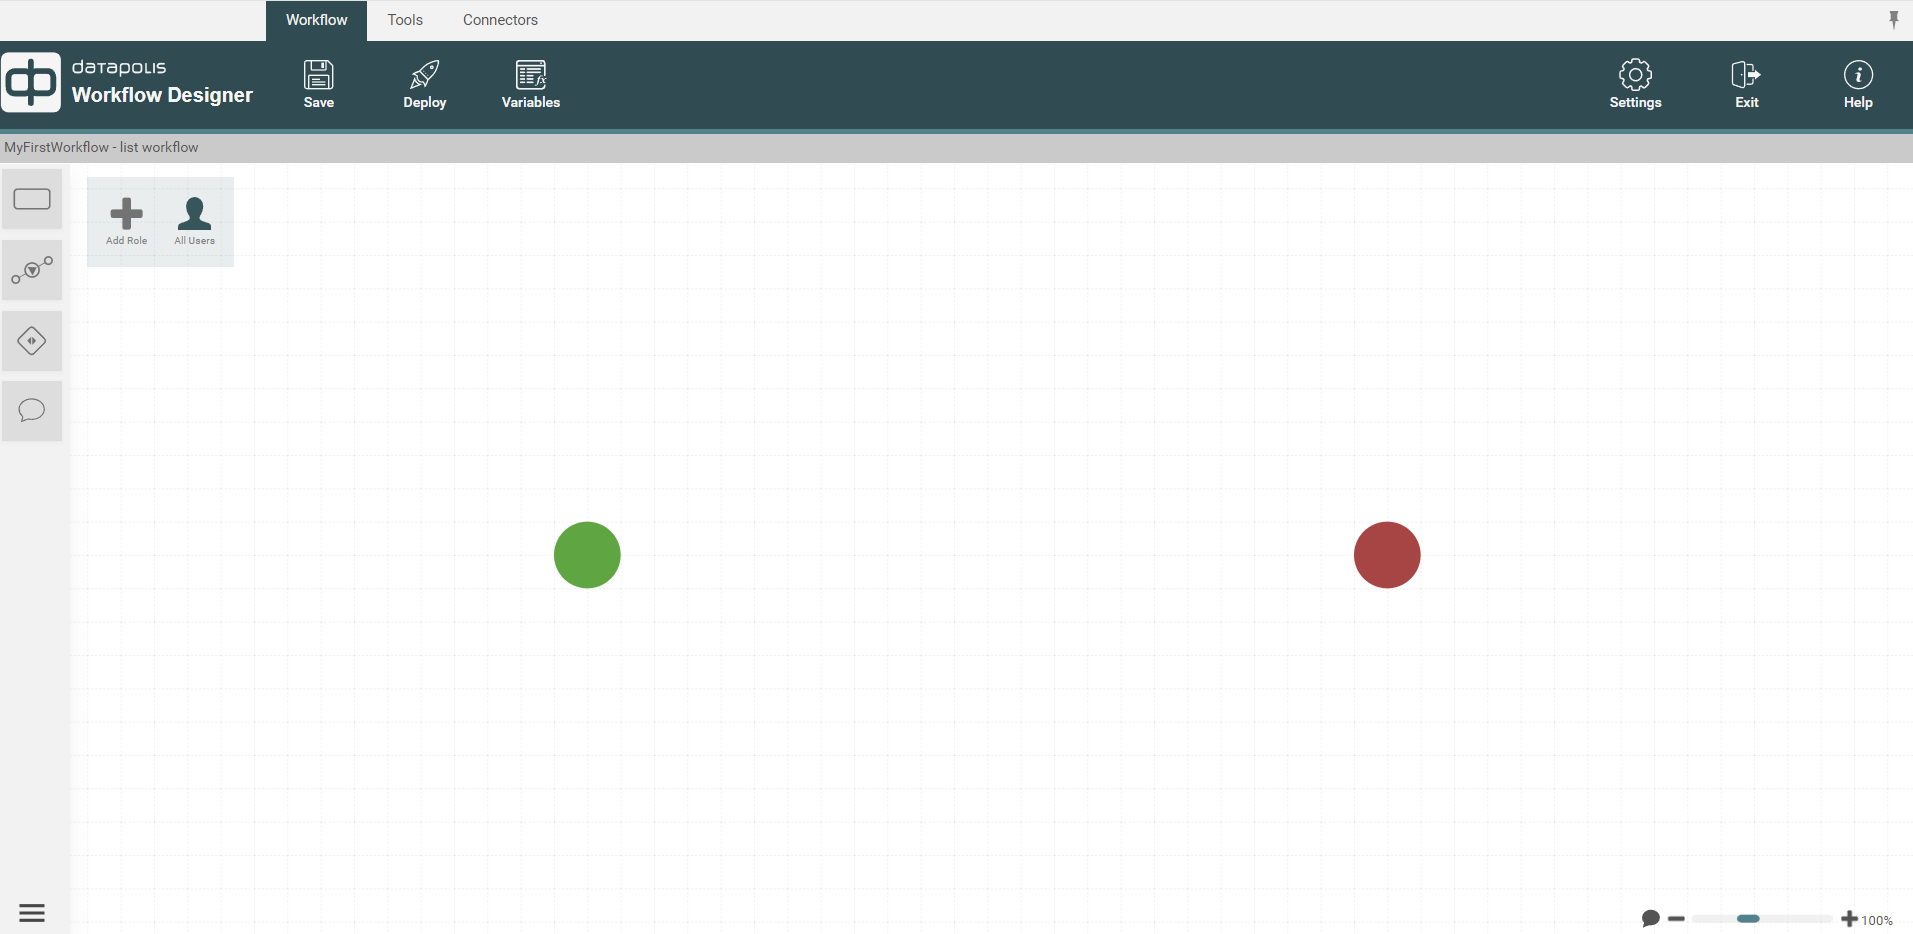
After filling in the fields on the administration page and clicking the Create button, you will be redirected to the designer, where the workflow is created. By default, the light theme is set. The starting point, marked as a green circle, and the ending point (red circle) of the process are visible. The designer looks like this.
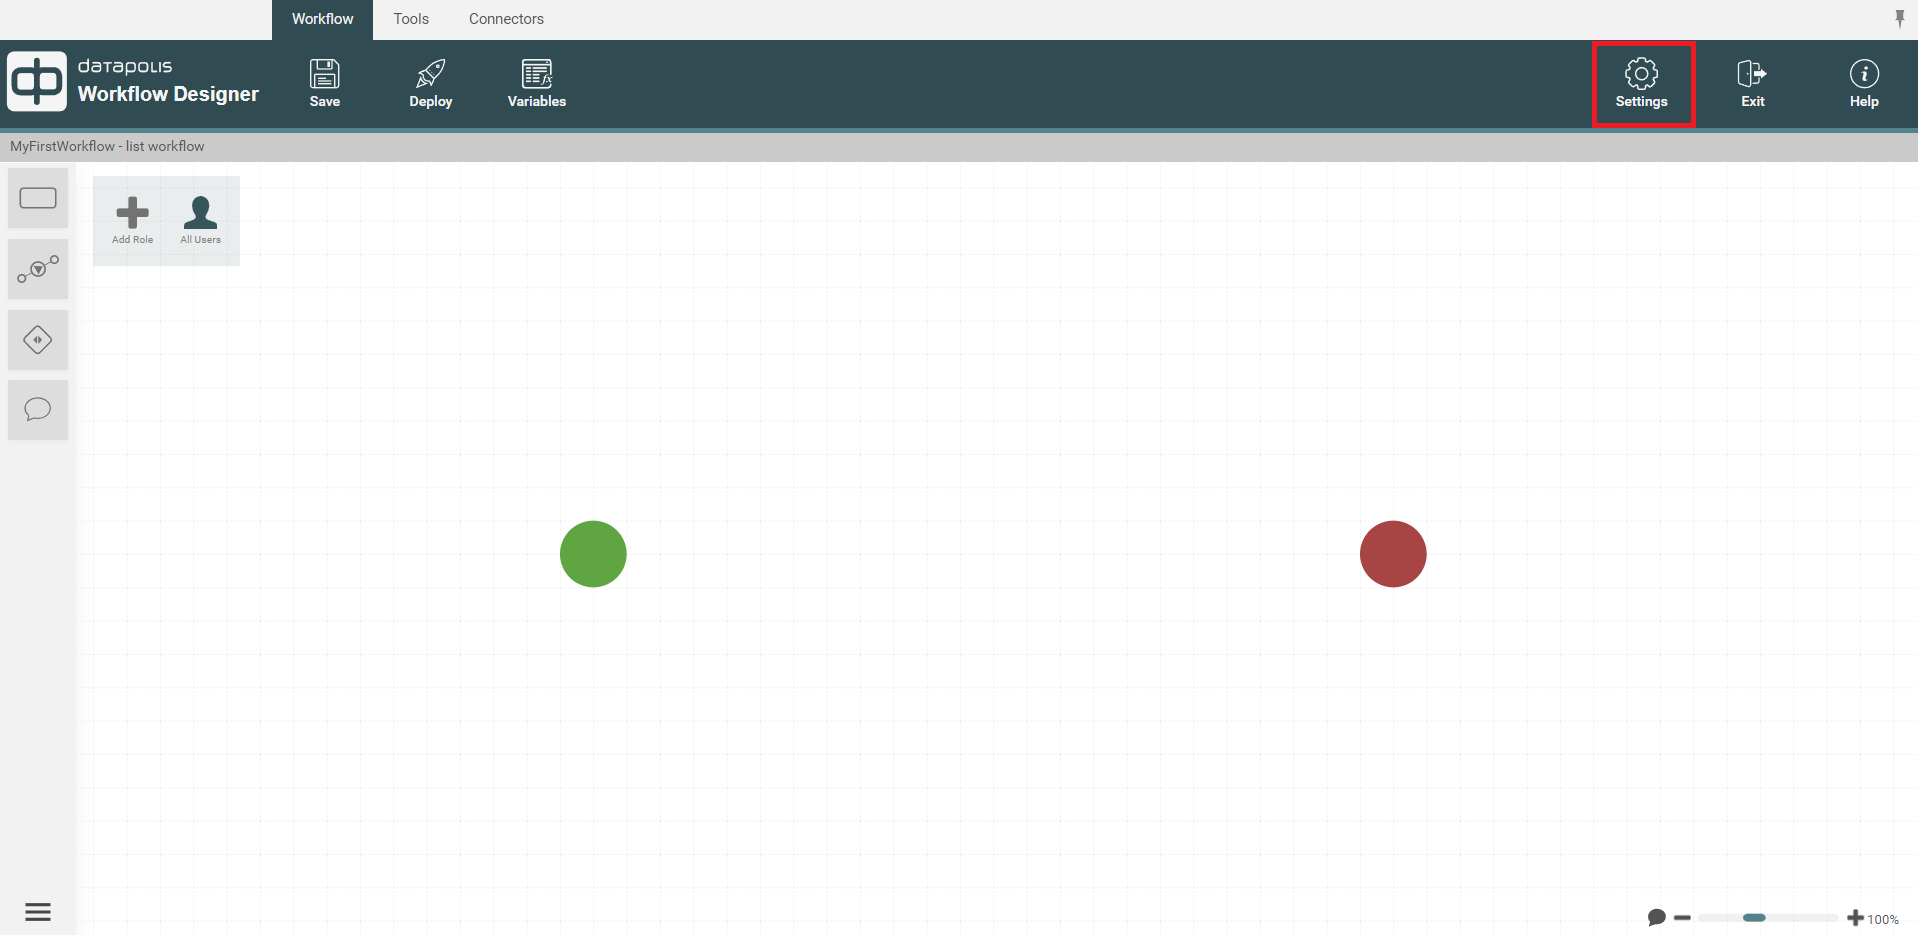
You can change the designer's theme. To do this, you need to click the Settings button on the right side of the menu.
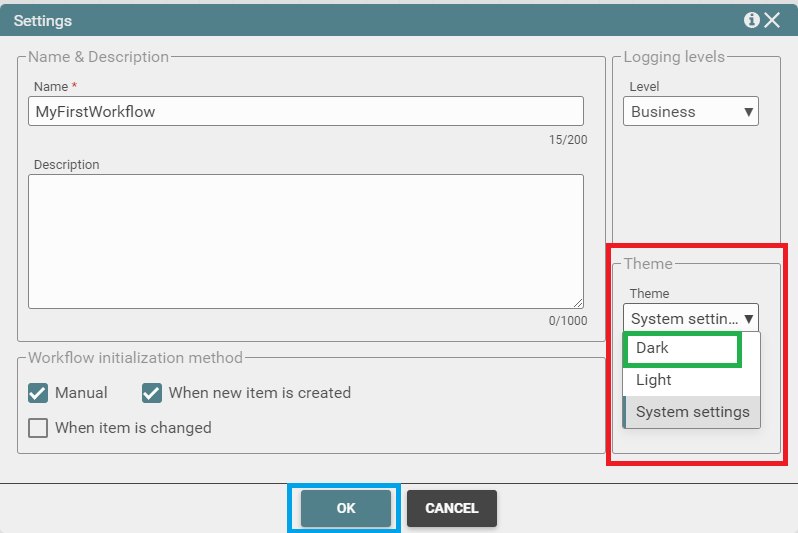
A window with the designer settings will appear. The options that allow you to choose the theme are highlighted in the red frame on the screenshot. If you want to change the theme to dark, simply select the dark theme (marked with a green frame below), and then click the OK button.
The designer theme will then change and look like this:
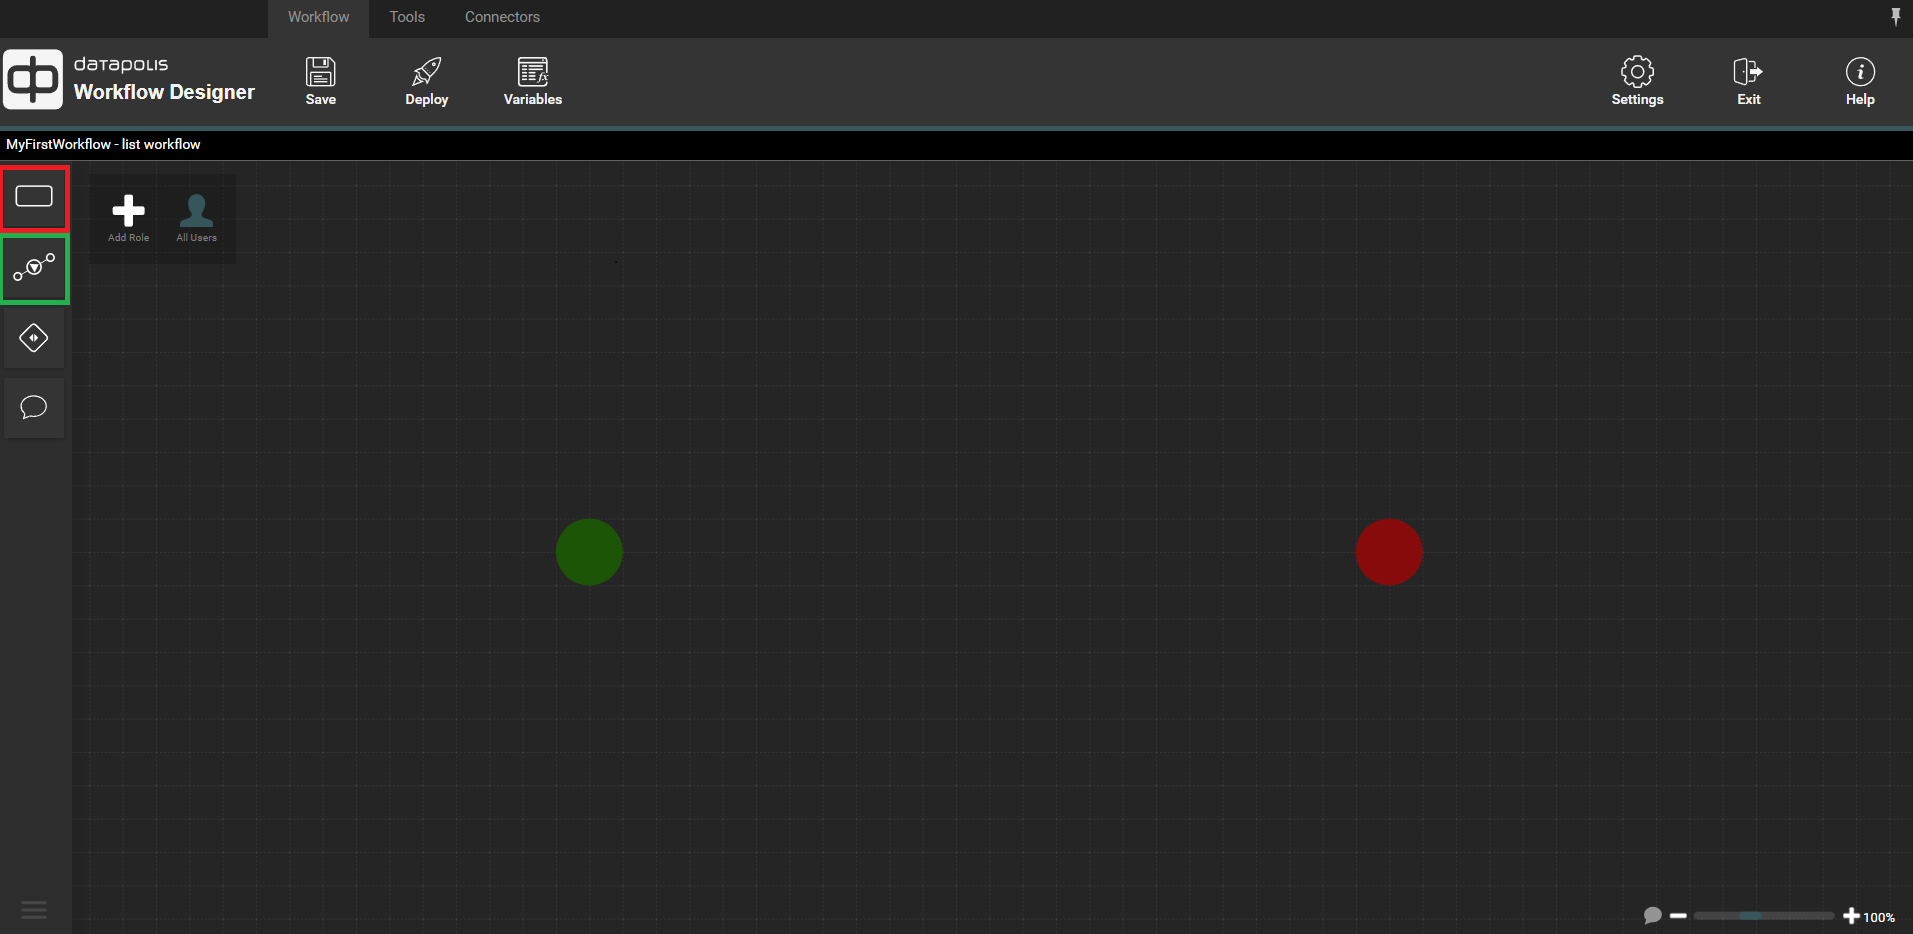
Key elements of a workflow are states and actions. In the screenshot above, the state add icon is marked with a red frame, and the action add icon is marked with a green frame. To create a workflow, you need to drag the state icon and drop it in the designer area. It is best to place the state between the starting and ending points of the process.
The added state will appear as a green rectangle and will be given the default name "New state."
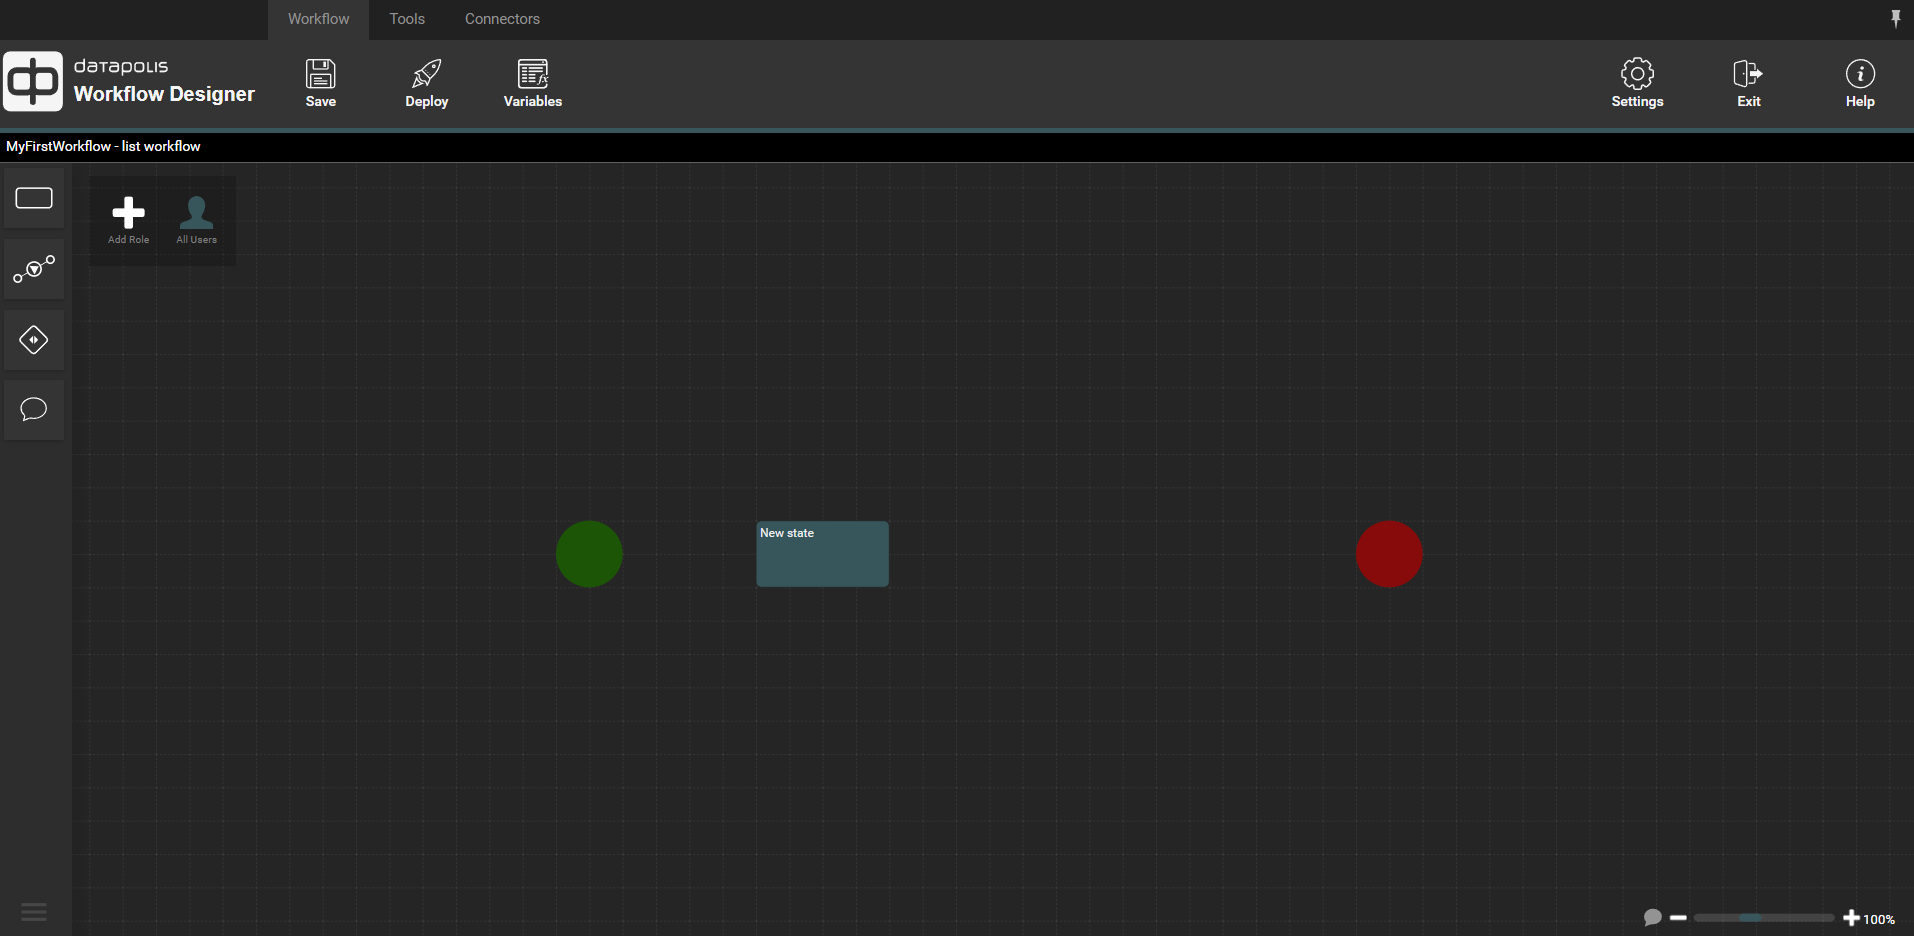
Let's add one more state to our workflow. The designer will look as follows.
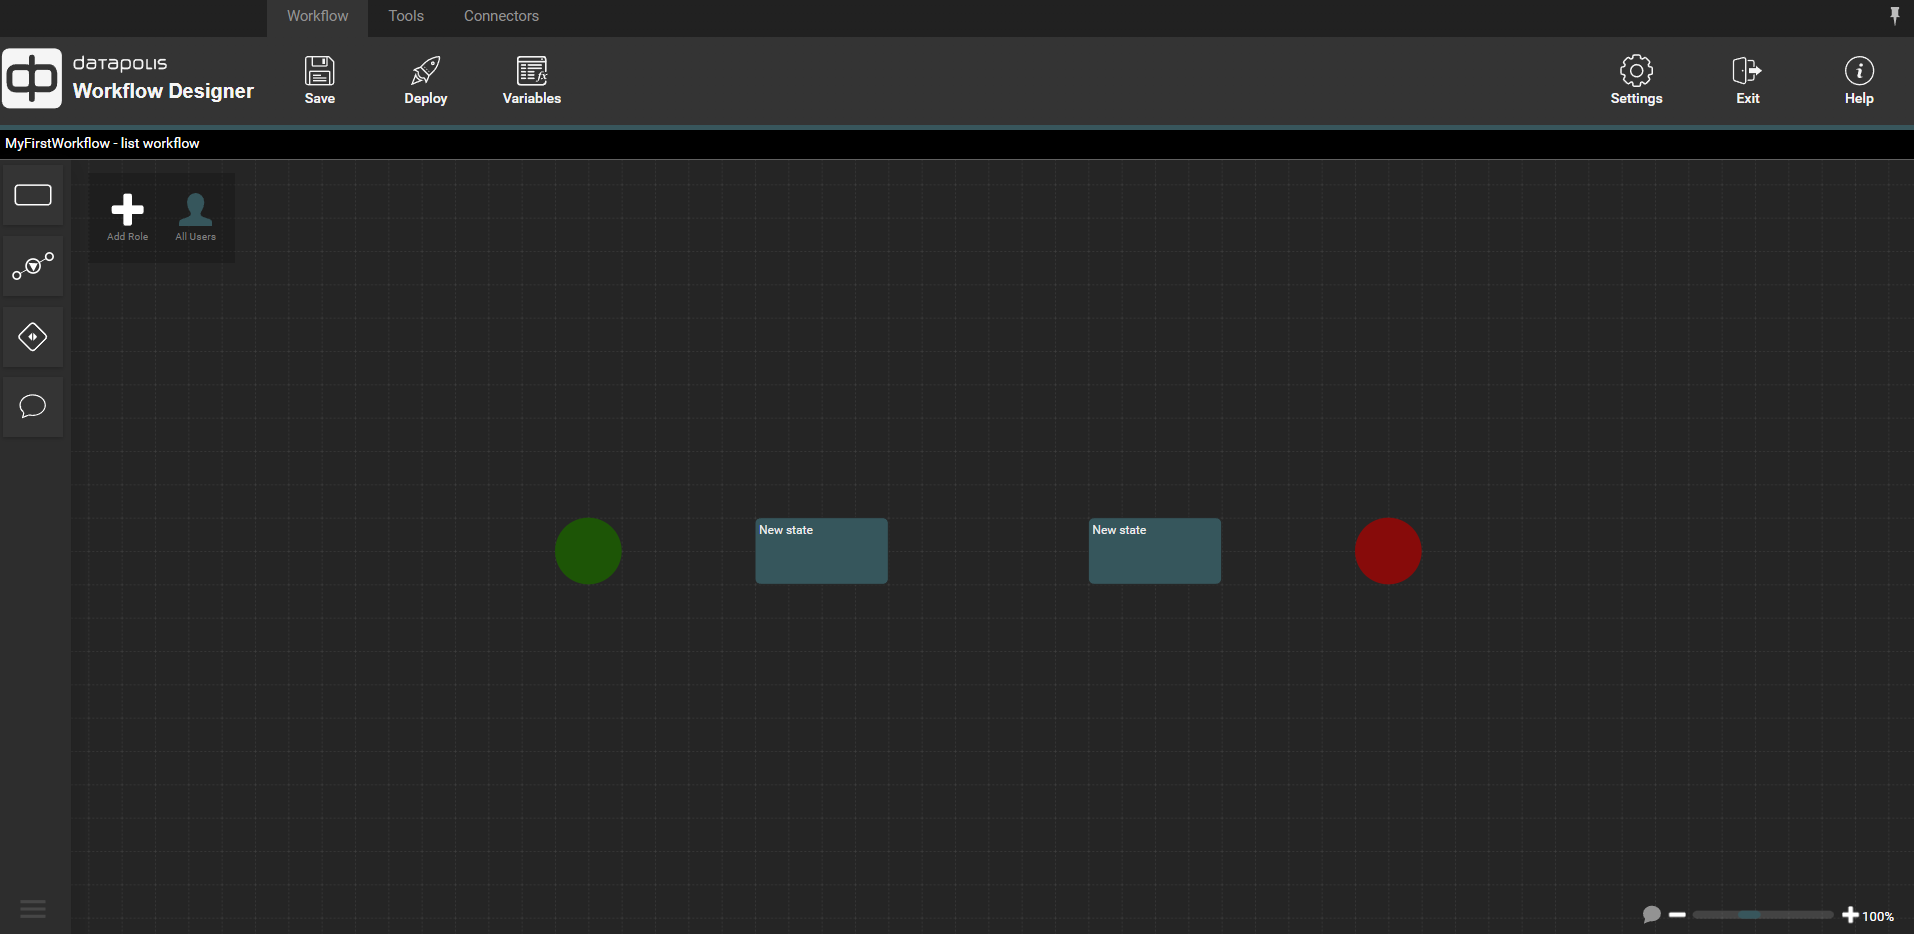
Now you should connect the starting point of the workflow to the first state. To do this, hover the mouse cursor over the starting point of the workflow (green circle). A small white triangle will appear in the center of the circle.
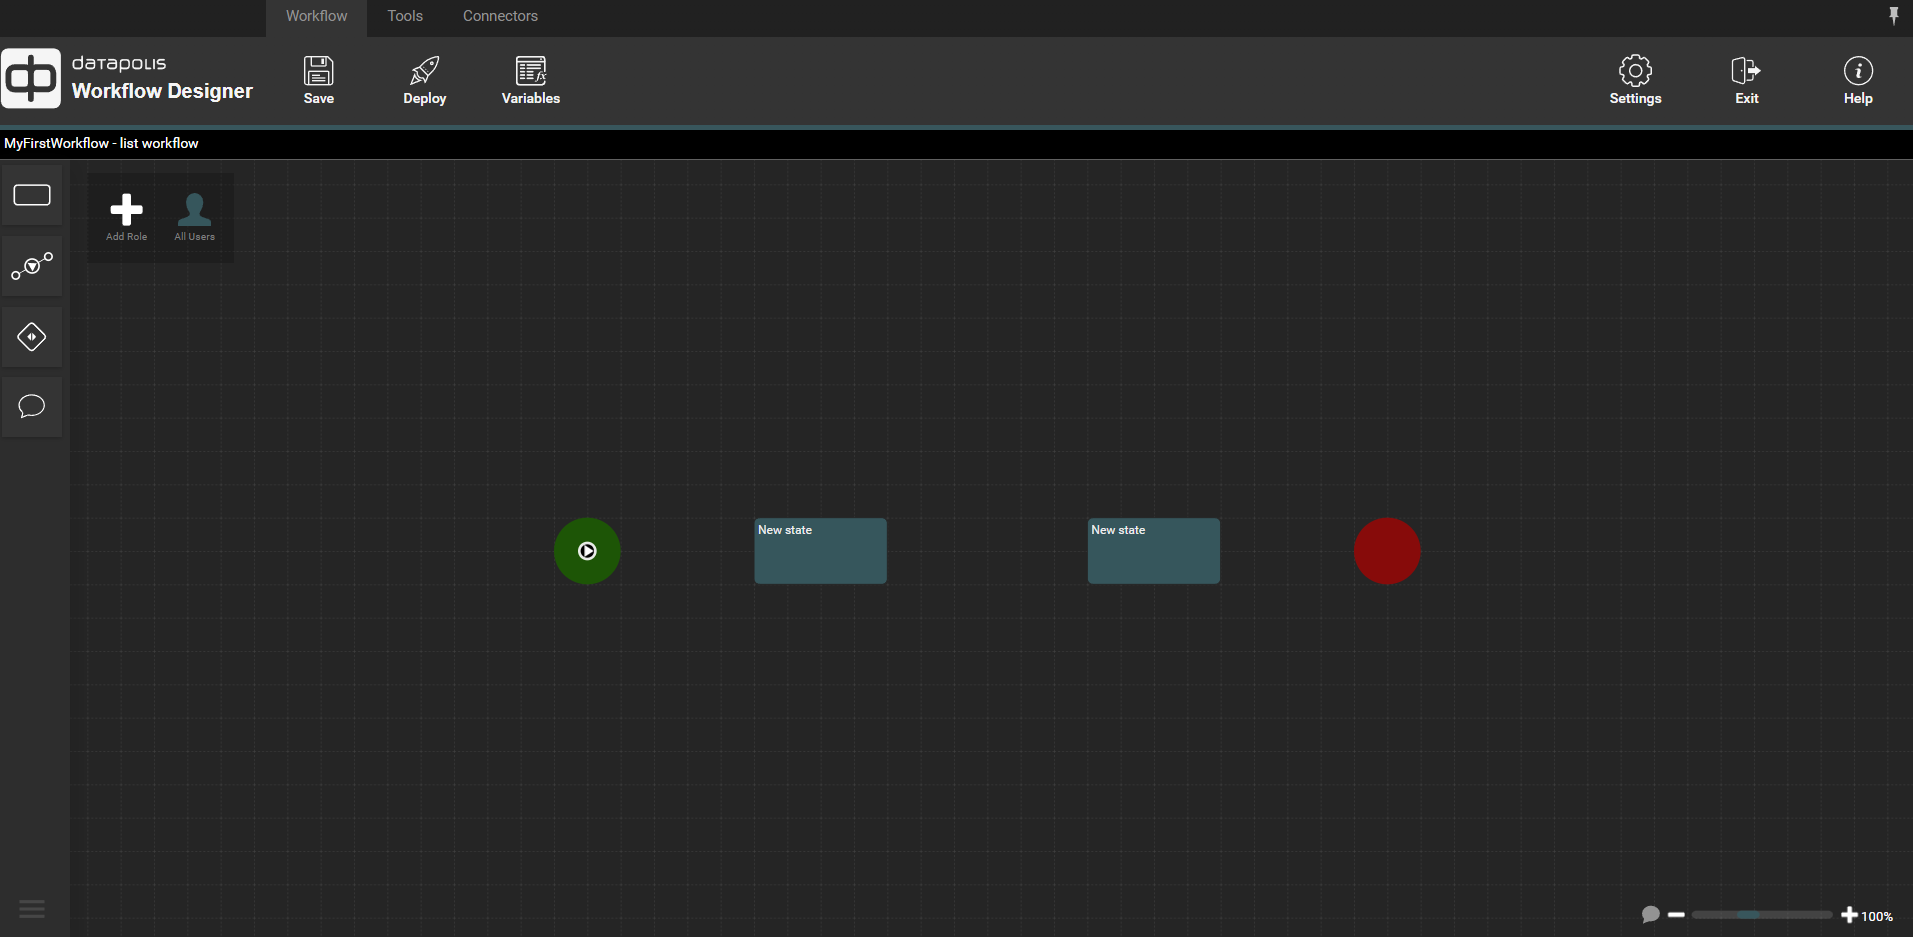
Click on this triangle, and while holding down the left mouse button, drag the action line to the edge of the first state. Then release the left mouse button. The action will be given the default name "Initial action."
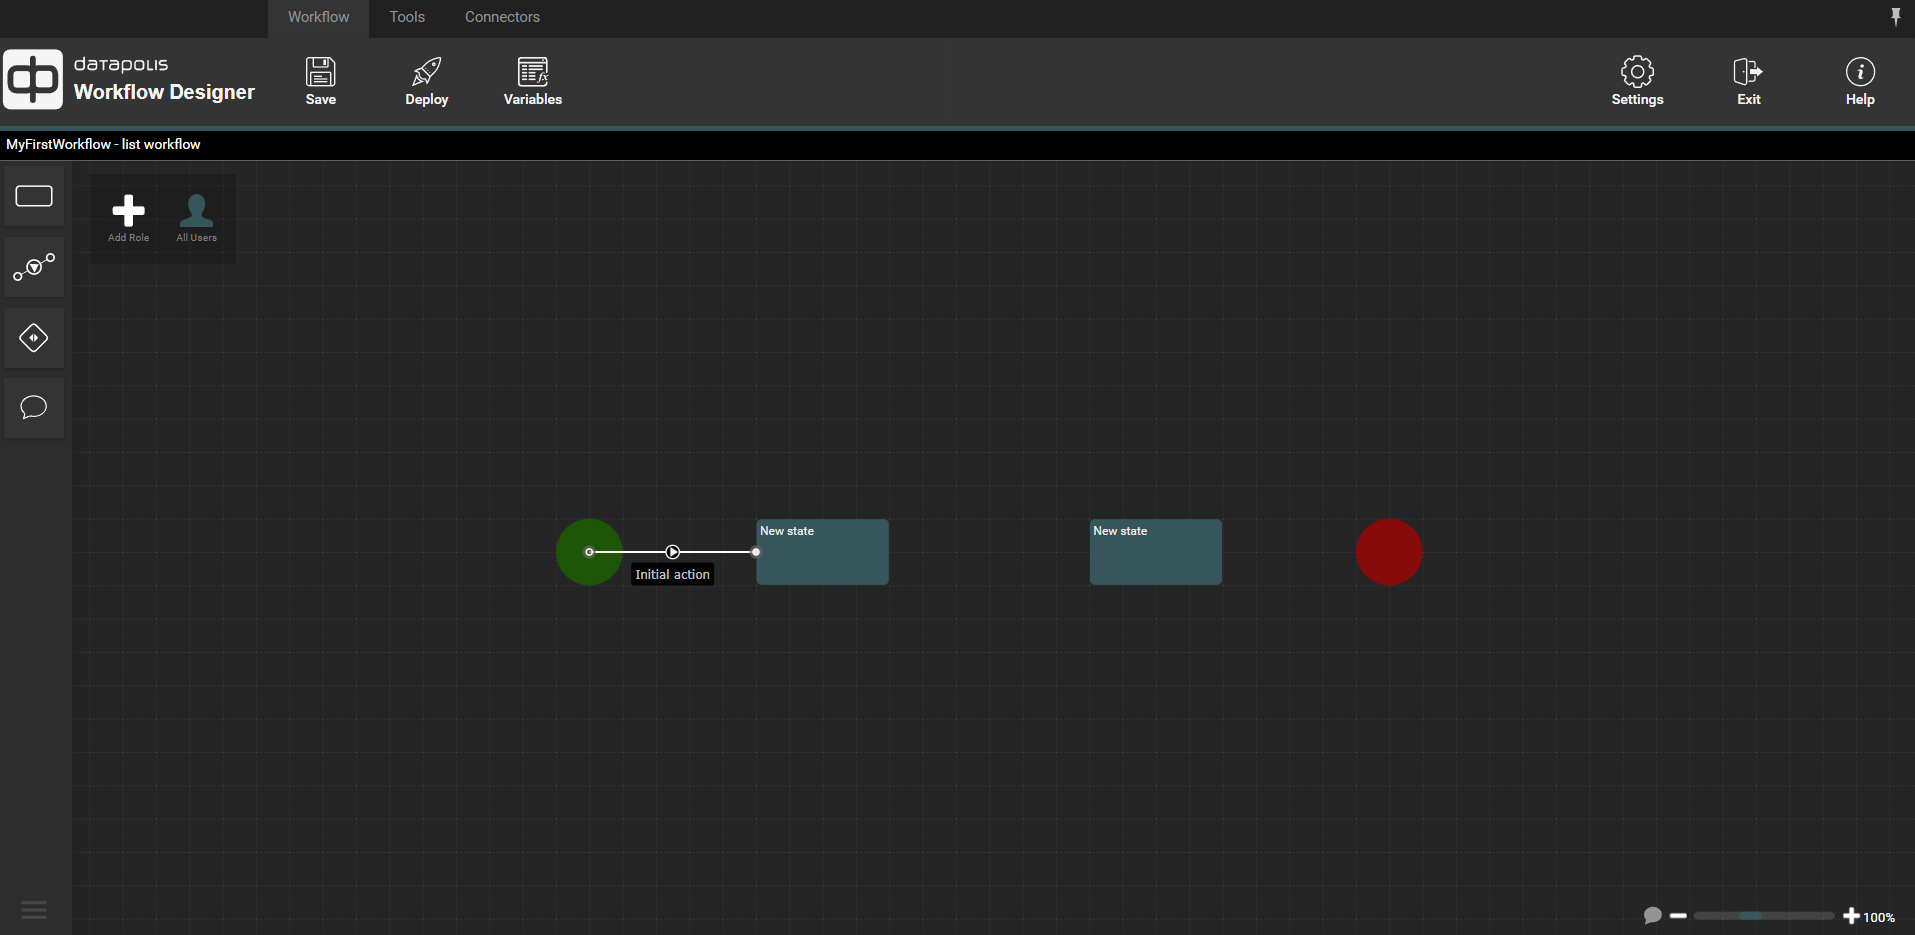
Now you should add an action between the states. To do this, click on the “add a new action” button marked with a green frame, and while holding down the left mouse button, drag the action from one state to the other.
![]()
You can also add an action in another way. To do this, hover the mouse cursor over a state, and a triangle will appear on the state. The triangle is marked with a red frame in the screenshot below. Click on this triangle, then drag the action to the edge of the second state.
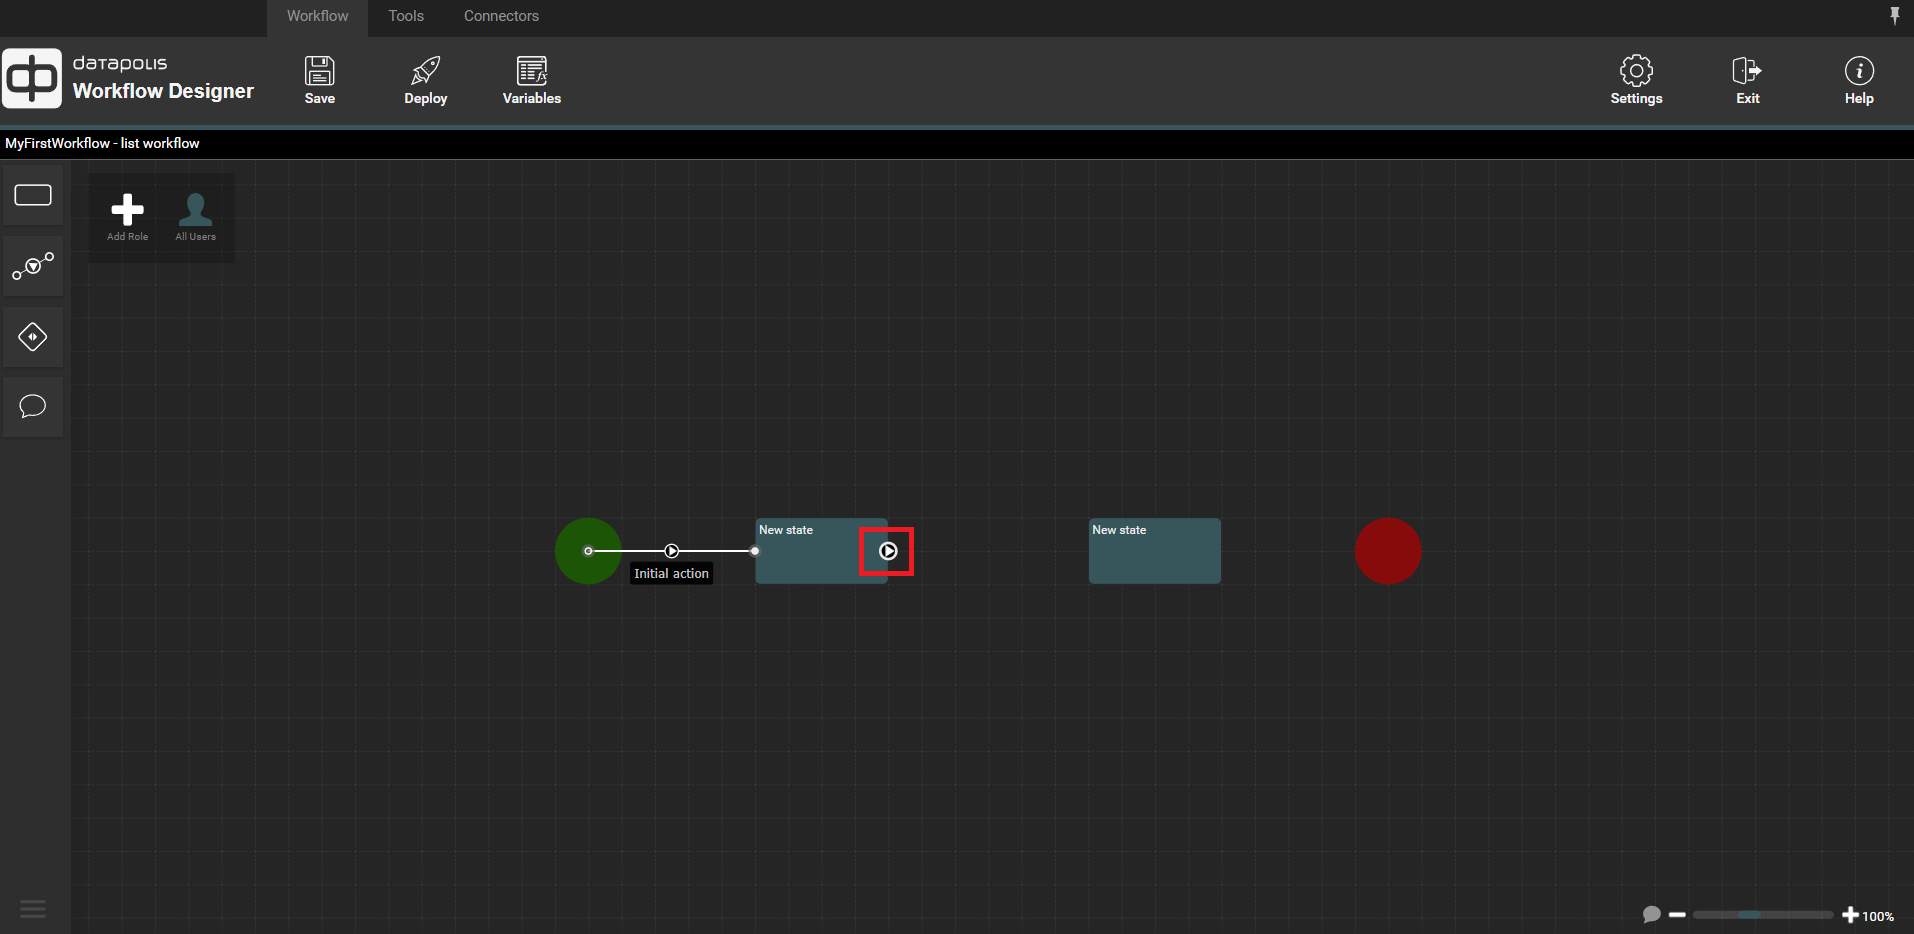
After dragging the action, the workflow will look like in the screenshot below.
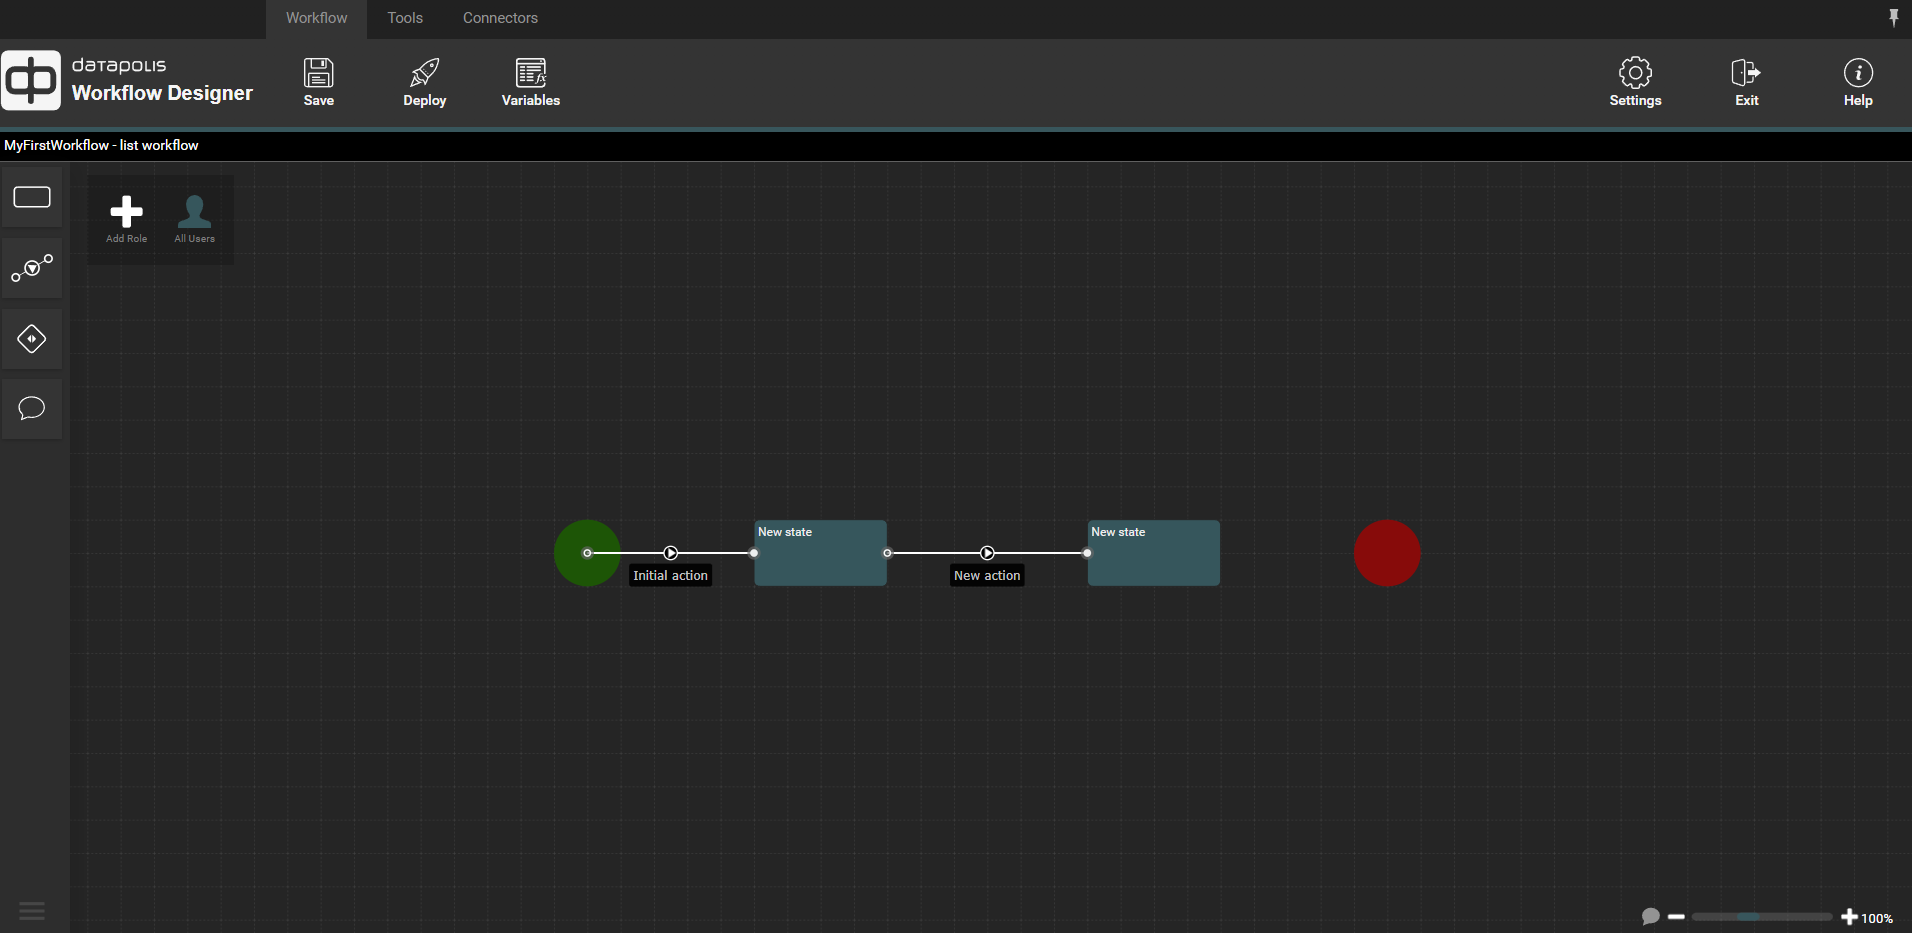
You need to add an action from the second state to the ending point of the workflow.
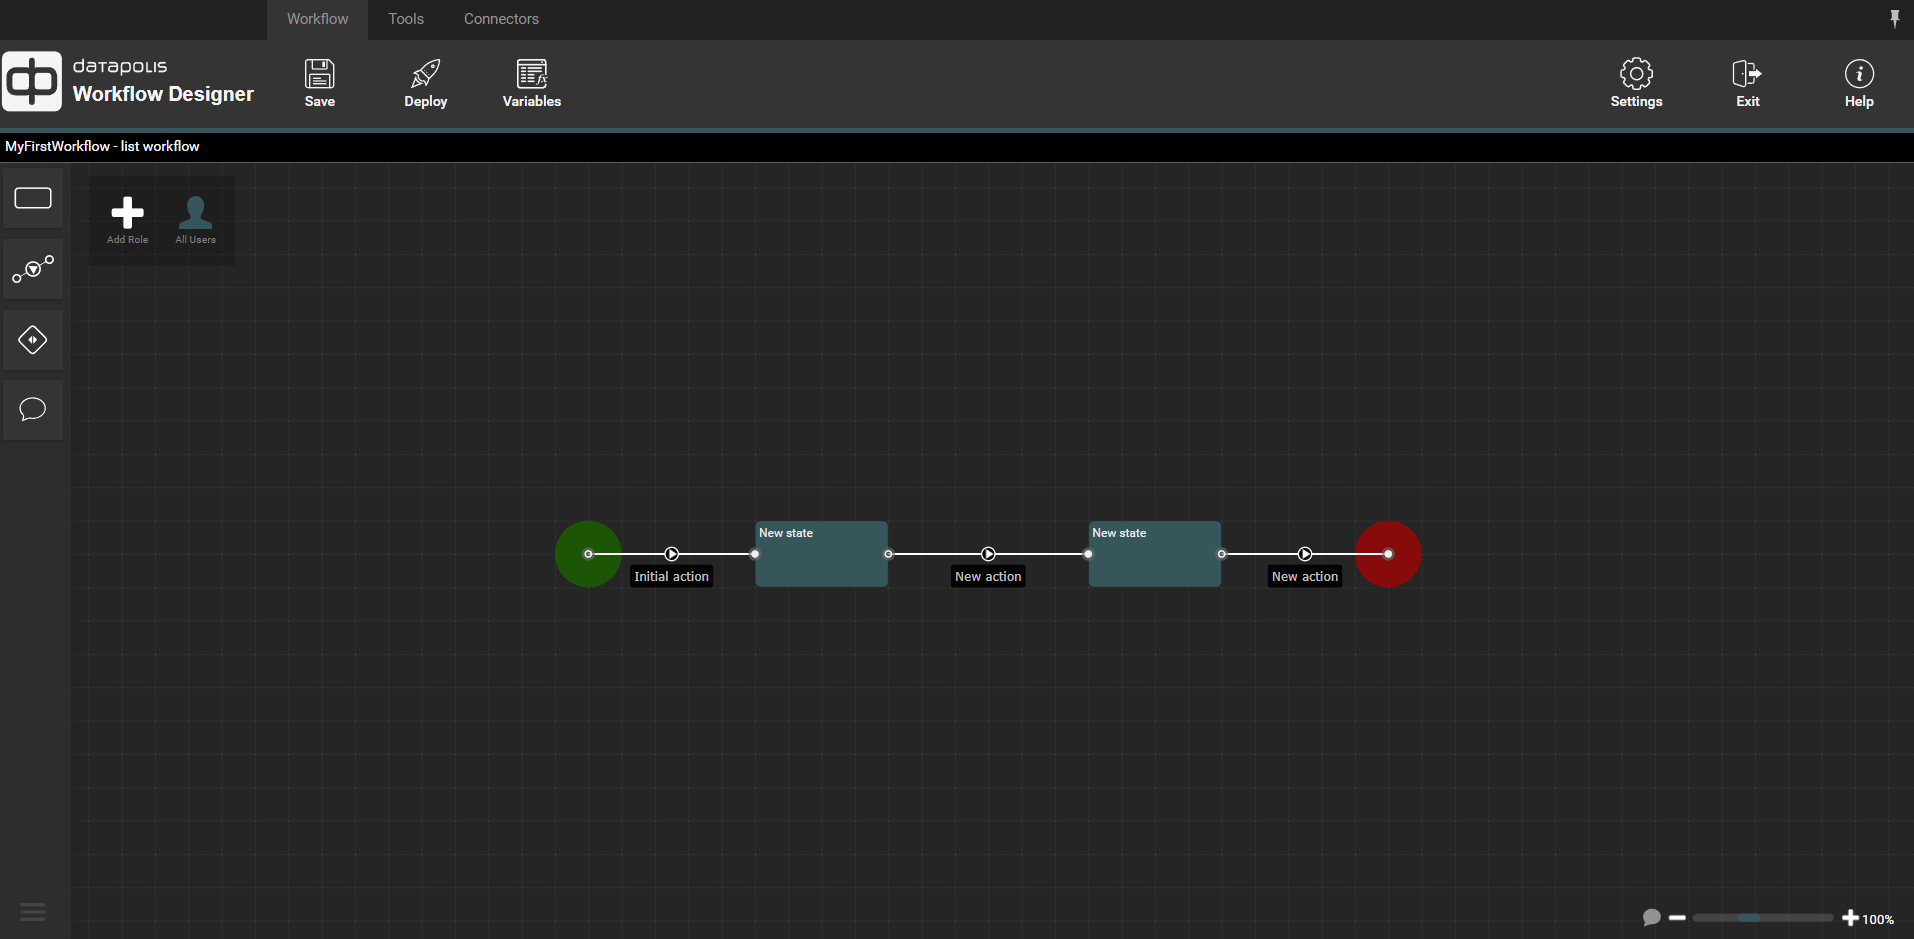
The next step is to assign appropriate names to the states and actions so that each of these elements has its own unique name. Thanks do this, the user will be able to see at what point the workflow is. To change state name you need to open state menu. It may be done by double-click on the state you want to edit or by clicking edit icon (pen icon) on menu that shows up, when you hover mouse on state.
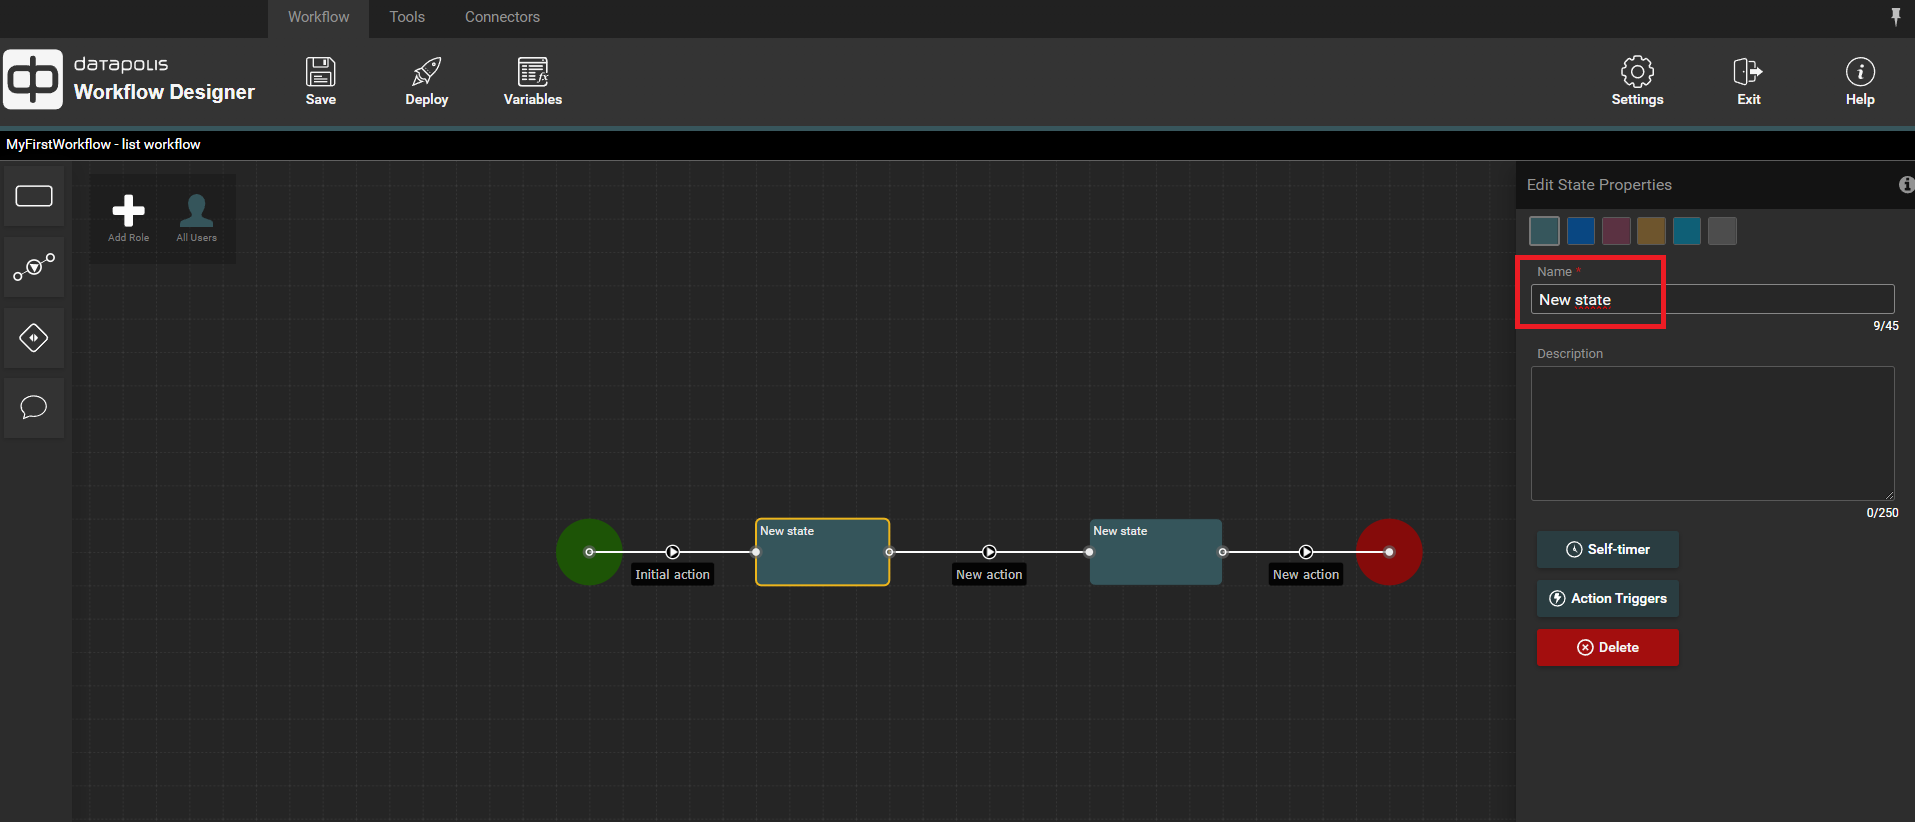
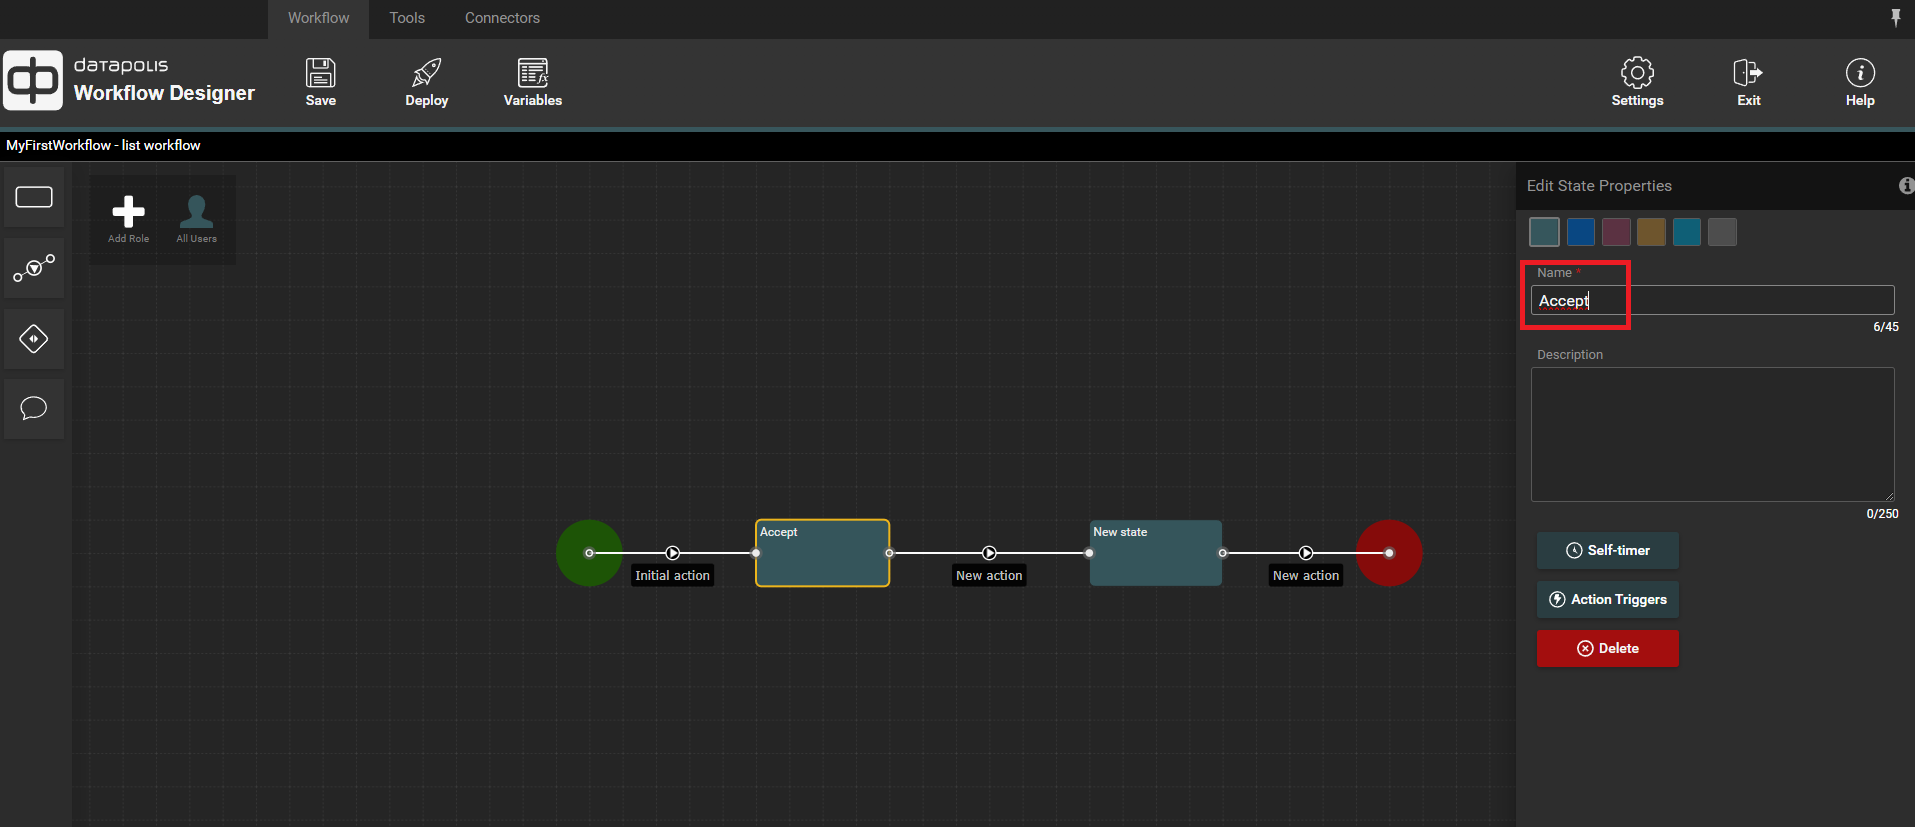
In the same way you can change the name of the second state. Now let's change action names. To rename an action one should follow the same steps as for renaming a state.
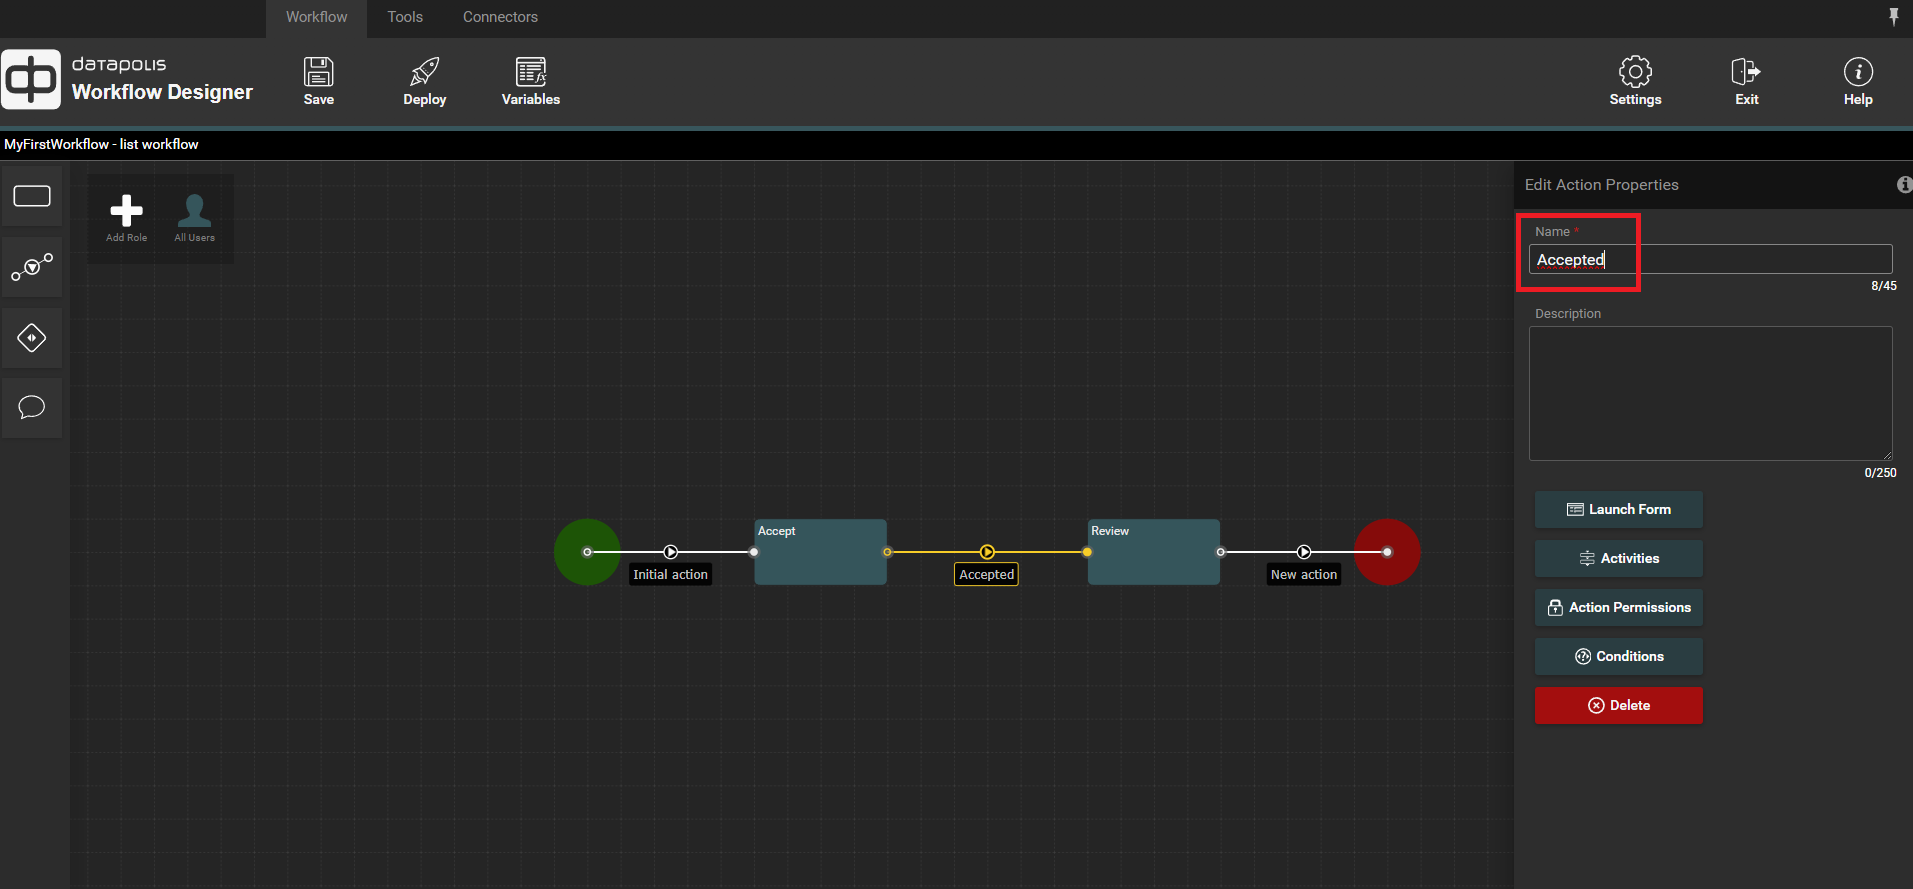
Also the end action should have a unique name. It has been named done.
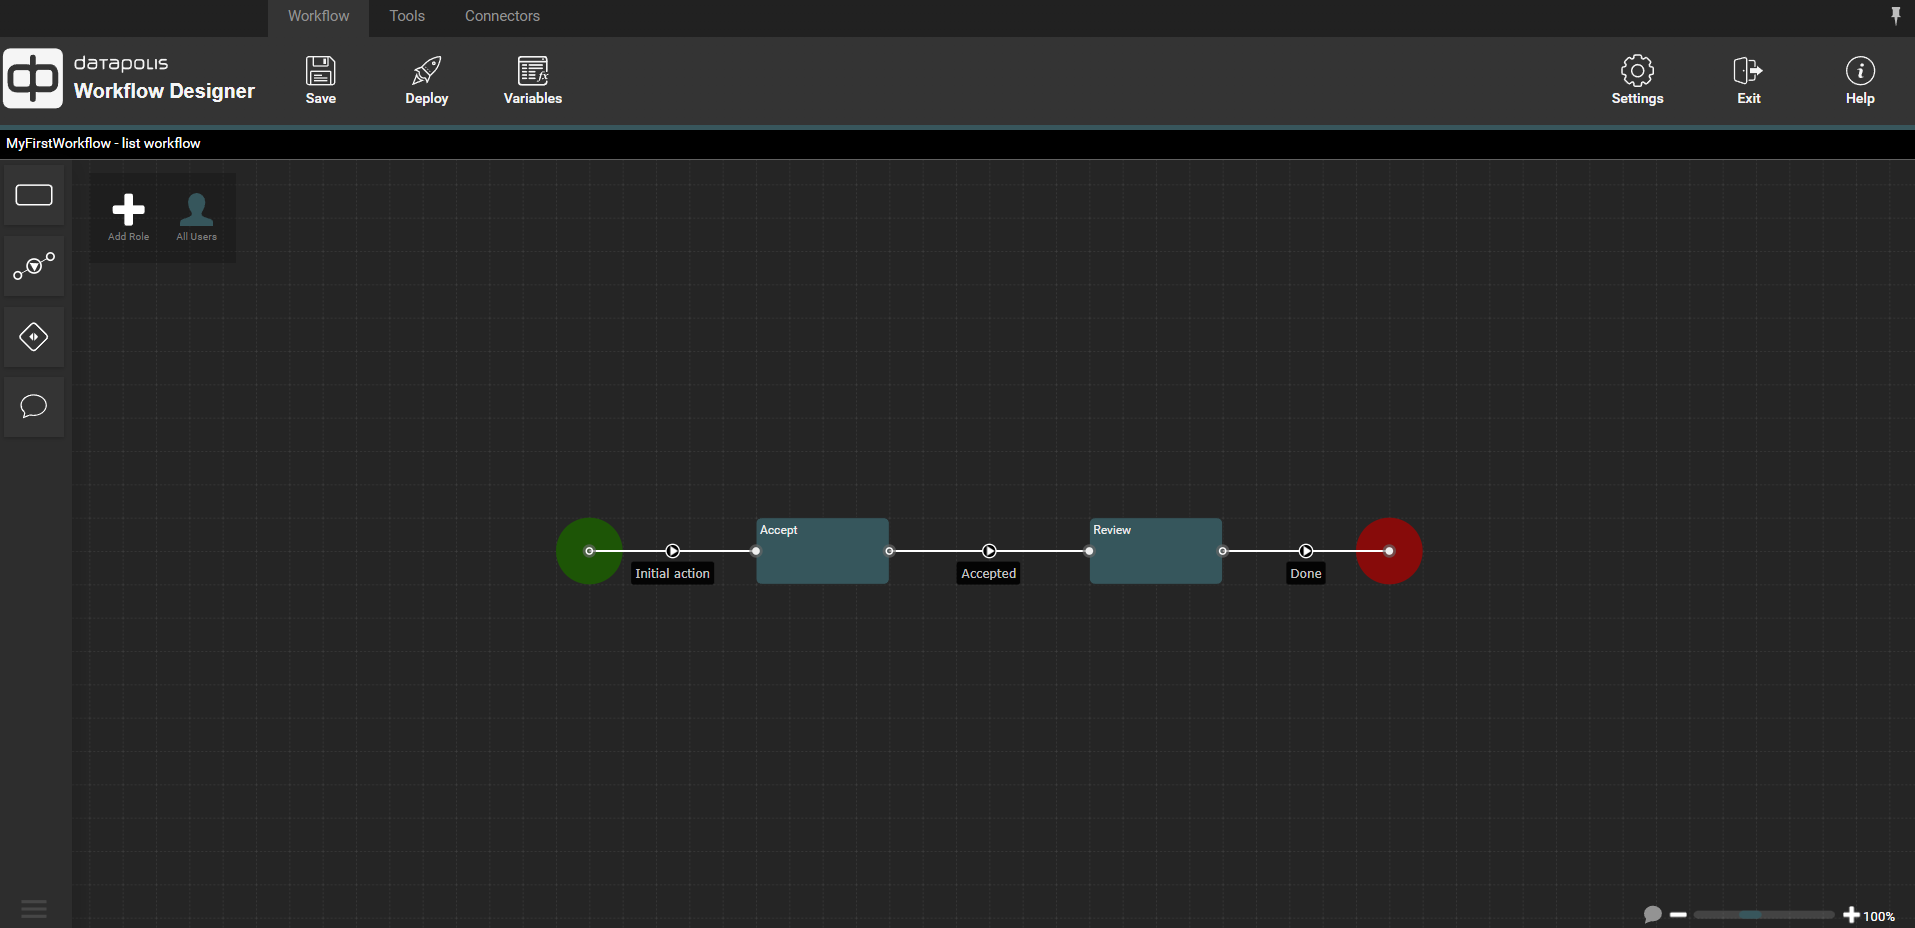
The workflow is almost finished. You can also add a return action between states. You need to drag the action backwards from the review state to the accept state. The added action is marked with a red box in the following screenshot.
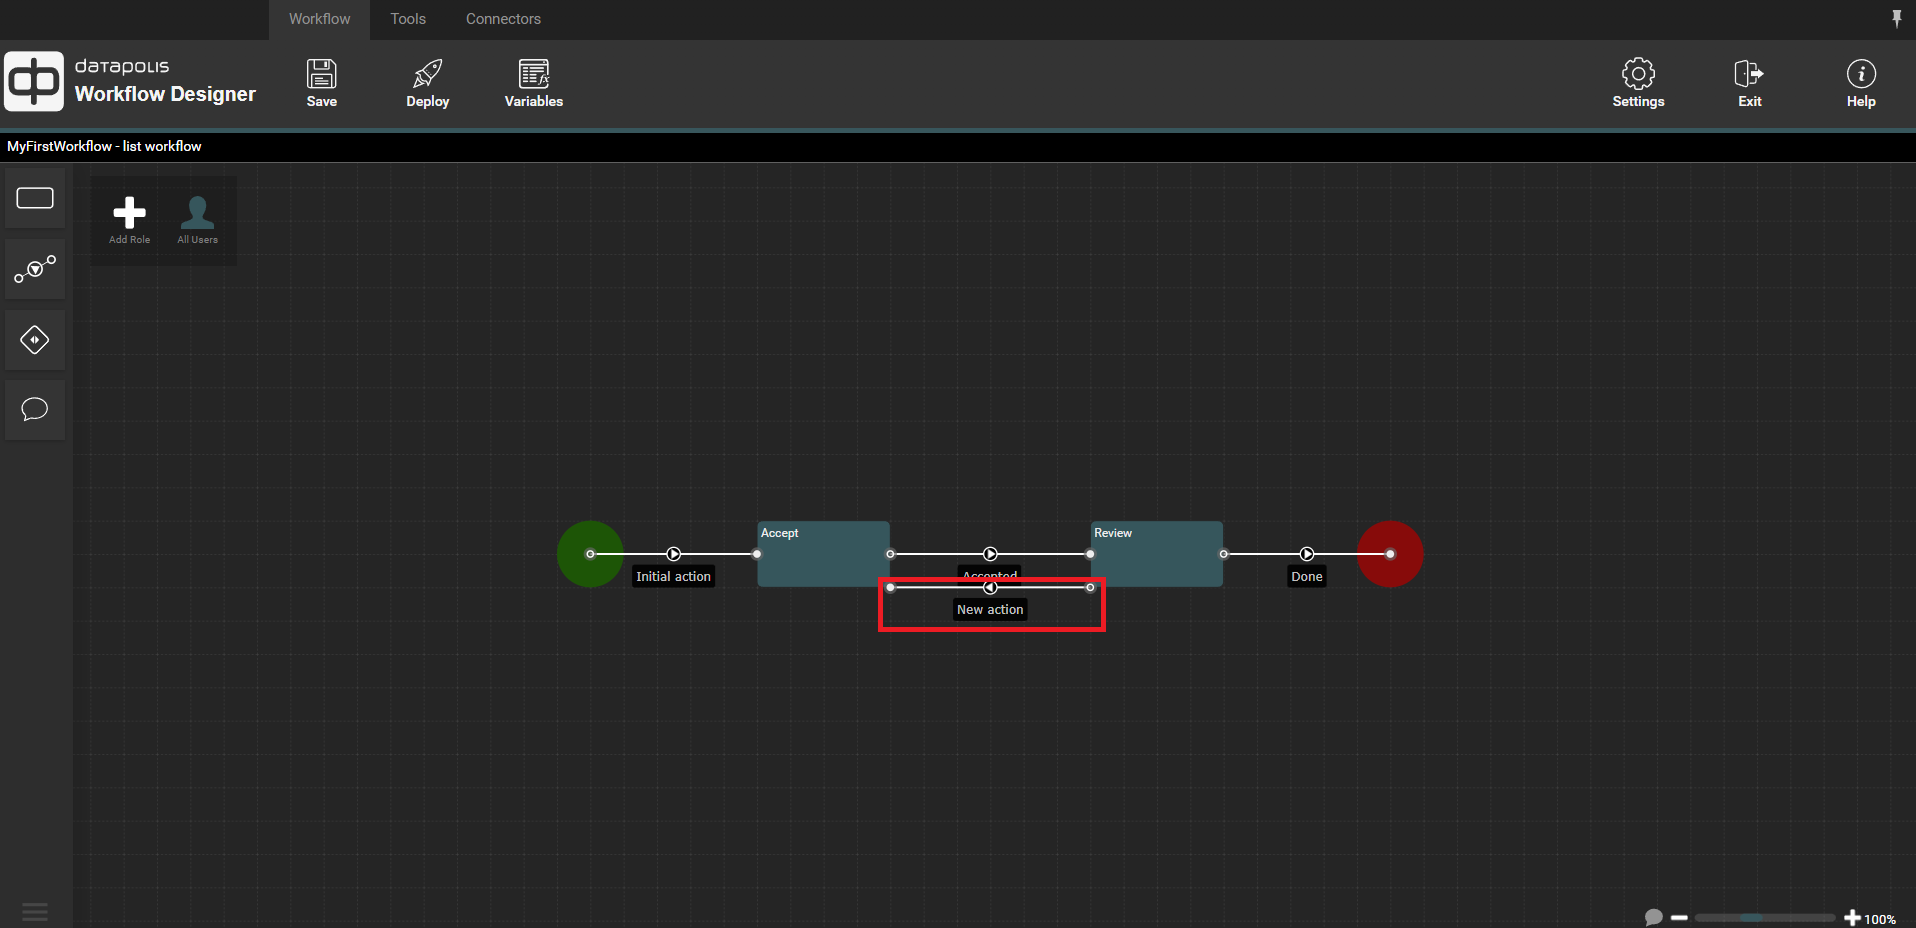
For better clarity and readability of the flow, it is worth improving the distribution of actions in the designer.
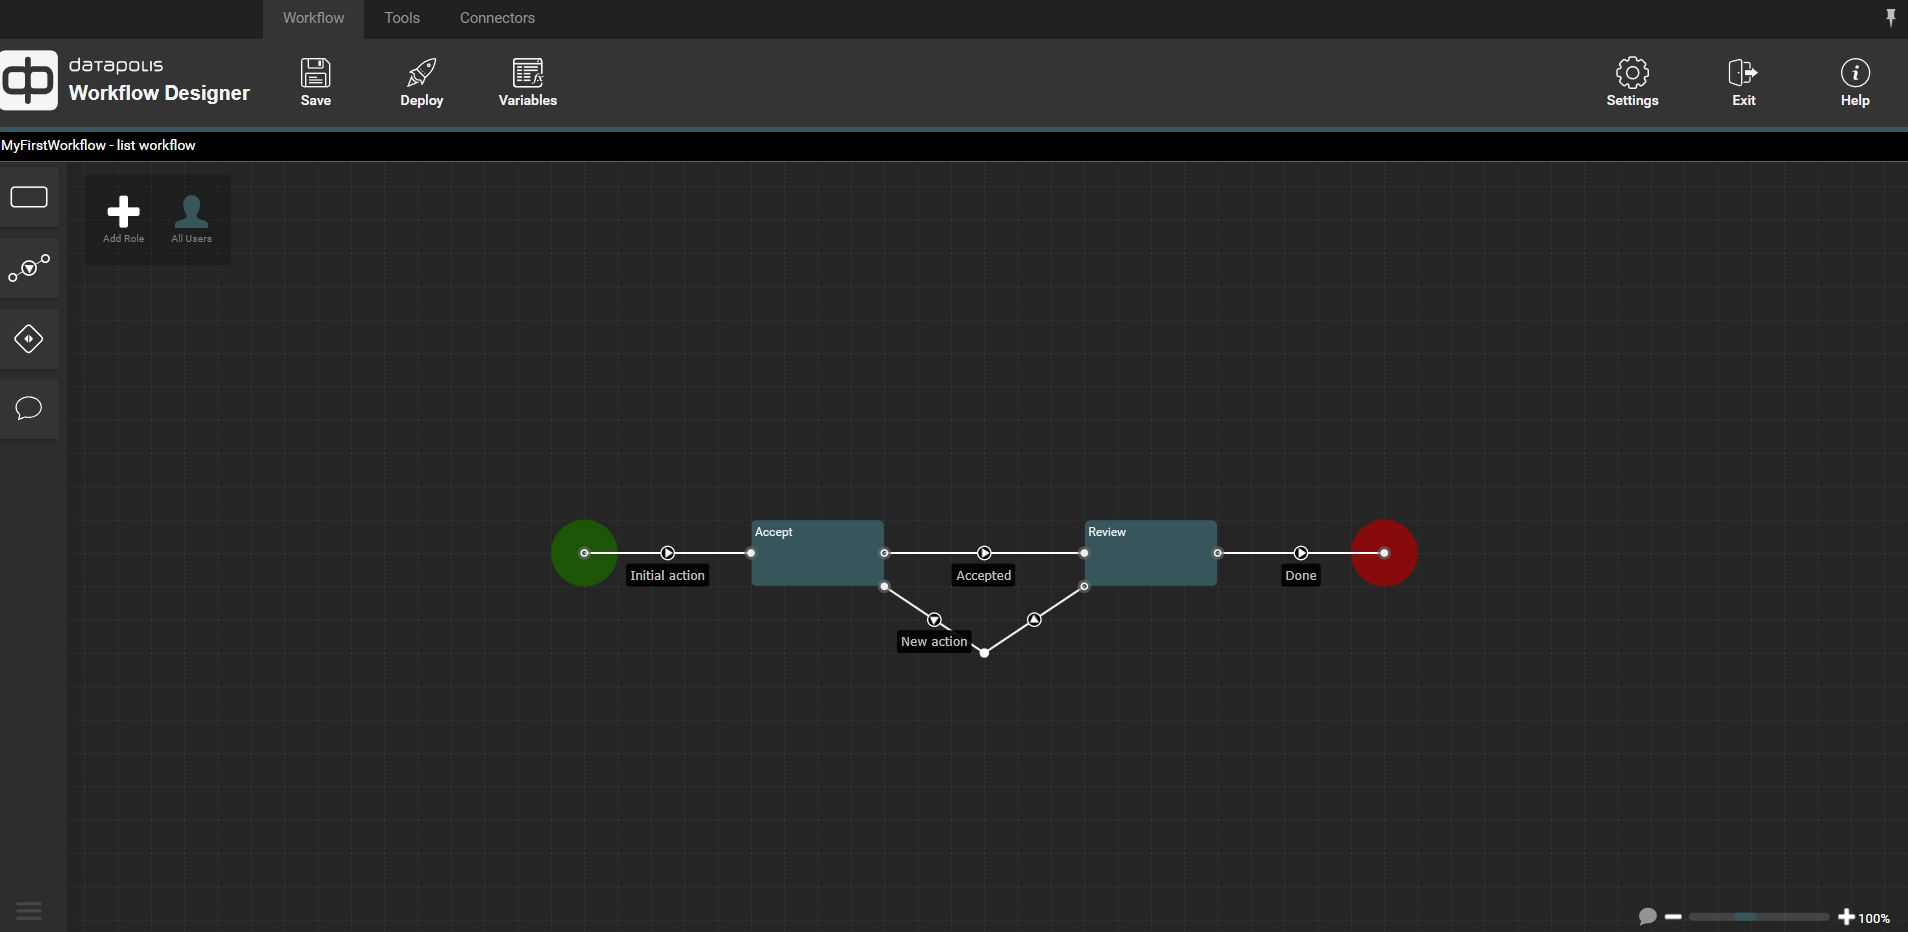
After aligning the actions, the workflow looks as follows.
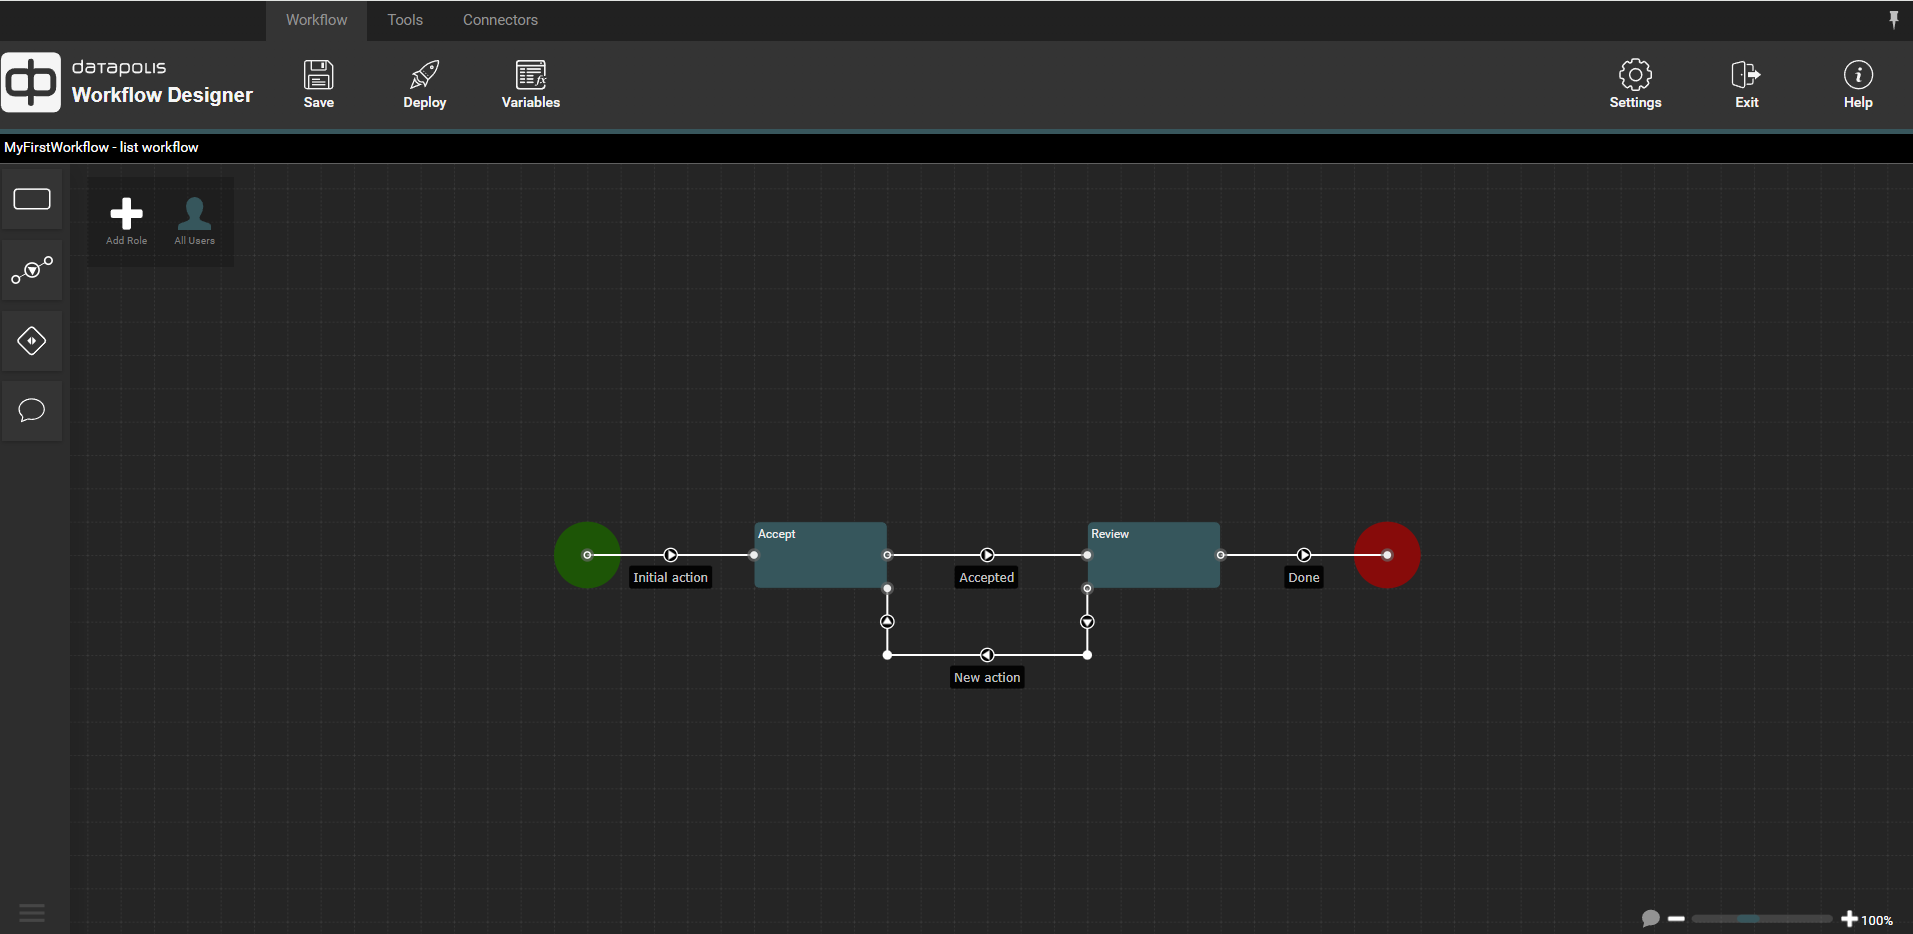
If you have added a feedback action you should give it a proper name. The way to assign a name is the same as for the previous actions.
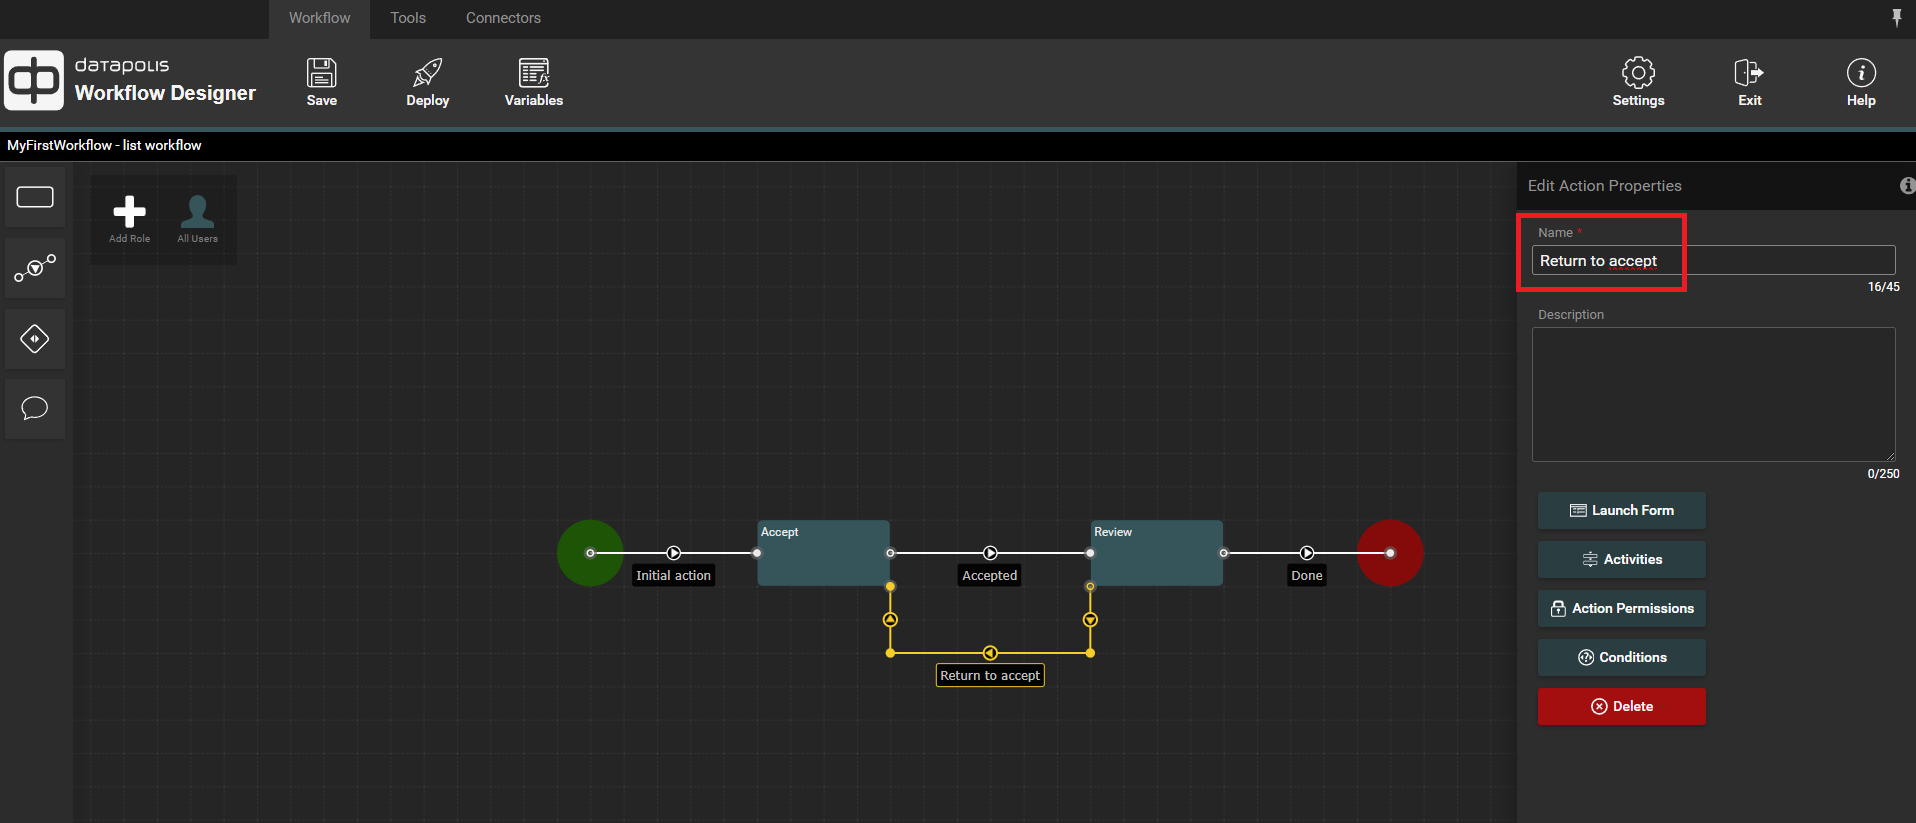
Our workflow is finished. Now you need to deploy workflow. To do this, click on the Deploy button.
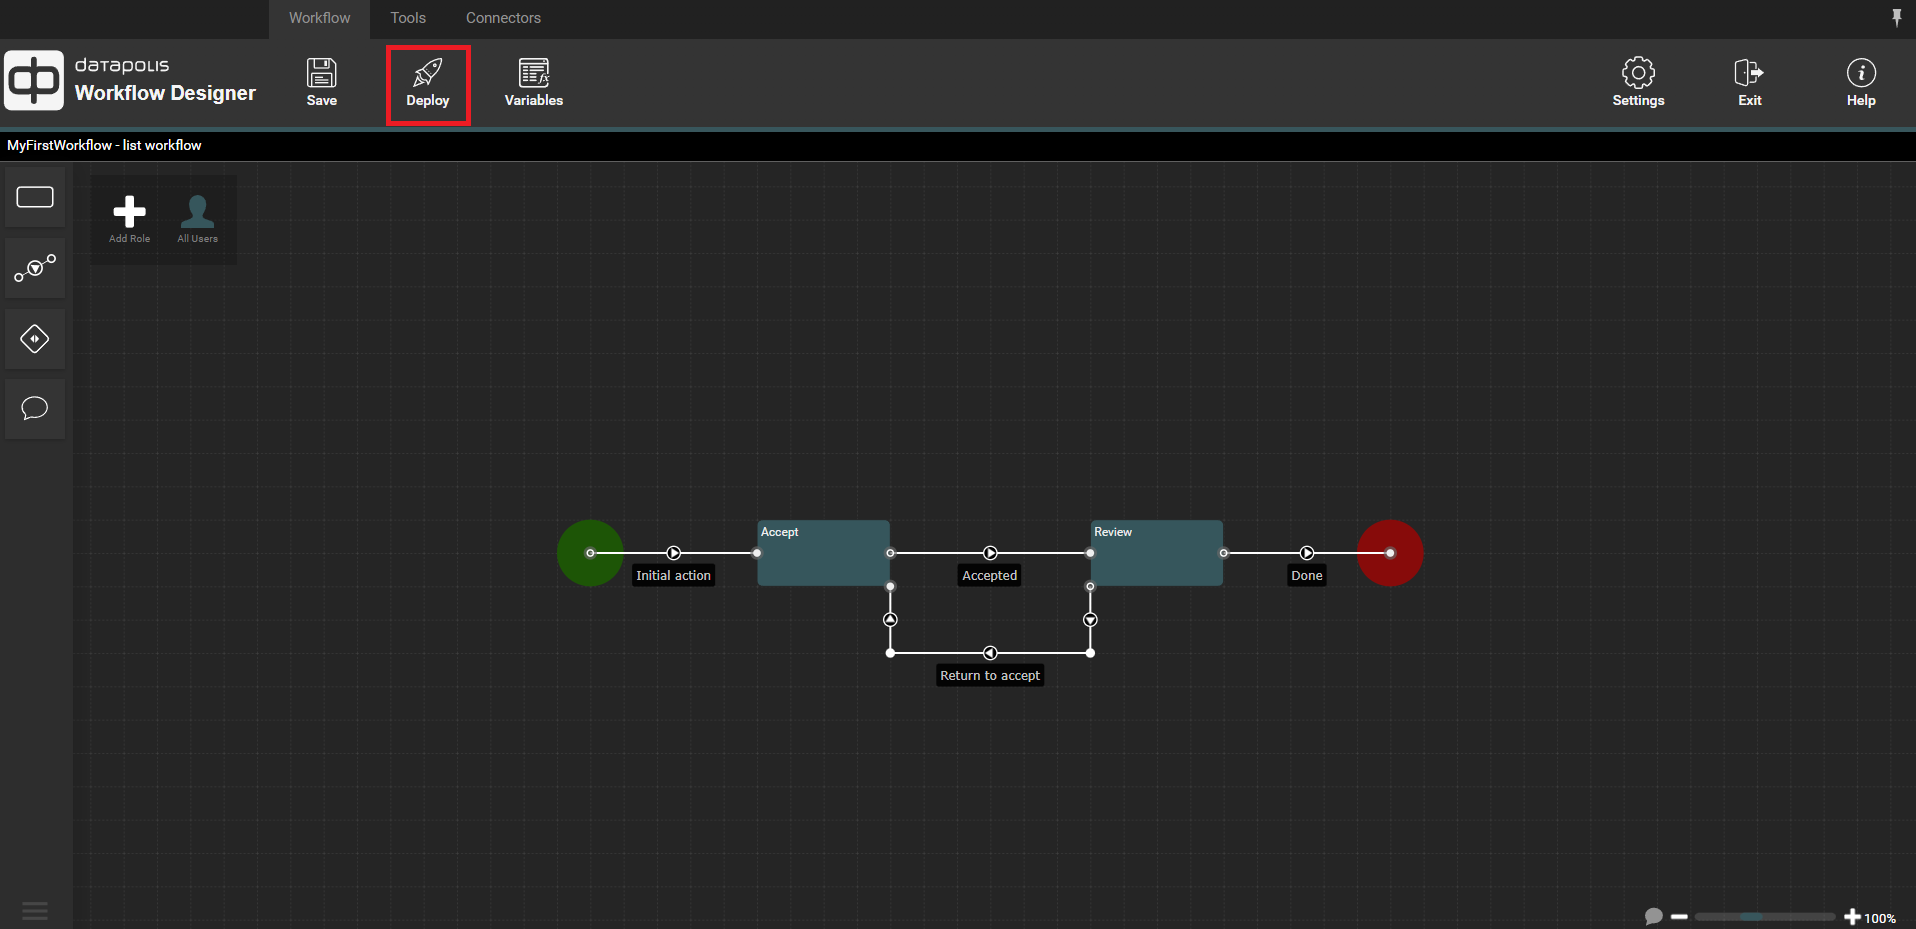
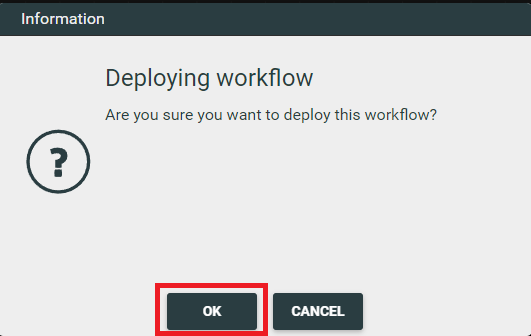
A modal window will appear to confirm. Subsequently click OK. First the workflow will be saved and then deployed.
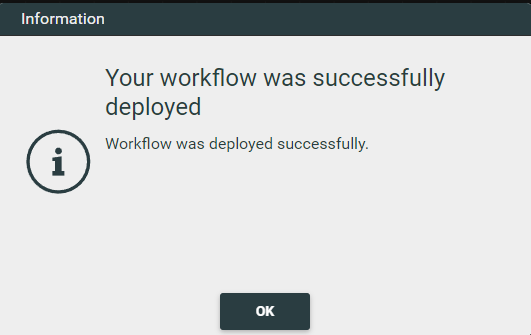
When the workflow is deployed, the following window will be displayed.
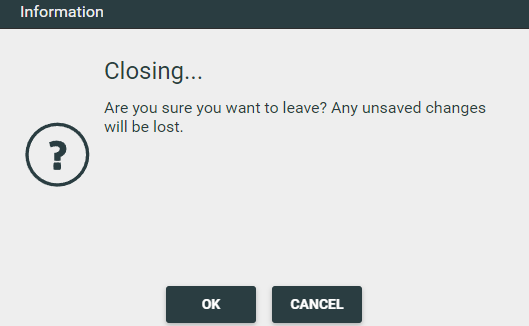
Now you can close the designer. Click the Exit button.

A modal window will open to confirm the designer closing operation. To complete the operation, click OK.
The designer will close and you will return to the workflow administration website. On this website, click Return (marked with a red frame on the screenshot) you will be redirected to the SharePoint list for which you created the workflow.

Start workflow
Note: If you do not see the Datapolis Workbox button, the action button, or if the workflow instance is not moving to the next stage, it's worth trying a simple method—refreshing the page. To refresh the page, press the keyboard shortcut Ctrl along with the F5 key. After a moment, the page will be refreshed. It is very likely that the missing button will become visible, and the workflow will proceed to the next stage. It's worth keeping this simple solution in mind.
The list looks like in the screenshot below. The Datapolis and MyFirstWorkflow-state columns have appeared. Now, you need to add the first item. To do this, you should click on the "Add new item" button marked with a red frame.

A window for adding a new item will appear. In this window, you need to give a name to the item in the appropriate field and click the Save button.
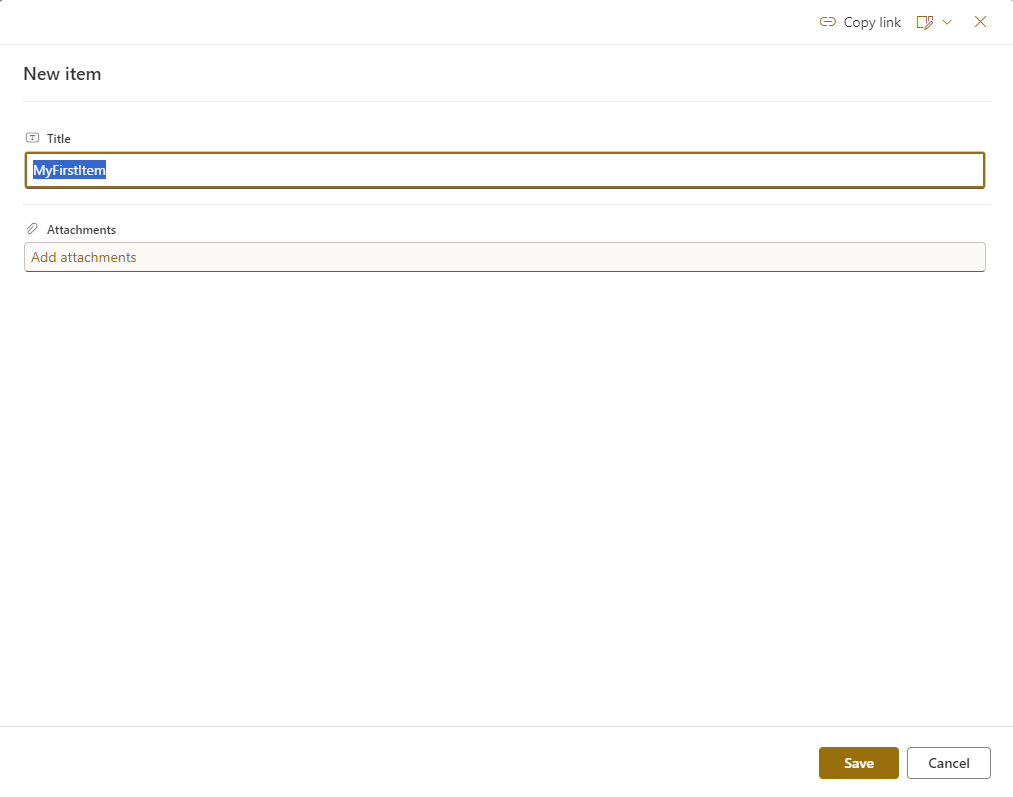
A new item with the name you entered should appear in the list. When this item appears, the workflow will be started. In the column with the workflow name, you will see "Changing State...".

After a while, the name of the first state in which the workflow is currently located will appear in the column.

Launch workflow action
Now you can run an action. There are three ways to see which actions are available. The first is to left-click on the three dots in the Datapolis column. A drop-down list will appear with the name of the workflow and the available actions.

The second way is to left-click on the icon marked with a red frame in the Datapolis column, as shown in the screenshot below. A panel with the available actions will then appear on the right side.

The third way is to click on a list item so that the radio button, marked with a red frame in the screenshot, is selected.

You can click on the radio button or on the item area. An action button will appear as shown in the screenshot above. After clicking it, a side panel with the available actions will appear on the right.


Note: However, if you click on the item title, a side panel for editing the item will appear on the right instead of the actions.


When you have successfully opened the drop-down menu or panel with actions, you need to click on an action. In our workflow, there is currently only one available action, "Accepted," so we click on it.

After that, a rotating wait icon will appear in the center of the page.
Next the action launch form will be displayed. For our action it will be a "Quick Form". A form of this type is set by default for each action. "Quick Form" looks like this. In this form click Confirm to launch a workflow action.
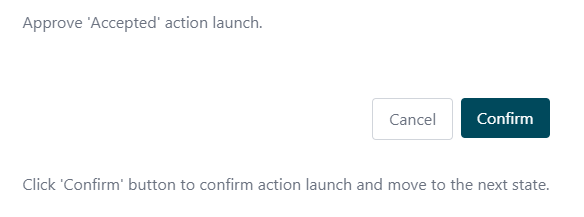
You will be redirected back to list view. Right now workflow is moving from one state to the other. After a while you will see on the list that the state has changed.


View workflow history
There are several ways to view the workflow history. You can open the history through the Datapolis column. Left-click on the three dots in the Datapolis column. A drop-down list with the workflow name and available actions will appear. You need to click on the workflow name.

You will be redirected to the history page for the given item.
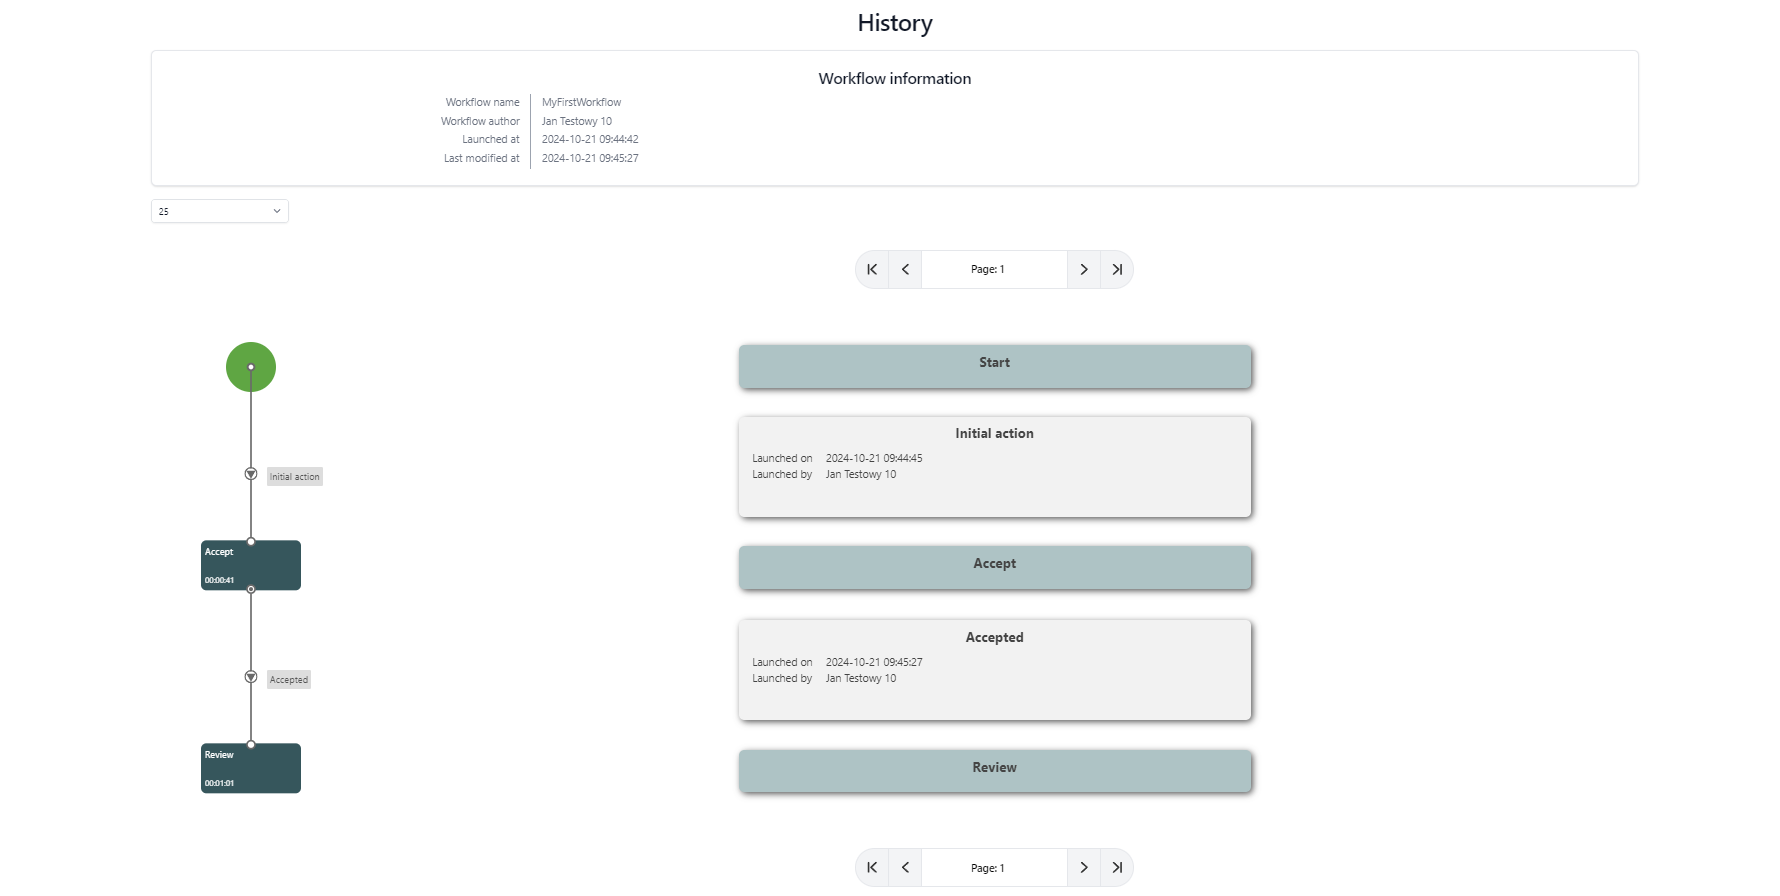
Another way to view the workflow history is to select the list item for which you want to see the history. When the list item is selected, the History icon will appear in the top menu. Click on the History icon, which is marked with a red frame in the screenshot below.
![]()
After a moment, a side panel will appear on the right, followed by the history page opening.
Summary
Congratulations! You just created and used your first workflow. You may now go to User Guide section to extend your knowledge. Good luck and have fun!