Decision Properties
To set-up decision properties you need to open decision menu. It may be done by double-click on the decision you want to edit or by clicking edit icon on menu that shows up, when you hover mouse on decision.
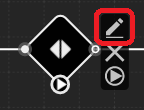
After clicking the button shown in the screen-shot, the window allowing you to edit decision properties will be displayed.
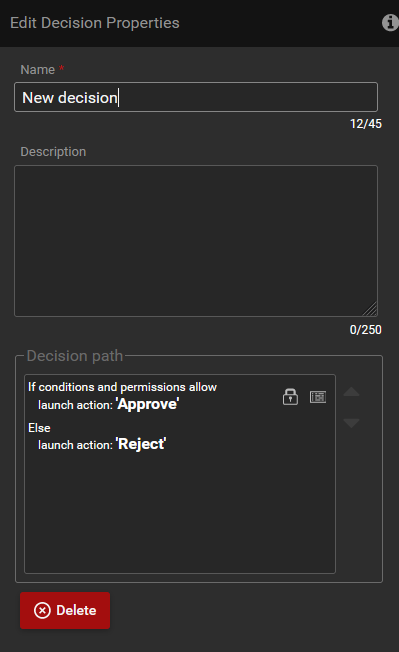
You can change/set following properties:
Name
You can change the name of the decision.
Description
Description of the decision that you can treat as internal comment.
Decision path
You can change path of decision.
You can change conditions and permissions for actions that come out of the decision.
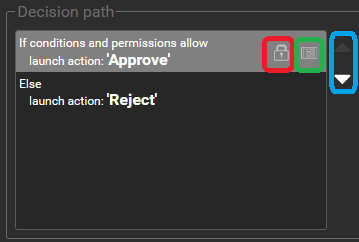
Using the icons marked on the screen-shot you can:
Icon marked with a red frame - you can change permissions of action
Icon marked with a green frame - you can change conditions of action
Icon marked with a blue frame - set the order of actions
How it works
When incoming action is launched condition checking starts for every outgoing action in order provided in "Decision path” form. If condition for current action is met then decision checks if user that launched incoming action has permissions to launch current action.
If more than one condition is met, only the first action will be launched. If none of the conditions is met, then the last action defined in “Decision path” form will be launched.